Content
Why can a 3D scanner capture one object beautifully, then struggle with another object that seems just as simple? The answer is often not the object’s shape, the user’s skill, or one single specification. It is the match between the object’s size and the scanner’s “scanning range”.
Scanning range is one of the quiet specifications behind scan quality. It helps explain why small, medium, and large objects may need different scanning setups, and why products like the "Turtle Modular 3D Scanner" are built around swappable modules instead of one fixed optical setup.
Scanning Range Is Not One Number
When people talk about “scanning range”, they are often referring to several related specifications at once. This is where confusion begins. A 3D scanner may list an object size range, a single capture range, and a working distance, but these numbers do not describe the same thing.
“Typical object size” describes the size of the object the scanner is designed to scan. It answers the question: What size of object is this scanner best suited for?
“Single capture range” describes how much surface area the scanner can capture in one frame or one shot. It answers the question: How much of the object can the scanner see at once?
“Working distance” describes how far the scanner should be from the object during scanning. It answers the question: Where should the scanner be positioned to collect stable data?
These three concepts are connected, but they should not be used interchangeably. A scanner may be suitable for a large object without capturing the whole object in one frame. A scanner may have a wide single capture range but still need to operate within a specific distance. And a scanner may capture a small object beautifully because its working distance and capture area are designed for close-range detail.
Understanding scanning range begins with separating these three ideas. Once they are clear, it becomes much easier to understand why different object sizes require different scanning setups.
Typical Object Size: What the Scanner Is Best Suited For
“Typical object size” describes the general size range of objects a 3D scanner is designed to handle. It is often the first clue to understanding a scanner’s intended use.
This does not mean the scanner can only scan objects inside that range. In many cases, a skilled user can still scan objects slightly smaller or larger than the recommended size. But once the object moves too far outside the scanner’s intended range, the scanning experience may become less stable, less efficient, or less detailed.
For small objects, the scanner needs to preserve fine features in a compact area. A small sculpture, miniature, or mechanical part may look simple from a distance, but its useful details may be very small. If the scanner is not designed for that scale, edges may soften, shallow grooves may disappear, and the final model may lose definition.
For large objects, the challenge is different. The scanner needs to cover more surface and maintain alignment over a longer scanning path. If the scanner is designed mainly for small objects, scanning a chair, body-size object, or large panel may require too many passes. The process becomes slower, and the chance of tracking drift increases.
This is why typical object size matters. It tells users what kind of object the scanner is naturally designed around. A good match between object size and scanner range usually means a smoother scan, fewer corrections, and a model that better fits the user’s purpose.

Single Capture Range: How Much the Scanner Sees at Once
"Single capture range" describes the surface area a 3D scanner can capture in one frame or one shot. It is sometimes called the single-frame capture area. This number is closely related to field of view, but it is easier for users to understand because it describes a real capture area.
Single capture range is different from typical object size. A scanner may be suitable for scanning a large object, but that does not mean it can capture the whole object in one frame. Most large objects are scanned by capturing many overlapping sections and then aligning them into a complete model.
This is why a single capture range has a strong influence on scanning efficiency. If each frame covers a larger area, the user can scan broad surfaces with fewer passes. This can make large-object scanning faster and reduce the amount of alignment work needed later.
But a larger single capture range is not always better. For small objects, the priority is often detail density. If the scanner spreads its measurement across too wide an area, tiny features may not receive enough data points. In that case, a smaller capture area with greater detail can produce a better result.
So single capture range is a trade-off. A wider capture area helps with coverage and speed, while a more focused capture area can help preserve fine detail. The right choice depends on what the object needs.

Working Distance: Where the Scanner Performs Best
“Working distance” describes the distance between the 3D scanner and the object during scanning. It may sound like a simple operating instruction, but it is actually part of the scanner’s optical design.
Every optical 3D scanner has a distance range where it can capture data most reliably. Within this range, the projected light pattern is clear, the cameras can read the surface properly, and the software can calculate depth with better stability.
If the scanner is too close, it may not be able to see enough of the projected pattern, or the object may fall outside the scanner’s calibrated measurement zone. If the scanner is too far away, the projected light may become weaker, the surface may appear with less detail, and depth calculation may become less stable.
Working distance also affects comfort and efficiency. A shorter working distance can be useful for small objects because the scanner can focus on close-range detail. A longer working distance is often more suitable for larger objects because the user can step back, see more of the surface, and move more naturally around the object.
This is why working distance should be read together with scanning range and single capture range. It helps explain not only whether a scanner can capture an object, but how comfortably and reliably the user can scan it.

What Determines Scanning Range?
Scanning range is shaped by several technical factors, but these factors do not all affect the same thing. Some mainly influence “typical object size”, some define “single capture range”, and others determine “working distance”. Understanding this relationship makes the specification much easier to read.
Field of view mainly affects single capture range
A wider field of view allows the scanner to see more surface in each frame, which usually means a larger single capture range. This is useful for large objects because the scanner can cover more area with fewer passes. A narrower field of view captures a smaller area, but it can help concentrate detail for smaller objects.
Optical geometry strongly affects working distance
The position and angle between the scanner’s cameras, projected light, lenses, and sensors determine where depth measurement is most stable. This is why every optical scanner has an ideal distance zone. Too close or too far, and the scanner may struggle to read the surface accurately.
Resolution and point density affect typical object size
A scanner designed for very small objects needs enough point density to preserve fine edges, grooves, and surface details. A scanner designed for larger objects may prioritize broader coverage over microscopic detail. This is one reason different object sizes often require different scanning setups.
Scan path length affects the practical object size range
A scanner can be very stable within the object size range it was designed for. The challenge appears when it is used far outside that range. For example, a scanner optimized for small objects may have a smaller single capture range and a shorter working distance. When used on a large object, it may need many more frames and a much longer scan path to cover the full surface. The more frames the software has to align, the more demanding the scan becomes, and the higher the chance of drift, misalignment, or incomplete areas.
Frame rate affects the usable scanning experience within a range
Frame rate does not define object size by itself, but it influences how smoothly the scanner responds while the user moves. A higher frame rate can make handheld scanning feel more fluid, which helps users maintain distance, speed, and tracking stability.
These factors overlap, but they do not mean the same thing. A large field of view does not automatically mean great detail. A long working distance does not automatically mean the scanner is good for every large object. High resolution does not automatically make a scanner efficient for big surfaces. Scanning range is the result of these choices working together.
Why Scanning Range Matters in Real Use
Scanning range matters because it affects how naturally a scanner fits the object. When the range matches the object size, the scanner can work at a suitable distance, capture a useful amount of surface in each frame, and produce data that is easier to align.
When the range does not match, the scan may still be possible, but the process usually becomes harder. A small-range scanner used on a large object may need many more passes and a longer scan path. A large-range scanner used on a tiny detailed object may not preserve the fine features the user cares about. The issue is not whether the scanner can work at all, but whether it is working in the range it was designed for.
This is why scanning range should be read together with three practical questions: What size of object is the scanner best suited for? How much surface can it capture at once? And what working distance does it need to scan comfortably? These questions help users understand whether the scanner, the object, and the workflow are a good match.

Turtle: A Modular Way to Think About Scanning Range
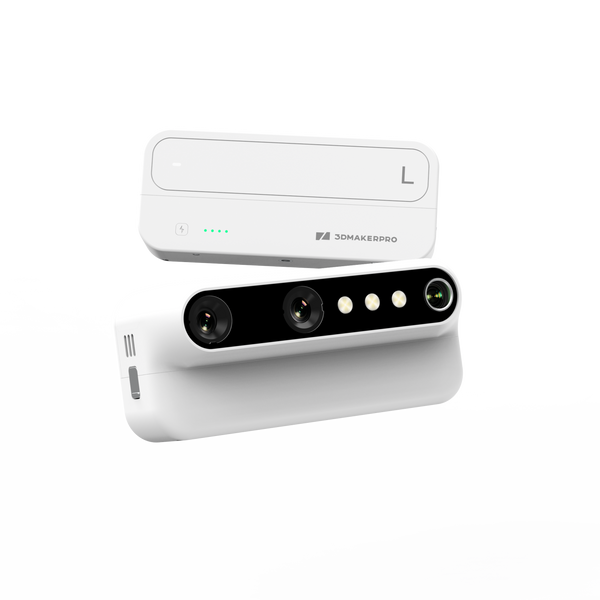
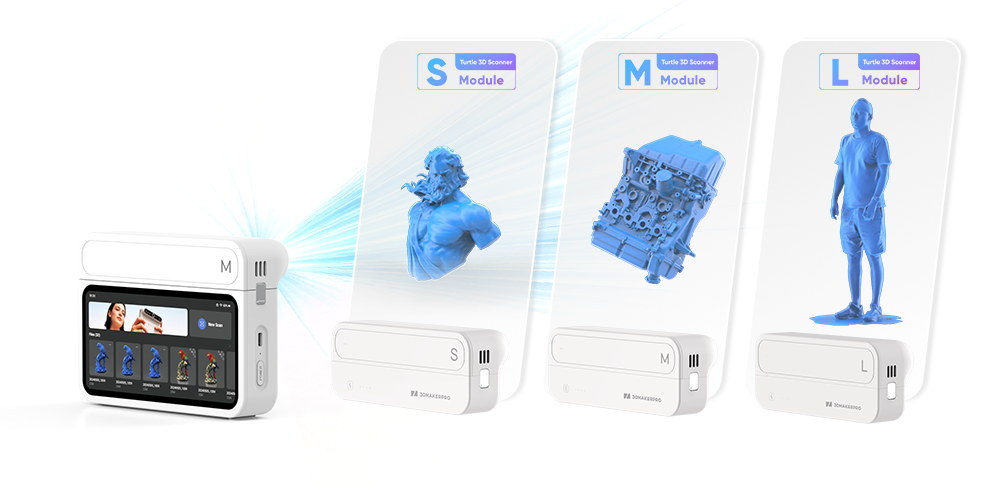
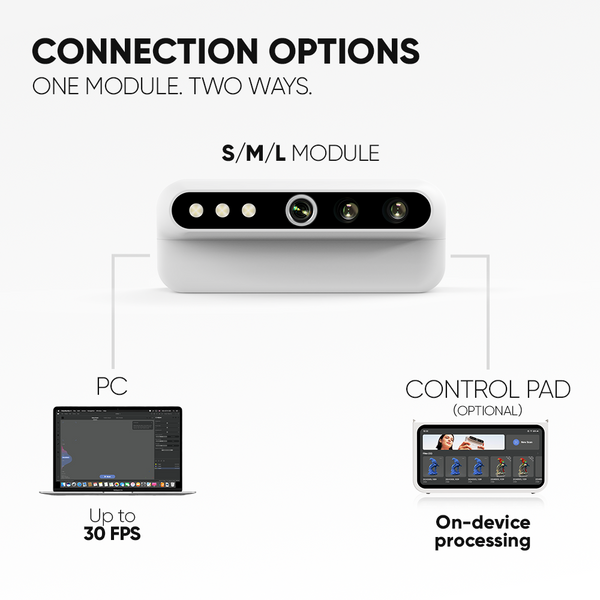
The “Turtle Modular 3D Scanner” from 3DMakerpro is a practical example of how scanning range can be organized into one ecosystem. Instead of asking users to choose between separate small-, medium-, or large-format scanners, Turtle uses swappable S, M, and L modules to cover different object ranges within one system.
The S module is designed for small objects and detail-focused scans. The M module is built for everyday medium-sized objects. The L module supports larger objects that need more coverage and a longer working distance. With the complete Turtle ecosystem, users do not have to worry as much about choosing the “right format” from the beginning; they can choose the module that fits the object.
This is especially helpful for beginners, who may not yet know how their scanning needs will change over time. It also gives long-time 3DMakerpro users a new way to experience an upgraded workflow. Turtle can work with the Control Pad for a more integrated scan-process-review-export experience, or connect to a computer for PC-based scanning, where it can reach up to 30 fps.
In the End
Scanning range is not a single number on a 3D scanner specification sheet. It includes different but connected concepts, such as typical object size, single capture range, and working distance. Each of these is shaped by factors like field of view, optical design, resolution, accuracy, scan path, and frame alignment. Understanding these relationships helps users see why different objects may need different scanning setups.
The Turtle Modular 3D Scanner brings this idea into one ecosystem. By covering small, medium, and large scanning ranges with S, M, and L modules, it helps beginners reduce the confusion of choosing between scanner formats, while giving experienced 3DMakerpro users a cleaner way to explore an upgraded scanning workflow through either the Control Pad or a computer.

Featured collection
Early bridNEW
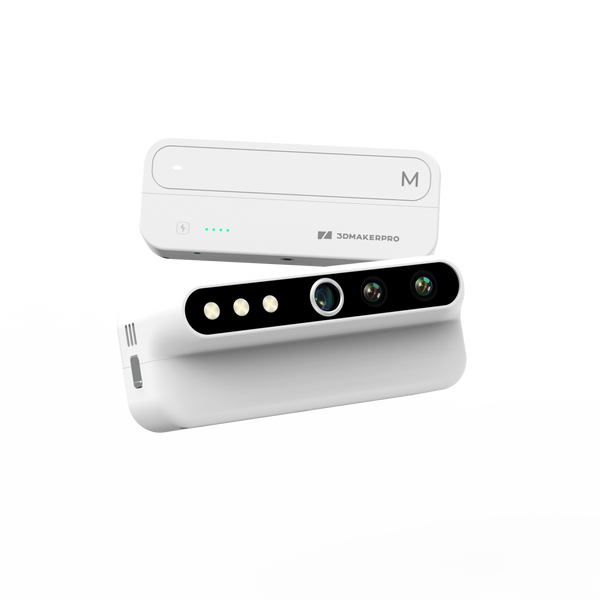
Turtle Series M Module
Early bridNEW
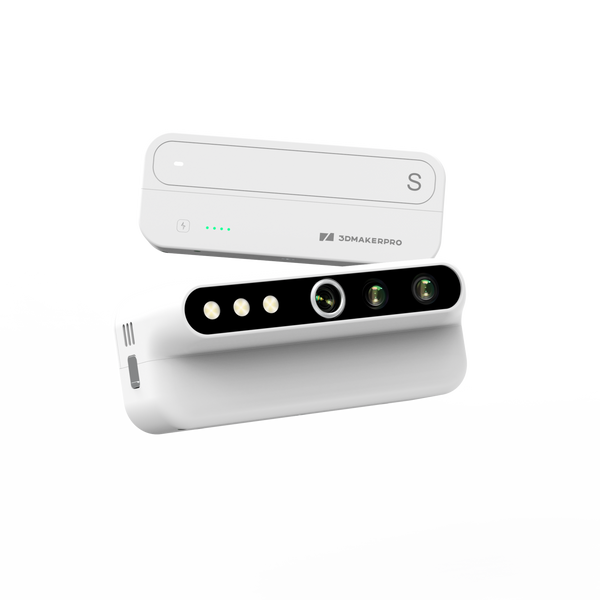
Turtle Series S Module
Early bridNEW