Content
A Complete Workflow Using the Moose Scanner
Turning a physical object into a 3D printed model is no longer a complex engineering process. With a modern handheld scanner like the Moose, you can move from real-world geometry to a finished print in just a few structured steps. Below is a streamlined scan-to-print workflow, with each stage summarized clearly while highlighting the advantages of the Moose scanner.
Step 1: Prepare the Object
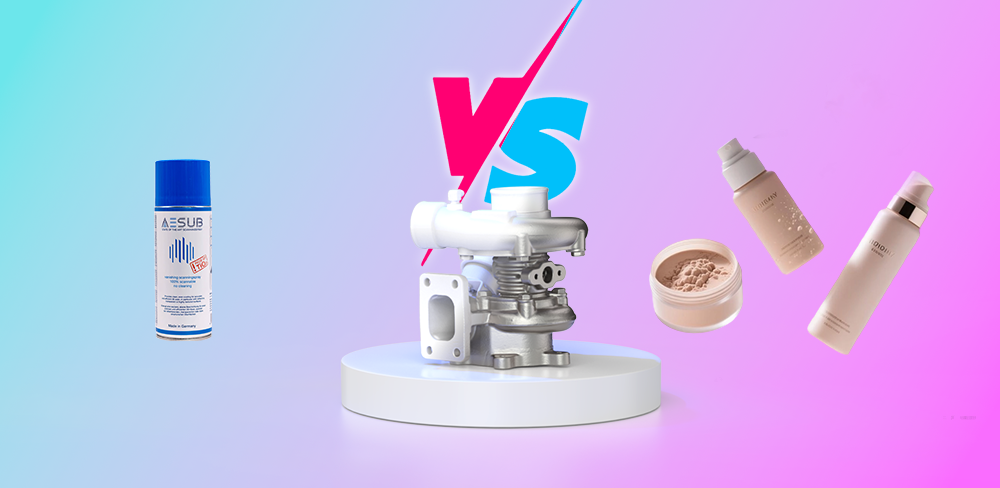
Before scanning, make sure the object is clean and stable. Remove dust or debris, and if the surface is glossy or transparent, apply a light scanning spray to improve light diffusion. Proper preparation directly improves scan accuracy and reduces post-processing time.
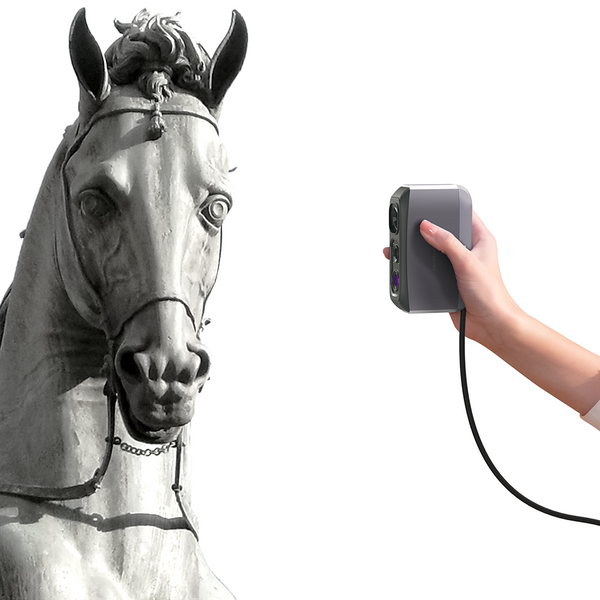
One advantage of the Moose is its blue light structured light technology, which performs well on complex surfaces and captures fine details clearly. With good preparation, you can maximize its precision and reduce rescanning.
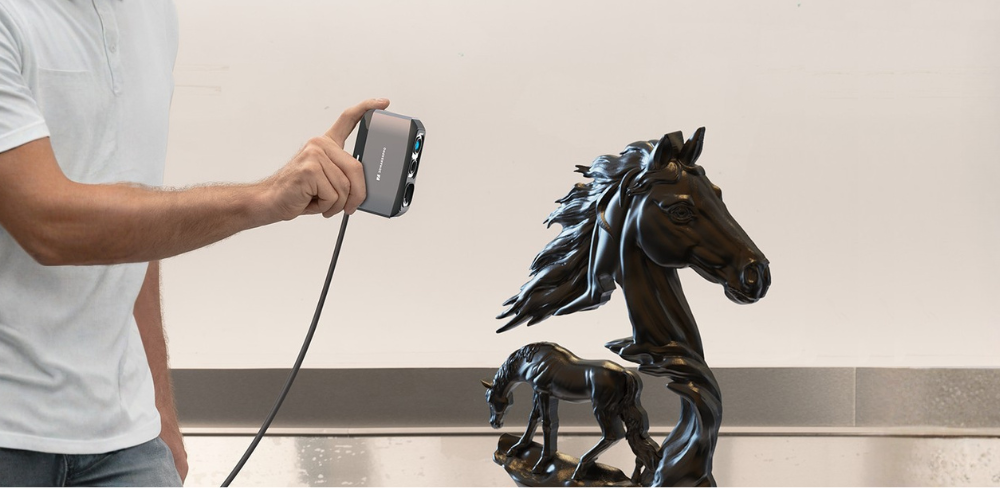
Step 2: Acquire 3D Scan Data
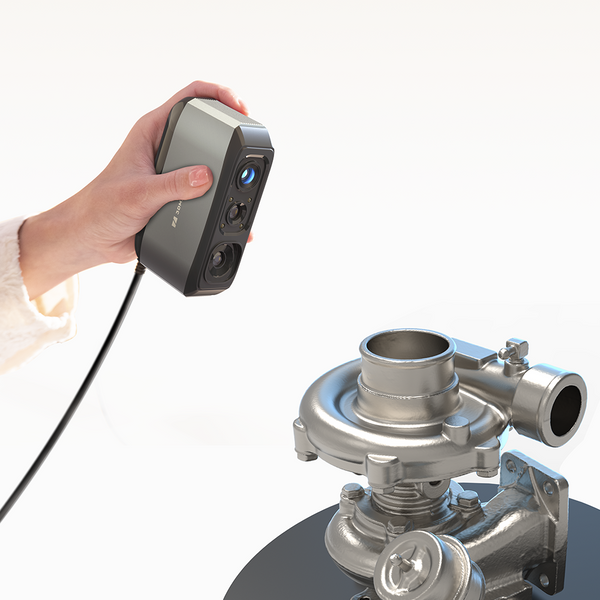
Connect the scanner to your computer, launch the scanning software, and begin moving the Moose device around the object at a constant speed. Thanks to AI visual tracking and markerless scanning technology, the device maintains stable tracking in most cases without the need for physical markers.This makes the scanning process faster and more flexible, especially suitable for medium-sized objects with complex shapes and fine textures.
Moose provides high-precision (up to 0.03 mm) and high-density point cloud data, preserving fine geometry, which is crucial for functional printing or fine reproduction. Real-time scan images and distance detection allow you to immediately identify missing areas and perform a complete scan, as well as quickly adjust the scan distance to ensure no tracking is lost.
Step 3: Align and Merge Scan Data
To achieve complete coverage, you may need to scan multiple times from different angles. You can choose automatic or manual alignment to merge these datasets into a uniform mesh. For most objects, automatic alignment is sufficient. For a few complex objects, you will need to manually mark alignment points.
Thanks to Moose's AI-powered intelligent tracking and superior data acquisition, the alignment process is typically smoother and faster compared to lower-end scanners. This results in a more accurate and uniform model that can be used for subsequent refinement.
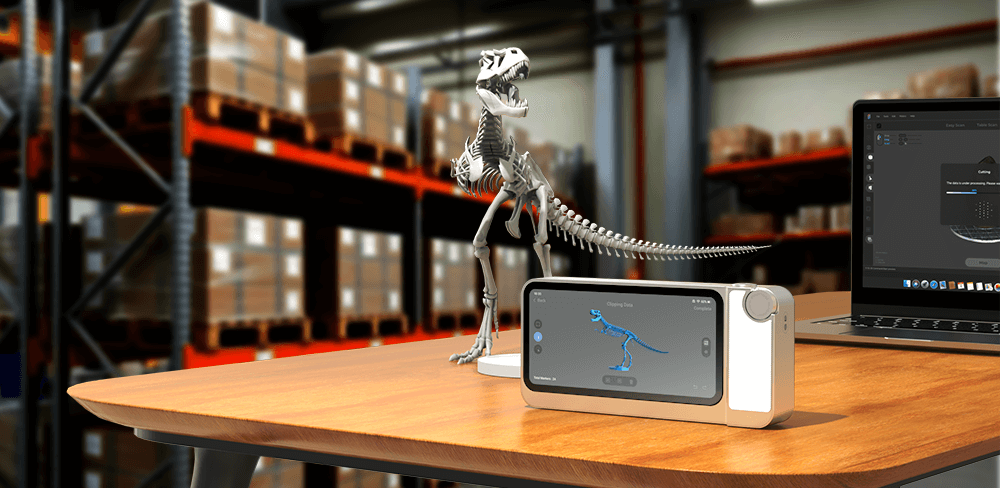
Step 4: Clean and Repair the Mesh
After merging, remove noise, floating artifacts, or unnecessary data. Fill in small holes to ensure the model forms a completely closed mesh-- a critical requirement for successful 3D printing.
Thanks to Moose's clear point cloud output and fine detail capture capabilities, post-processing workload is significantly reduced. Less noise means less repair work, saving time while maintaining geometric integrity.
Step 5: Export and Slice for Printing
Export the final model as an STL or OBJ file. Then import it into slicing software such as Ultimaker Cura, PrusaSlicer, or Bambu Studio.
In the slicing software, adjust the following: layer height, infill density, support and material settings, print speed, and print temperature. The printer's default settings are usually sufficient. Focus on whether supports are needed; any overhanging parts typically require them, and tree-like supports are recommended. Most importantly, pay attention to the object's size. If it's too large and exceeds the print table's capacity, reduce its size.
Step 6: 3D Print the Final Model
Send the generated G-code to your 3D printer and begin printing. Depending on size and complexity, printing may take several hours. After completion, remove supports and apply finishing steps such as sanding or coating if needed.
The accuracy of the original scan directly impacts the final print quality. With Moose’s high-precision structured light system, the printed model closely matches the original object — making it suitable for reverse engineering, custom replacement parts, artistic reproduction, or prototyping.
Why Moose Is Ideal for Scan-to-Print Workflows
- The Moose Scanner stands out in scan-to-print applications because it combines:
- High accuracy (up to 0.03 mm)
- Blue light structured light for detailed capture
- AI visual tracking with marker-free scanning
- Stable data acquisition with minimal tracking loss
- Clean meshes that reduce post-processing time
For makers, designers, engineers, and educators, this means faster workflows, fewer errors, and more reliable printed results.
Final Thoughts
The scan-to-print workflow bridges the physical and digital worlds. With a handheld scanner like the Moose, capturing real objects and transforming them into printable models becomes efficient, accurate, and accessible. From object → scan → mesh → slice → print, the process is streamlined and practical. Whether you’re replicating a part, preserving a sculpture, or developing a prototype, mastering this workflow expands what you can create

Featured collection
Medium-format
Save $210.00
Medium-format
Save $120.00


