Content

Document Scanning
For normal document scanning, connect your Mac or iPad to a scanner. Many modern scanners come with built-in Wi-Fi or can be connected via USB or Thunderbolt cable. Once the scanner is connected, open the "Image Capture" application on your Mac or "Files" app on your iPad.
If you're using an iPad, you can use the built-in camera to scan documents in the "Files" app. Select the "Scan Documents" option and position the camera over the document. The app will automatically detect the edges of the document and take a photo, which can then be saved as a PDF. Once the scan is complete, you can save the document to your Mac or iCloud.
3D Scanning
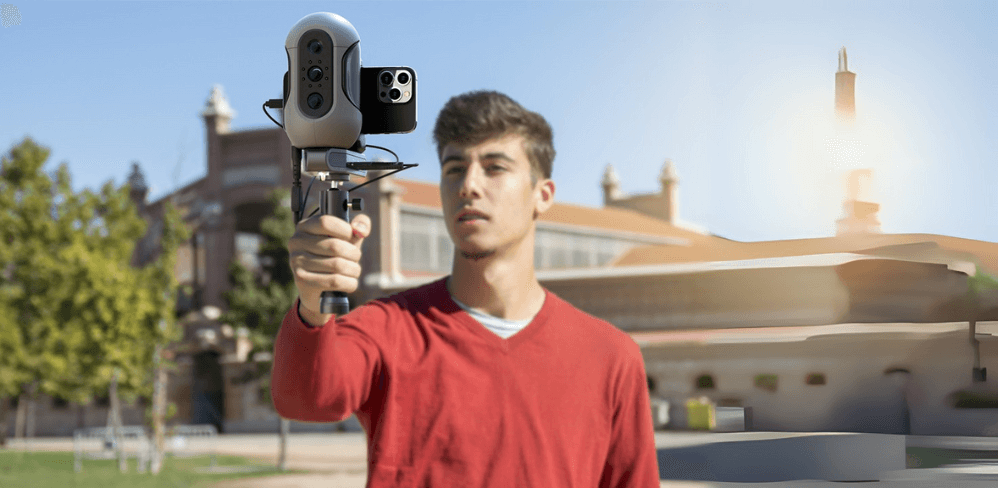
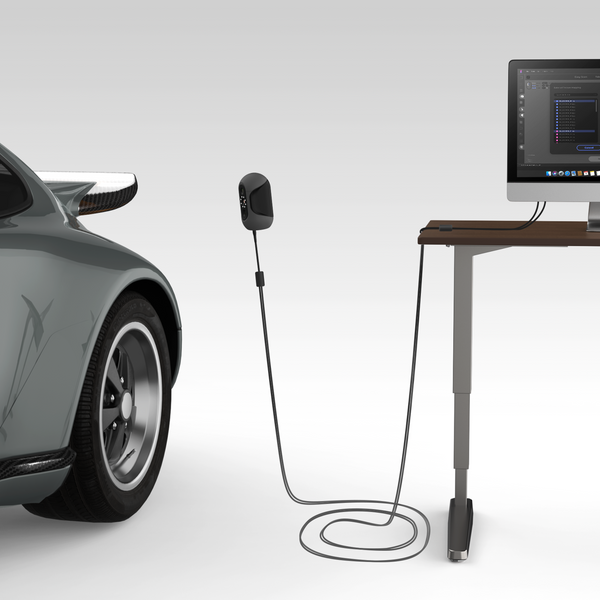
For 3D scanning, the process is a bit more complex and requires specialized equipment. One option that offers greater accuracy and detail, is to use a dedicated 3D scanner, such as the Mole 3D scanner with the handheld stabilizer device 3DMakerpro CONNECT that you could use with your mobile. This portable scanner uses multispectral technology to capture highly accurate and detailed 3D scans of objects. To use the Mole scanner, simply connect it to your Mac and use the dedicated scanning app to control the scanner and capture 3D models.
Use 3DMakerpro Scanners with your Mac and iPad
- connect your iPad or iPhone with 3DMakerpro CONNECT, then to the scanner
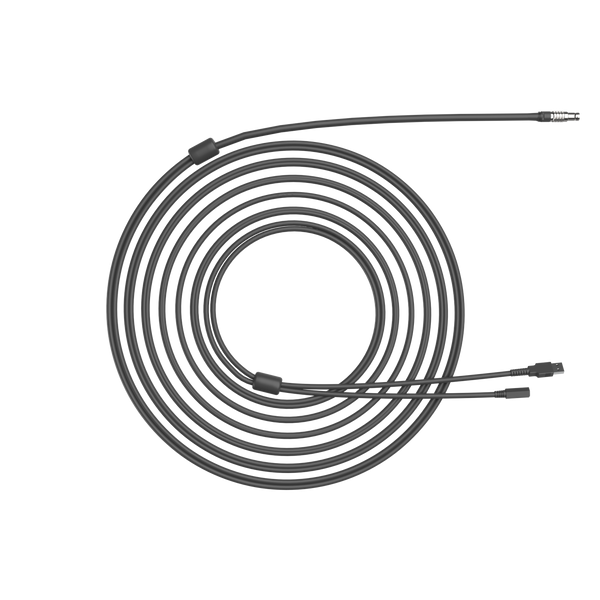
- connect the scanner to the Mac with cables
- connect a turntable as needed
- install JMStudio for Mac
- calibrate the scanner by importing the calibration file
- scan
- preview and make adjustments as needed
- export
*CONNECT requires a USB-C charger with a minimum power output of 30W

Featured collection
Medium-formatSold out


Mole 3D Scanner


Tripod for Mole


