Content
Understanding 3D Tools
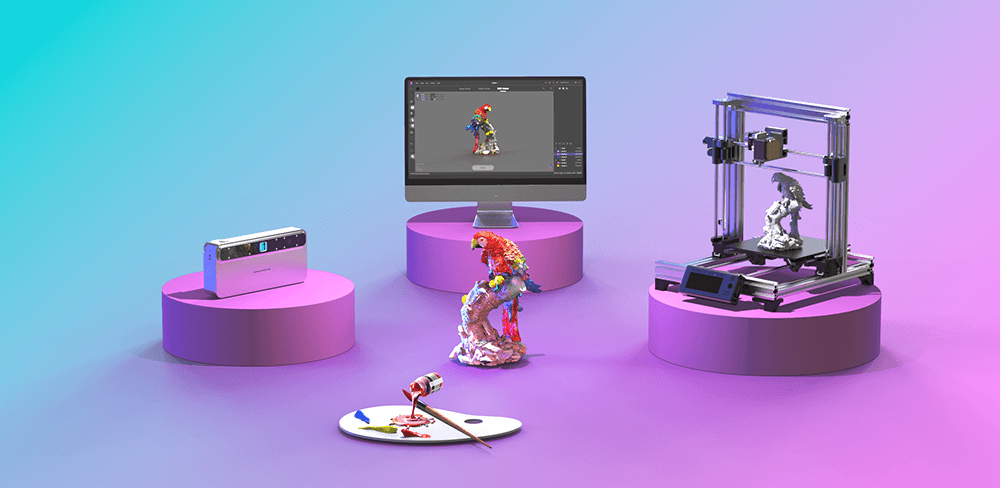
3D tools encompass both hardware and software that function together to facilitate the creation of three-dimensional designs. These 3D tools are typically divided into three key phases: modeling, printing, and post-processing. Each phase plays an essential role in the lifecycle of a 3D object, transforming an initial concept into a finished product.
How to Use 3D Tools
Step One: 3D Modeling
A) Independent Modeling
Why
The primary advantage of independent modeling lies in the artistic freedom it grants creators, allowing them to develop original concepts without being constrained by existing physical objects. Designers can effortlessly adjust dimensions, geometric structures, and features to meet specific project requirements, enabling greater exploration of innovative possibilities. Modern modeling software provides precision 3d tools that facilitate the accurate realization of complex designs, making this approach ideal for technical applications in engineering and architecture. In essence, independent modeling strikes a perfect balance between artistic expression and technical mastery.

How
The independent modeling process begins with selecting appropriate 3D modeling software suitable for your skill level and project needs. Popular options include Blender (powerful and free), Autodesk Fusion 360 (ideal for engineering), Tinkercad (user-friendly for beginners), and SketchUp (excellent for architectural design). After choosing the software, conceptualize your design through sketches or mood boards to clarify your vision. Construct the model using geometric shapes and advanced tools in the software to refine details and add textures or colors. Once the model is complete, review and iterate based on feedback or self-assessment. When satisfied, export the model in a suitable file format (such as STL or OBJ) for 3D printing or other applications. This structured process enables creators to efficiently transform their ideas into high-quality 3D models.
B) 3D Scanning and Modeling
Why
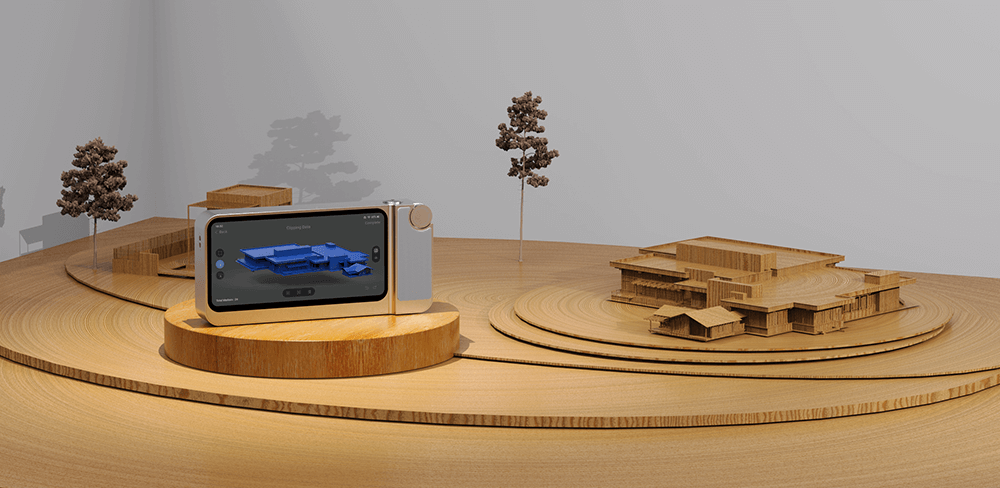
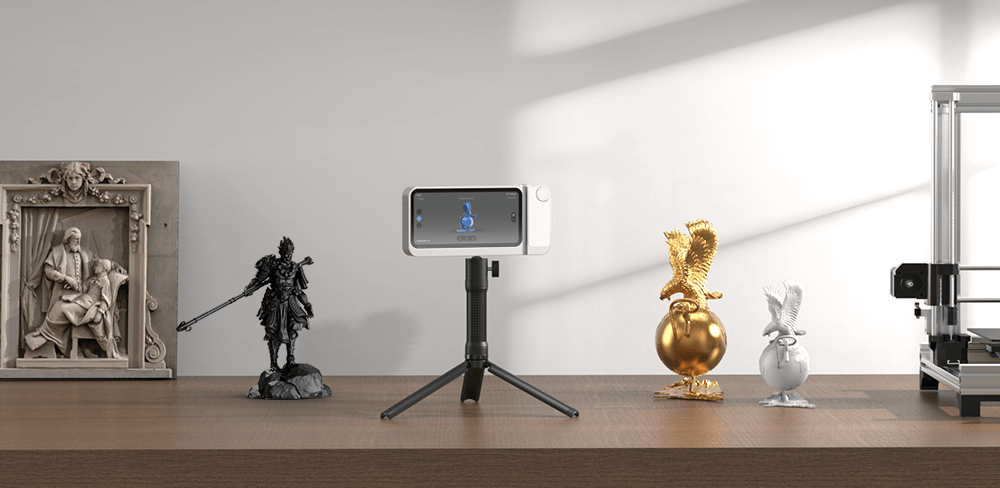
The core advantage of 3D scanning technology is its ability to rapidly and accurately capture an object's geometric form, enabling designers to create high-fidelity digital models of real-world items efficiently. This technology preserves intricate details and textures that traditional modeling techniques often struggle to replicate, ensuring that digital models faithfully reflect the original object's characteristics. The combination of speed and precision is particularly critical in fields like restoration and reverse engineering. Additionally, the user-friendly nature of modern 3D tools has democratized this technology, making it accessible to both professionals and hobbyists. Overall, 3D scanning streamlines the conversion process from physical objects to digital models, significantly enhancing design workflows.
How
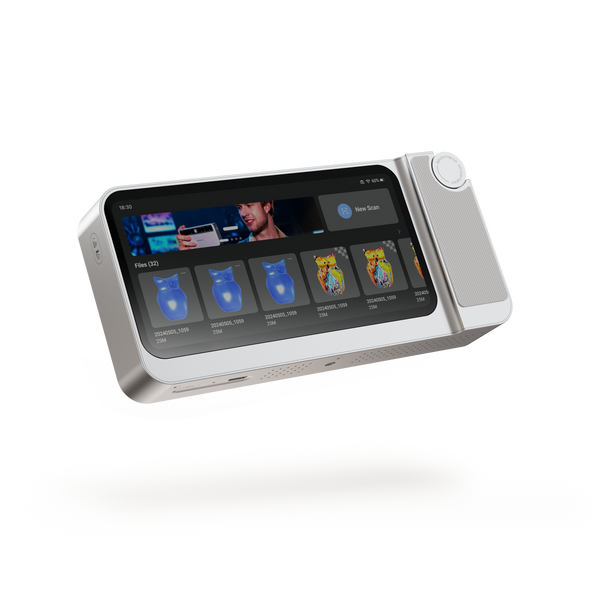
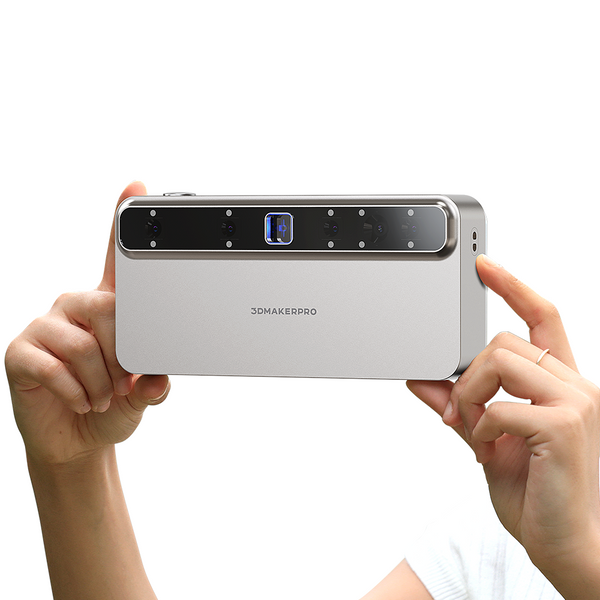
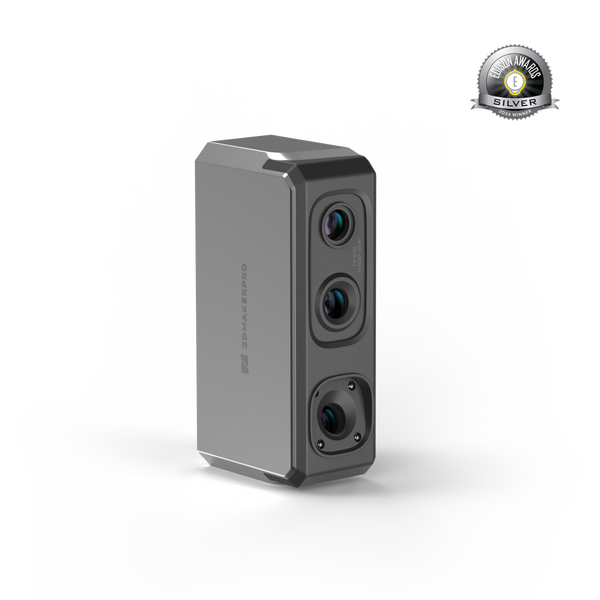
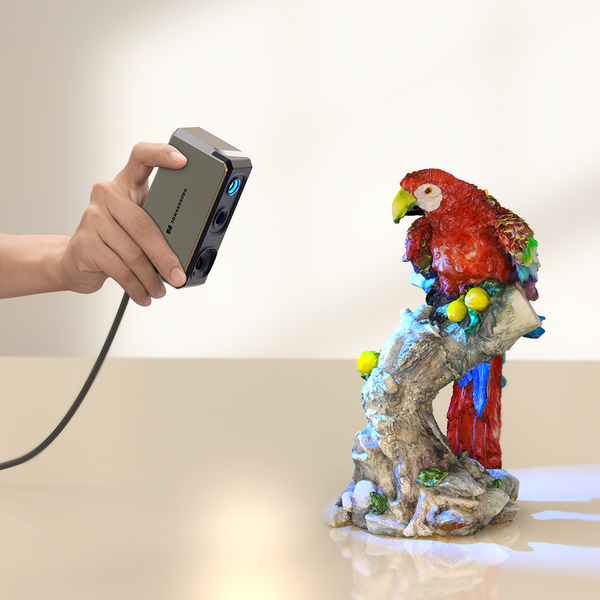
The 3D scanning and modeling process begins with selecting an appropriate 3D scanner based on project requirements, factoring in the size and complexity of the object. Notable options include the 3DMakerpro Toucan 3D Scanner for large objects and dark environments, the portable Moose Scanner for medium-sized objects, and the Seal 3D Scanner for small accessories. Before scanning, ensure the object is clean and stable; applying a matte finish can improve capture quality. (The Toucan scanner handles diverse surfaces effortlessly.) Connect the device to a computer or mobile phone (except for the all-in-one Toucan), then position it at the recommended working distance per the product guide. Launch the scanning program and rotate around the object from multiple angles to ensure complete coverage.
After scanning, use the included JM Studio Software to remove noise, merge models, and export to various formats, including OBJ, PLY, STL, and RSCAN. The Toucan scanner comes with this software pre-installed for convenience. Alternatively, advanced modeling software like Geomagic Wrap for 3DMakerpro can be used to modify and custom-tailor designs. Final exports support multiple formats, such as WRP, IGS, PLY, STL, and OBJ. Following this systematic workflow allows users to efficiently create precise digital replicas of physical objects using 3D scanning technology.


Step Two: 3D Printing
Why
The most significant advantage of 3D printing technology is its ability to rapidly produce complex and intricate geometric models. Designers can iterate and test new concepts continuously, accelerating the product development cycle while minimizing material waste. Notably, 3D printing has advanced customized production across various sectors—healthcare, construction, consumer goods, and aerospace—enabling the creation of products tailored to individual needs. Its versatility, efficiency, and innovative potential make 3D printing an indispensable tool across diverse industries.

How
The 3D printing process involves several key steps. First, import the modeled or scanned object into the slicing software that comes with your 3D printer. Next, adjust essential parameters such as layer height, infill density, print speed, platform temperature, and nozzle temperature to achieve optimal results (default settings are typically adequate for most prints). After making these adjustments, the 3D model file is converted into printer-readable commands (G-Code) and sent to the printer to begin the printing process. Print times can vary significantly, ranging from minutes for simpler models to several hours for more complex designs. To monitor the printing status, consider installing a camera on the printer.
Before starting the print, be sure to select the desired filament color, connect it to the printer's feed port, and confirm that there is enough material available to complete the job. Generally, Fused Deposition Modeling (FDM) printers are more beginner-friendly and easier to operate, making them ideal for printing basic accessories and parts. On the other hand, Digital Light Processing (DLP) printers, which cure liquid resin layer by layer, are better suited for producing intricate figurines with fine details.
Step Three: Post-Processing
Why
Post-processing steps in 3D printing are crucial for enhancing the overall quality, durability, and aesthetic appeal of printed objects. Through techniques such as sanding, polishing, and painting, post-processing improves surface finish, strengthens structural integrity, and customizes the visual appearance of printed parts. Additionally, post-processing enables precise dimensional adjustments and the integration of functional features, increasing the versatility and practicality of the final product. By refining and optimizing 3D-printed parts through post-processing, creators ensure that the finished products meet both aesthetic and functional standards.

How
Once the 3D printing process is complete, the object is considered a semi-finished or finished product. If your 3D model included support structures during slicing, you'll need to remove them after printing; this minor step is part of the post-processing workflow. You can then advance to more detailed refinement steps, such as sanding, polishing, and spraying.
Sanding: This crucial step refines and smooths the surface of 3D-printed parts, effectively removing layer lines and imperfections. Start with coarse sandpaper to tackle larger flaws, then progressively move to medium and fine grits for a smoother finish. In some cases, wet sanding—adding water or a lubricant during the process—can enhance results, yielding an even smoother surface while minimizing dust generation.
Polishing: Polishing adds luster to printed parts, greatly enhancing their visual appeal. Choose an appropriate polishing compound and apply it evenly using a soft cloth to achieve a glossy finish. These 3D tools not only improve aesthetics but also help minimize fine scratches from sanding, resulting in a more refined appearance.
Painting: This allows for boundless creative possibilities, use brush or spray painting techniques (gloves are recommended during application). Select colors that resonate with you or complement the print’s design. Consider applying a base coat initially, finally by a clear protective topcoat to secure the color. Ultimately, the process is about your creativity and artistic expression; applying thick layers of color or multiple thin layers can yield various effects. An extra layer of paint not only imparts a unique character to your print but also provides a degree of protection.
To Wrap Things Up
Getting started with 3D tools for printing requires several essential components: two machines (a scanner and a printer), two to three software programs (scanning software, optional model editing software, and slicing software), along with post-processing tools such as spray paint and sandpaper. Although the entire process may take time, each step offers simpler methods, allowing you to enjoy the creative journey. With practice, you'll become increasingly efficient and skilled at printing more intricate models using various 3D tools. We look forward to seeing your shared creations and insights into the 3D printing process!

Featured collection
All-in-onePhase-Shifting TechPre-order
Save $400.00
Small-format
Save $175.00


