



Super easy to use. Was scanning in 5 min. All I had handy was a cracker lol. 3d print came out perfectly. Trying to model it would have take. Forever.
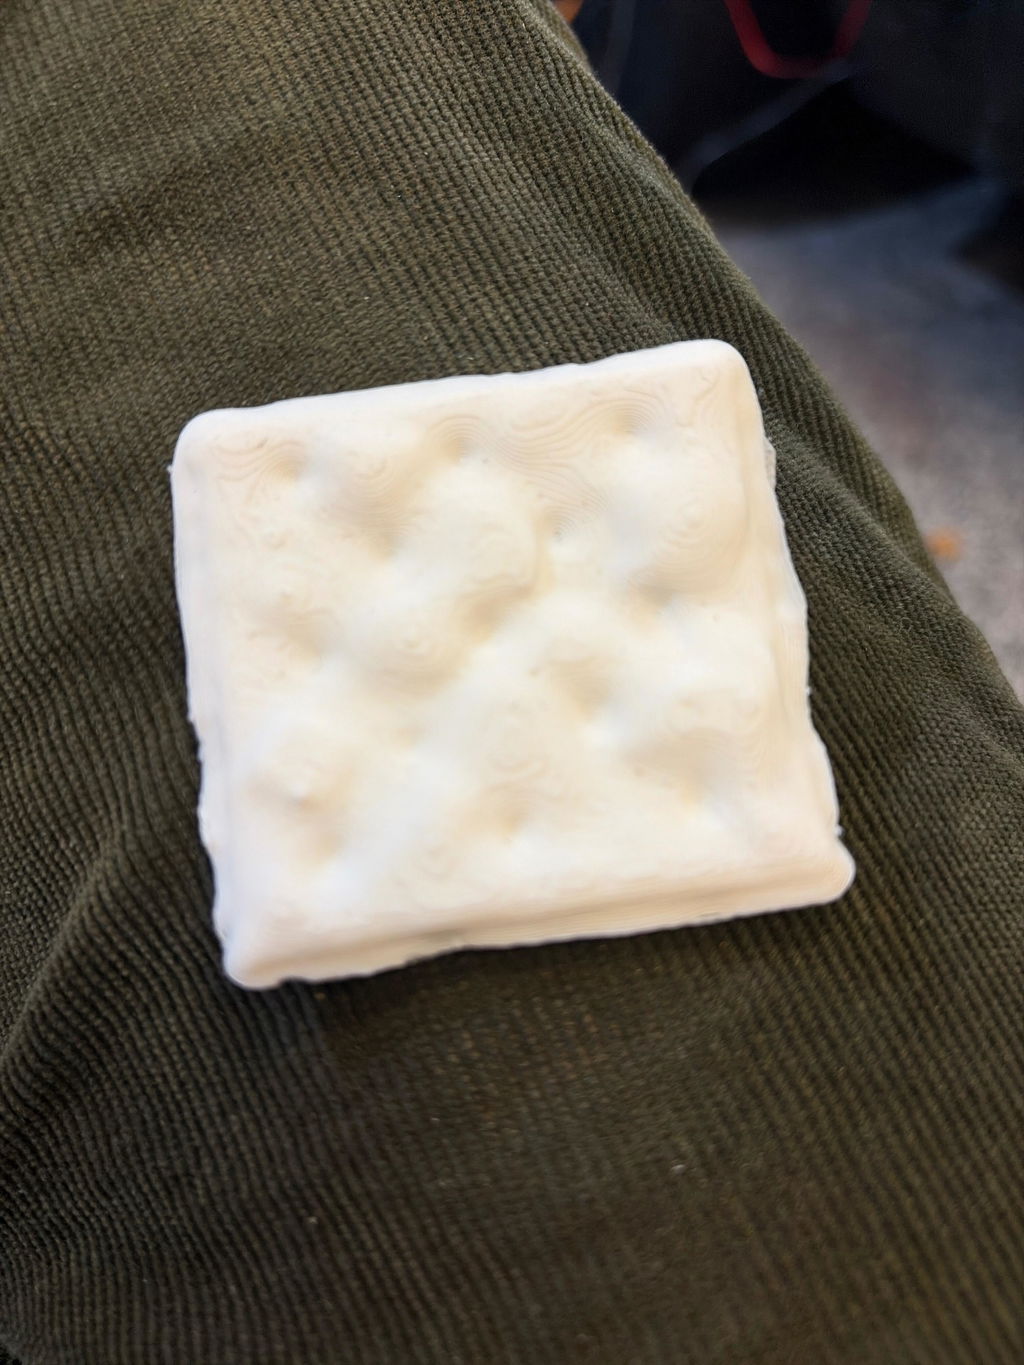
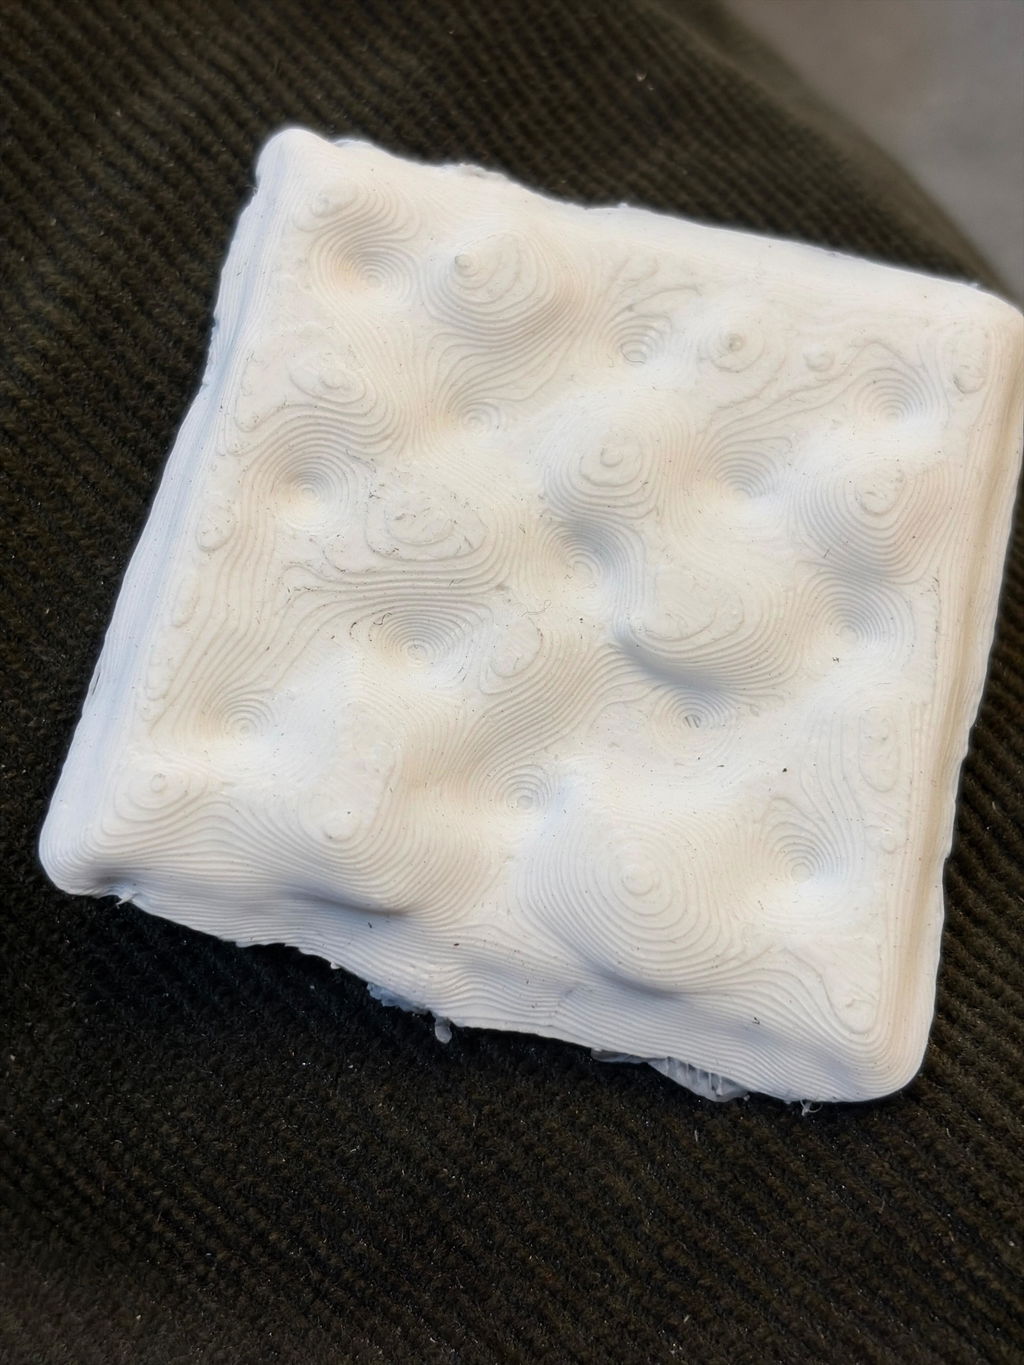
The tech support is really great. They had the problem solved right away. And now I’m really looking forward to scanning with my new Eagle LiDAR Scanner.
Thank you
Great product, surely for beginners like me and for people who want to try a new hobby or a way to initiate a new reverse engineering career.
While I enjoy the scanner, (5/5) the software could be more user friendly (3/5 at best). A user manual would be a nice thing to have and looking for online videos to advise on how to use the software has been unsuccessful. While there might be a 3DMakerPro user page would be nice, there really isn't one.
Excellent scanner, for the price and in its segment. I'll definitely get the older model for myself.
cheap as the first slam lidar, good collection quality... but very little information on what settings are responsible for what, what settings to make when processing the received data...
Si vous travaillez dans la constitution le Raven est super pratique pour relever des chantier et pour calculer les cubature
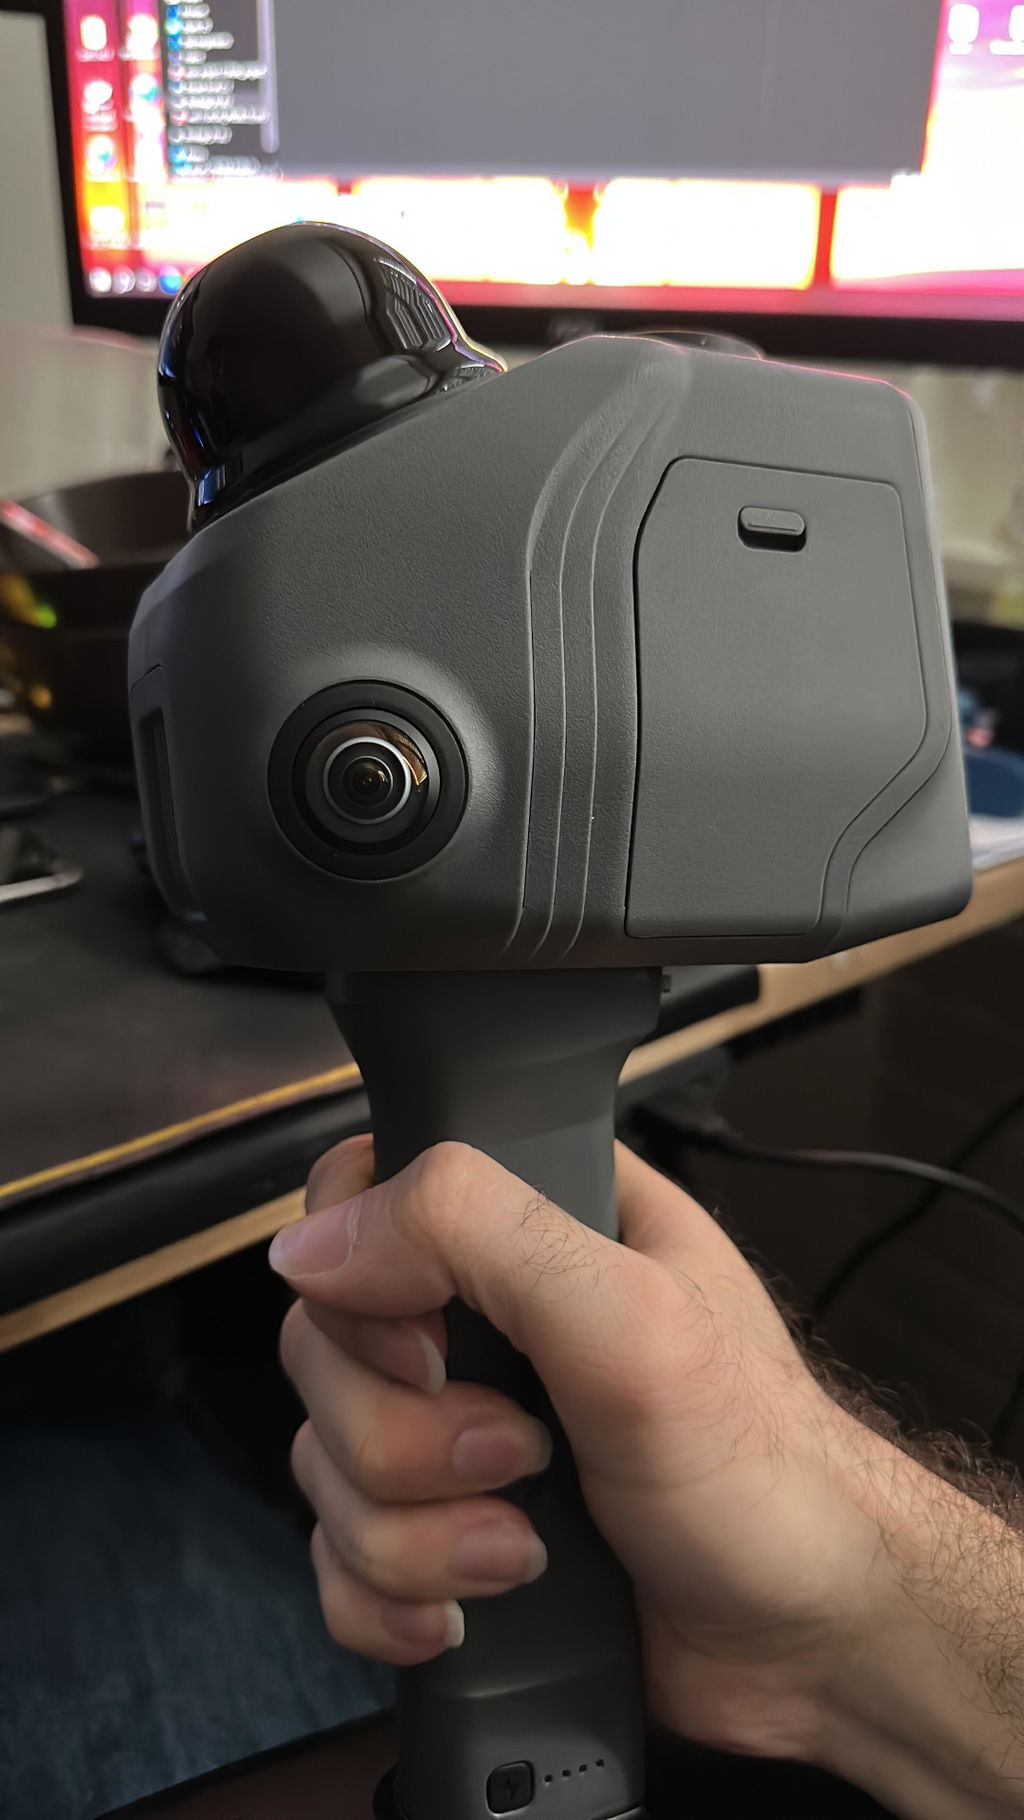
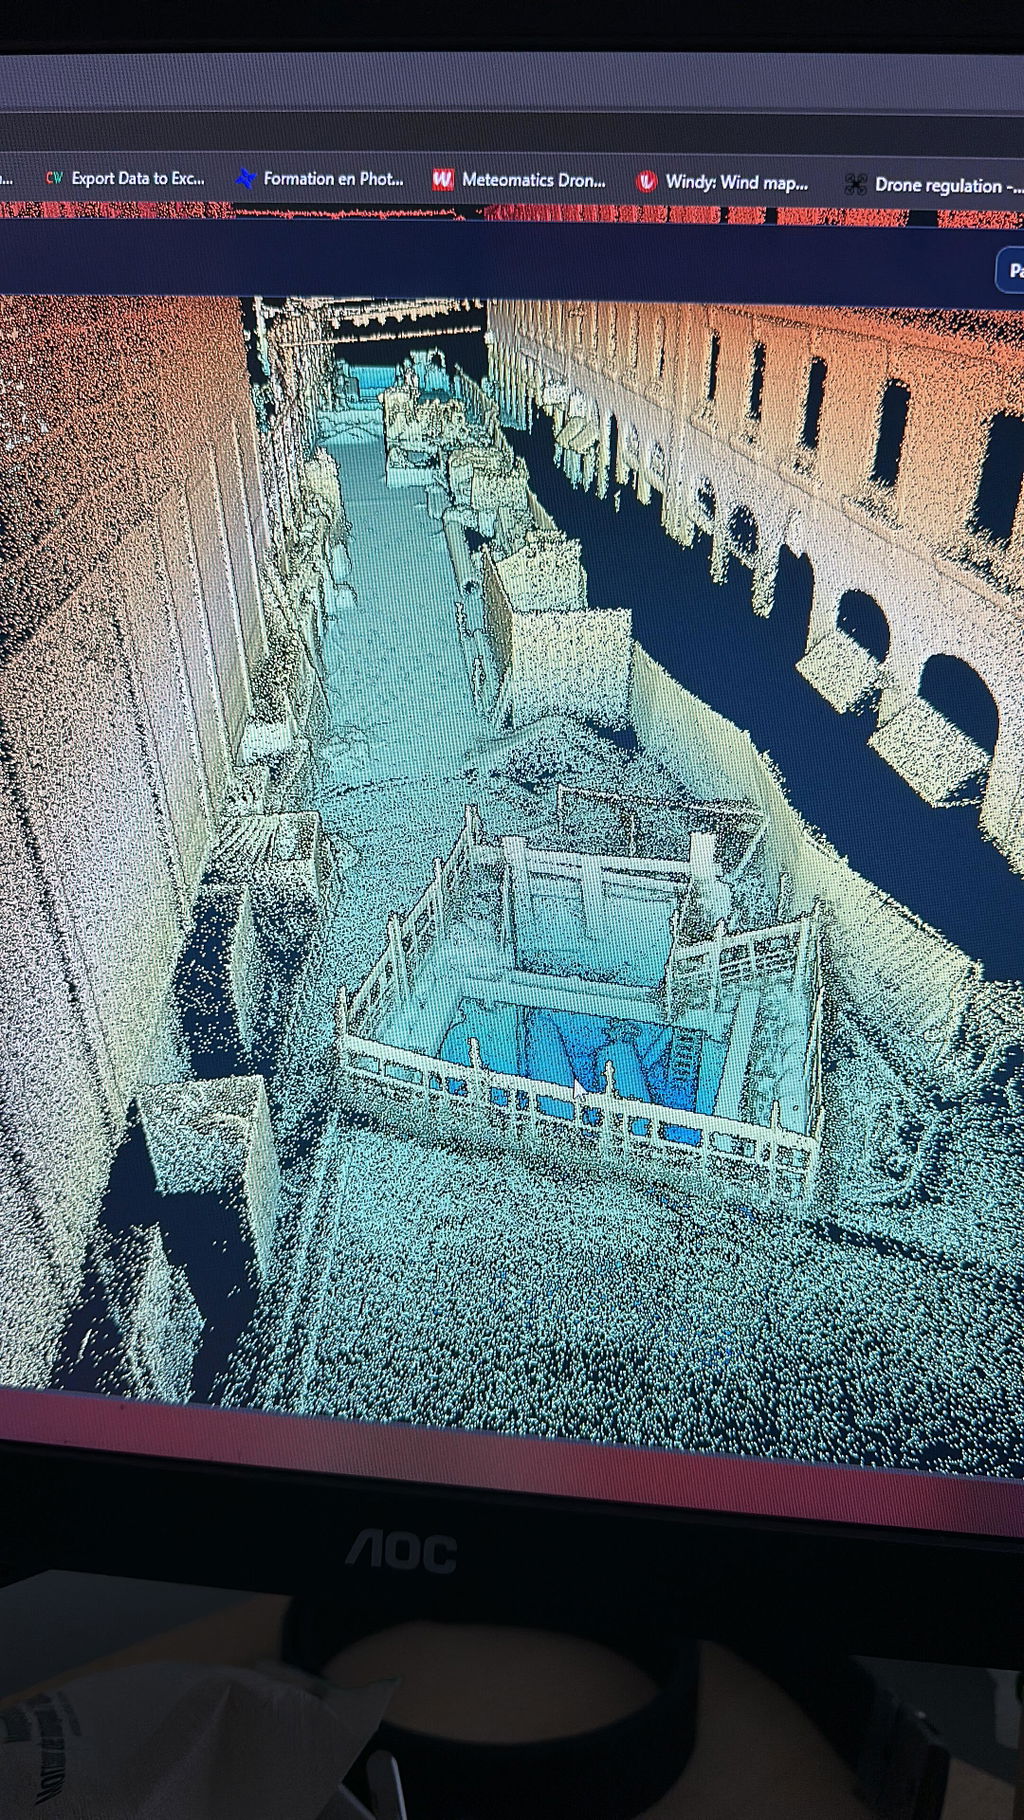
+Hardware seems good.
+I have captured some objects.
-The 2 plugs (power + data) make it annoying to use mobile with a laptop.
-Software is typical chinese software: Unintuitive, undocumented, not available for linux, wants you to log in to a cloud for no reason.
-Some functions don't work at all (auto-aligning multiple scans) and fail with no-detail messages.
-It's just super low effort software development.
-I find myself using JMstudio to capture a point cloud and then immediately exporting that to cloudcompare/meshlab/meshmixer/freecad for cleanup/editing. Ideally JMstudio would be able to do a little bit of the cleanup so beginners didn't have to immediately learn a whole new software pipeline.
+For $210 (there is a discount code out there) it's a fine tool.
This scanning spray does a great job, great coverage with each spray, makes the can last way longer than some others I’ve tried.
A good beginner’s scanners for making As-Built with out spending too much money
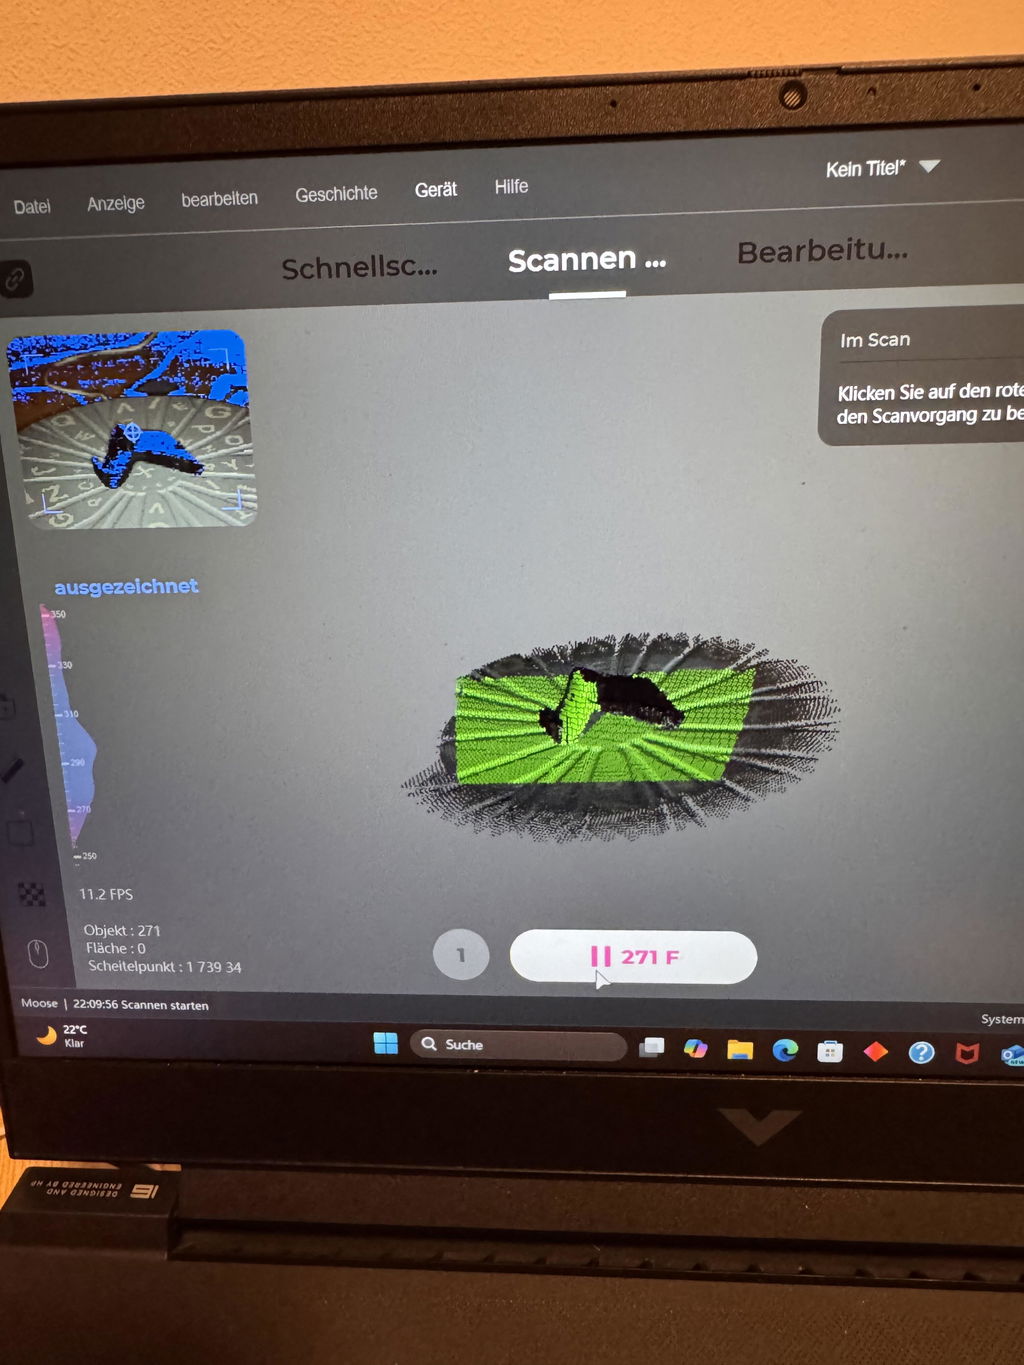
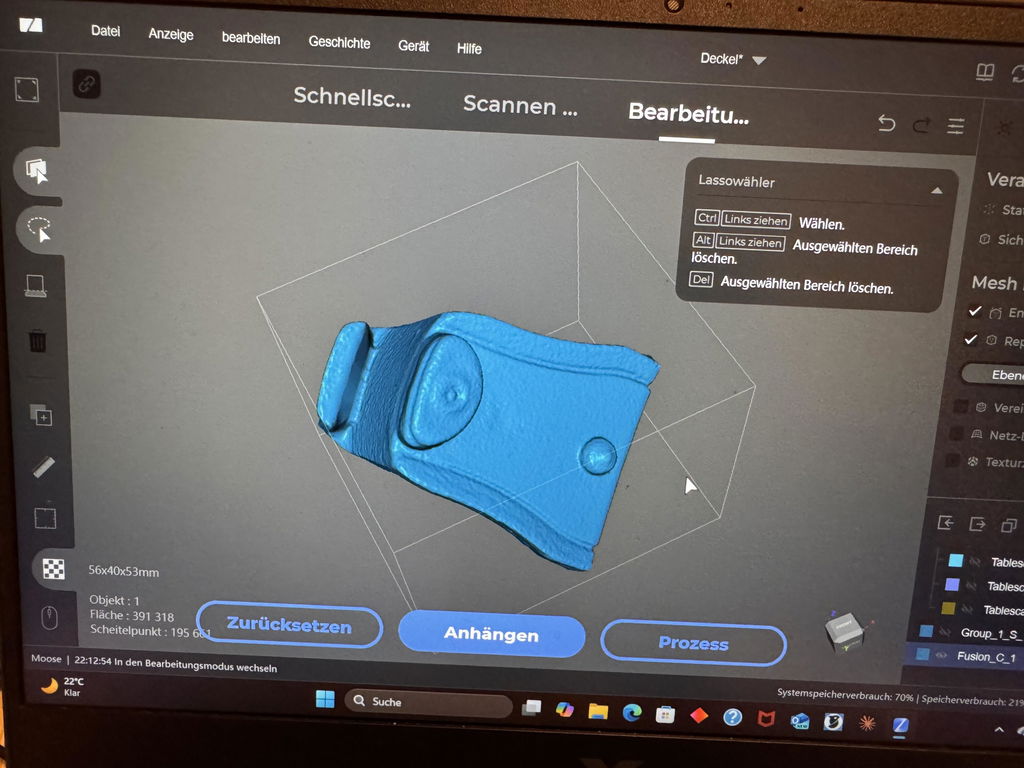
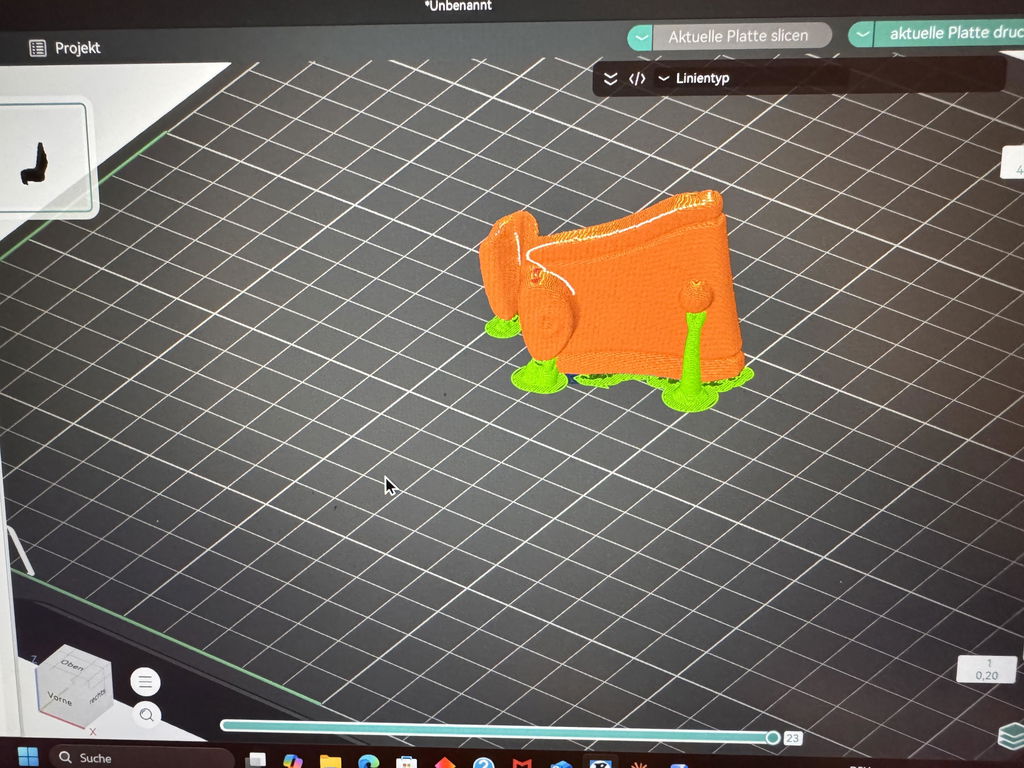
This is obviously not a professional scanner...
The tracking is good enough, but it struggles with larger, flat surfaces (like other scanners in this category).
Once you get used to the scanning speed, it's actually usable. I don't mind that it lacks a screen or that it's wired, but I do mind that it doesn't have a start-stop button.
At its launch price, would I buy it again? Yes! But if you want to scan ultra-detailed objects, this is not for you. If you are into reverse engineering (like me), it delivers on its advertised specs (yes, it's accurate, as long as it doesn't ghost).
One last thing: if you use JMStudio, make sure you have enough RAM—I would recommend at least 16 GB. The program doesn't use the video card at all, just the CPU...
Honestly pretty nice, wayyy better than I expected, and have already used it a couple times!
I'll be honest, it took a while to arrive and there was no shortage of confusion over the delivery date but it did finally arrive and after some messing around, I worked out how to use it. The product itself is good! I've only tested on a few buildings so far, and the process of getting it from the scanner into a usable format is a little tricky but once you get that down, it works well.
RayStudio would benefit heavily from the ability to take slices and export as DXF for use in AutoCAD, but its ability to export to E57 format means you can take it through a third party software like CloudCompare and export DXFs from there. That's a software issue though.
The product itself is good. It would benefit from a case to ensure it can be carried without scratching the screen but the important bit - the LiDAR - does have a hood which is full. It would also be useful to have a telescopic handle so you can hit those higher areas if needs be (I believe the vertical range is 40 degrees). This means you have to be further away to capture something higher up as you only have 20 degrees off the horizon both up and down. It's worth remembering this on scans if you'll find yourself moving the scanner up and down to maximise your scan and if you have limited floor area with high features, you may struggle to capture them.
Generally though, for the price, you can't complain. This is a budget LiDAR scanner and what it does, it seems to do well. You just have to be aware of its limitations and work around them.
Scanner build quality is very good, setup went straight forward. It takes a bit of learning to scan without lose tracking but once I got it, I get good scans. One strange thing I've noticed while scanning object with lcd display is that the text displayed on the lcd showed as bump in the surface even without texture. Anyway I removed the lcd since I don't want to scan it.
First, let me say that in general, I would give the scanner 5 stars. The data quality seems to be very good (a lot of noise, but this is to be expected for the kind of Lidar sensor being used), and for my application (archaeology and topo mapping, GIS) it looks like it has great potential. The scanner is easy to use, and I really like that the display is integrated into the scanner and doesn't require the use of a cell phone for display (this was a big factor in my purchase). The ability to change batteries is also a huge plus, as well as being able to power the scanner through an external power bank. I'm also very impressed with the general build quality. It has a premium feel, and seems well though out. I purchased the Insta360 camera mount, and it also feels like premium quality and a very thoughtful implementation of the GNSS antennae.
It lost a star because I have been unable to get reliable GNSS location data from the scanner. I think the latest software update may be a step in the right direction. I'm still evaluating the update to see what has been resolved, but there still seems to be accuracy issues related to the way GPS/GNSS data and GCP data is processed.
For my applications, need to be able to complete multiple scans of a site/area, then reliably merge those scans to create spatially accurate final models and surfaces. The new update (v1.0.13) seems to have addressed/fixed two major issues. One was RayStudio automatically assigning the base coordinates from some sort of averaging of position data in the GNSS base file, rather than using the actual surveyed coordinates. The new version now lets you enter the actual base coordinates, this is a HUGE plus. The prior version also did not use the corrected loop data when doing the PPK processing. As a result, even though I would close my loops, there would be undesired offsets after PPK processing of the GNSS data (it would use the point cloud data without loop closure). This seems to have been addressed with RayStudio v1.0.13 with regard to PPK processing.
However, using GCP's to correct the point cloud location does not use the closed loop data, so positional errors still exist with the loop when using GCP's. Just as a good surveyor would do, I always "close" my GCP loops, just like I do with the scan loops. It also seems that RayStudio isn't processing the GCP data (I collect the GCP locations with the Raven while scanning) as a part of the scan, but using an affine or 1st order polynomial solution applied to the entire point cloud, rather than segmenting the data based on time relative to the GCP acquisition time/location in the scan to provide better positional accuracy/resolution.
I'm also experiencing some similar issues whether using either PPK or GCP correction. There are definite positional errors when trying to combine two or more point clouds. When using GCP's I always have at least 2 GCPs in common between different scans. I have yet to get coincident GCP locations on adjacent scans to occupy the same location in the processed point clouds. This indicates to me that the GCP locations are not being held as fixed high accuracy points, and are being moved by the correction algorithm. (Note that my workflow is focusing on GCPs and PPK and not RTK because most of the locations where I will be using the Raven do not have any cell coverage.)
If 3DMakerPro can/will address and improve these issues, I would gladly give the Raven Max RTK 5 stars. I'm also an instructor for GIS and sUAS (drone) technologies at San Juan College (Farmington, NM). If these issues are addressed, I will recommend the college purchase a couple Raven MAX RTK scanners for the program. They would be a great addition to teach the students about Lidar and SLAM mapping technologies.
Note: I have requested to join the 3DMakerPro Raven Facebook Group. I hope my request is approved. I just created a Facebook account yesterday so I could join the group. I'm hoping some people in the group might be able to help resolve some of the issues I'm having. I do realize that I'm probably trying to do things that 3DMakerPro didn't really anticipate a lot of customers wanting to do, but they are things that and RTK/PPK scanner should be able to easily accomplish.
Thanks for your time, and the opportunity to provide a product review.
Not having to be connected to a computer to do scanning is awesome! I used the Smart Grip with my Fox scanner for a project, it was super easy, fast, and accurate. I highly recommend both for scanning anywhere.
Great scanner, very capable. Does what it says, my first scanner and after a few minutes I was able to get an acceptable scan. I'm sure it will do what I require of it. The price was very good, I had previously put off buying a scanner due to the cost.
Tutto perfetto, consigliatissimo, ancora in fase di test ma le aspettative sono ottime per il momento.


