Content
Creating 3D models is not just a technical task; it's an exhilarating journey of creativity and innovation. In this blog, we’ll explore how the Moose Scanner empowers you to discover the easiest method for creating 3D models quickly and effortlessly. With its advanced features and user-friendly design, the Moose makes modeling accessible to everyone, from beginners to seasoned professionals.
We will also discuss essential maintenance tips to keep your scanner in optimal condition, maximizing its lifespan and performance. By combining effective model creation techniques with diligent care, you can fully unleash your creativity and enjoy a seamless 3D scanning experience. Join us as we explore the exciting possibilities that await!
What Is The Easiest Method for Creating 3D Models?
First, you need to confirm the object size that you want to scan and select an appropriate 3D scanner with a suitable range. Today, we’ll focus on the Moose Scanner as an example of the easiest method for creating 3D models.
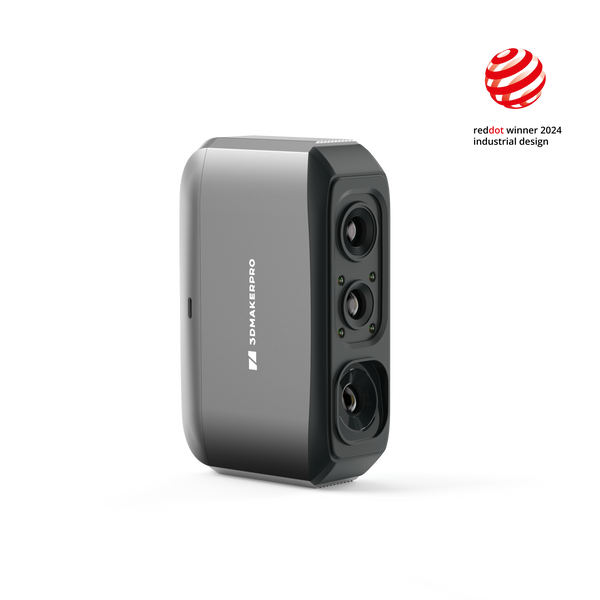
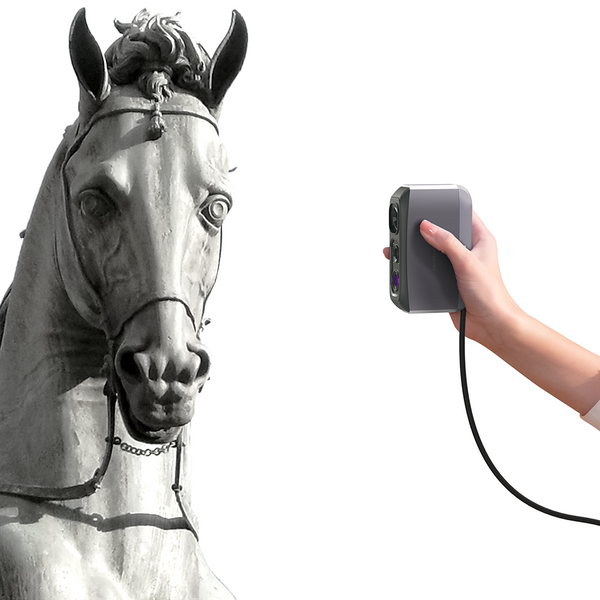
The handheld Moose scanner offers remarkable accuracy at 0.03mm and a resolution of 0.07mm, with a scanning range of 15-1500mm, making it ideal for medium-format objects. It features AI visual tracking and a blue LED light source, along with 24-bit color texture capabilities. This means your scanned data can faithfully restore the true appearance of items and generate vibrant color 3D models. With a single capture range of 200x100mm and a working distance of 150-400mm, you can easily monitor the scanning scale during operation. Weighing only 280g and measuring 115×70×35mm, it’s portable and convenient for use anywhere, making it a top choice for the easiest method for creating 3D models.

Scanning Steps
a) Decide the Object You Want to Scan
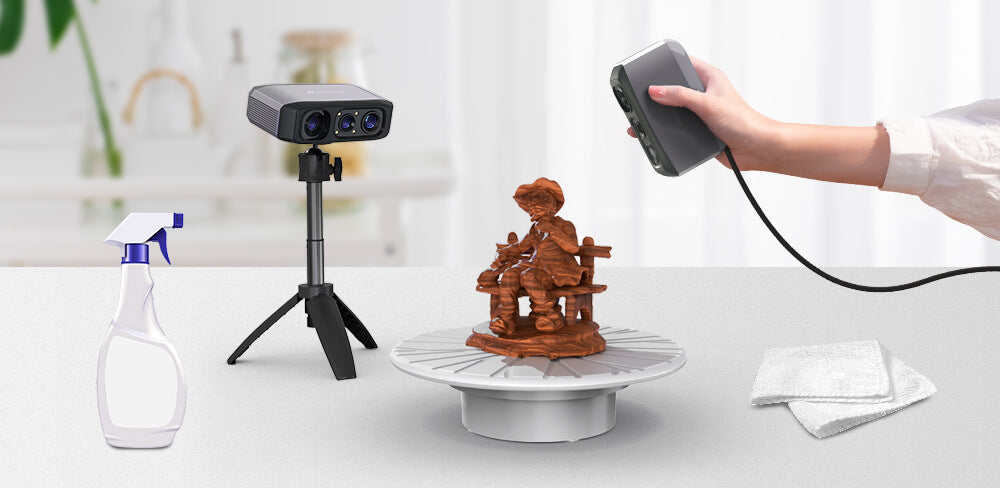
The Moose Scanner is designed for medium-sized objects within the 15-1500mm range. Before scanning, ensure the object is clean by wiping it with a damp cloth to remove any dirt.
b) Connect the Moose Scanner
Open the JM Studio software and connect to the Moose Scanner to begin your scanning journey. Utilizing a basic turntable can simplify the process by allowing your objects to rotate effortlessly. Once ready, click the “Scan” button and monitor the left-side scanning scale for optimal distance indications: “Perfect,” “Too Close,” or “Too Far.” For uniquely shaped objects, adjust the distance accordingly as you scan. If scanning reflective or transparent items, consider using AESUB Blue Scanning Spray and 3D scanning markers to enhance the process.
c)JM Studio Software Process
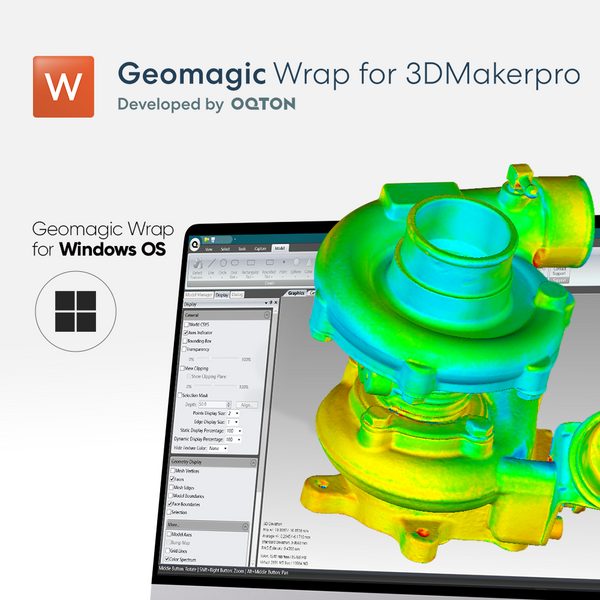
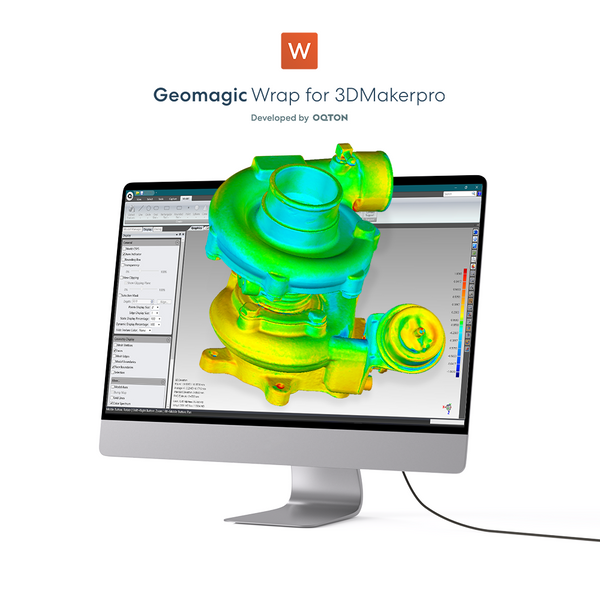
For complex objects, alignment may be necessary. The auto-align feature is typically sufficient, but for intricate shapes like patterned vases, manual alignment may be required. Scan from multiple angles, ensuring you capture enough detail and landmarks to facilitate later stitching. After scanning, proceed to the “Process” stage. By default, select options like Remove Floating Parts, Simplify, and Mesh Denoising. Be cautious with hollow objects; avoid the “Repair Gaps” option to maintain essential openings. If your scanner supports color imaging, enable “Texture Mapping” to visualize the model in color. The processing time varies based on model size, but once completed, save your project to finalize your 3D model. It demonstrates the easiest method for creating 3D models. You can then export it for further editing in Geomagic Wrap or slicing software for 3D printing.
Caring for Your 3D Scanner
Regular Cleaning for Optimal Performance
To prolong the life and accuracy of your 3D scanner, regular cleaning is crucial. Dust and debris can affect scan quality, and we recommend wiping the exterior of the scanner with a soft, lint-free cloth daily or before each use, and performing a deep clean every few months. Using gentle lens cleaners can help protect sensitive components.

Keeping Software Up-to-Date
Updating your scanner's software is vital for maintaining optimal performance. Enable automatic updates if available, and regularly check the 3DMakerpro’s website for new features or enhancements. JM Studio will prompt you to update the system, ensuring you always have the latest improvements.
Proper Storage Practices
Proper storage is key to extending your scanner's life. A padded or hard-shell case protects it during transport while storing it in a stable environment away from direct sunlight and moisture prevents damage. Using silica gel packets can help absorb humidity, safeguarding sensitive components. If you purchase a Moose Premium or Luxury package, it will include a toolbox for added convenience.
Gentle Handling Techniques
Handle your scanner with care to avoid damage. Always lift the device with both hands and place it on stable surfaces to prevent accidental falls. Being mindful of your surroundings reduces the risk of impacts that could misalign or damage the scanner.
Calibration for Precision
Calibration is essential for maintaining scanning accuracy. Our scanners are calibrated before leaving the factory to ensure high performance. Even after long-term transportation, the configuration also remains intact.
Professional Service Benefits
Incorporating professional services into your maintenance strategy is beneficial. All our scanners come with a two-year warranty. If you have any questions, consult our experts, who will provide prompt assistance and resolve any issues you encounter.
Keep Learning and Stay Updated
Finally, continuous learning about best practices can enhance your experience with the scanner. Regularly consult the user manual for specific care instructions, and engage with the online community or watch our YouTube videos for valuable insights and support from fellow users, further enriching your model-making journey while exploring the easiest method for creating 3D models.

Featured collection
Medium-format
Save $80.00
CADOqton
Save $120.00


