Content

Welcome to your comprehensive guide on how to connect your mobile phone to a Seal 3D scanner from 3DMakerpro for object scanning. This journey will empower you to capture detailed three-dimensional images with ease. Let’s dive into the exciting world of mobile 3D scanning!
Step 1: Download the JM Studio App
To begin, open your app store and search for JM Studio software. Download and install the app, which serves as your gateway to mobile scanning. You can choose to scan in Guest Mode for quick access or log into your account for more features. Keep in mind that if you opt for account login, you will only be able to bind one device at a time, so plan accordingly.

Step 2: Connect to the Computer to Confirm the Scanner Mode
The next step involves connecting your Seal scanner to your computer. Launch the JM Studio desktop software and navigate to “File,” then select “Import Calib.” This action binds your scanner to the computer, establishing a crucial link. Now, open the JM Studio app on your mobile device and scan the QR code located in the top right corner of the desktop software. This process will ensure your phone is successfully paired with the Seal scanner. For optimal performance, ensure that both your computer and phone are connected to the same Wi-Fi network; this will facilitate smooth data transfer later on.

Step 3: Install the Seal Scanner and Phone onto the Smart Grip
Before you start scanning, ensure that the Smart Grip is fully charged. Begin by installing the screw buckle on the back of the scanner. Press the side buttons on the top handle to attach the Seal Scanner, making sure that the lens is facing outward and the back of the device is oriented toward you. Next, position the phone holder securely and tighten the gear knob to prevent any accidental falls. Connect the two wires: one from your phone to the second port on the Smart Grip, and the other from the Seal Scanner to the first port. It’s essential to match the connections correctly; otherwise, you may face difficulties during the scanning process. Finally, press and hold the power button (the smaller button) for approximately three seconds to power on the device.

Step 4: Begin Scanning
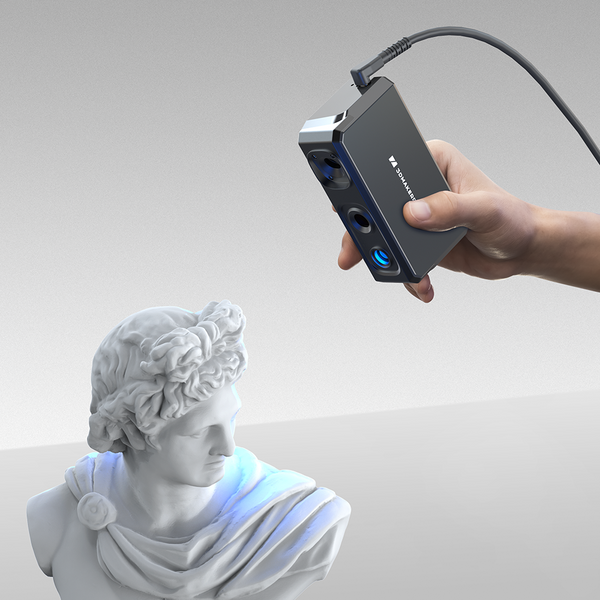
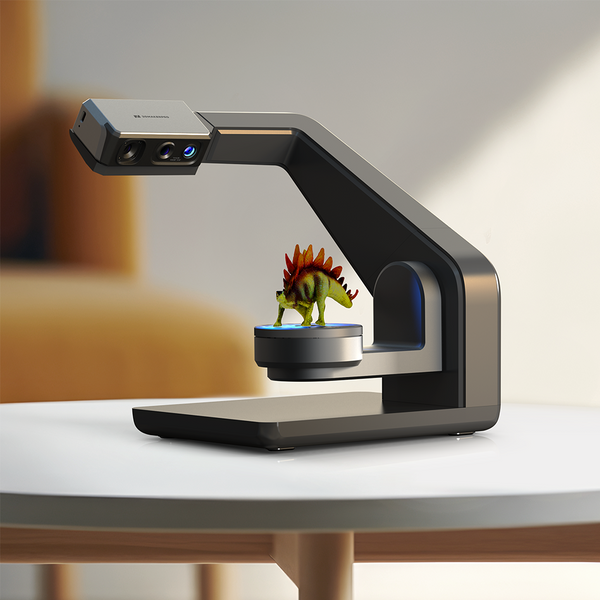
With everything set up, you can now initiate the scanning process. Whether you choose to use Guest Mode or log in to your account, the scan screen will appear on your phone once the connection is established. Since the Seal Scanner operates best at a close working distance, be mindful of the ruler displayed on your mobile screen during scanning. To start or stop the scan, you can either press the large round button on the handle or tap the “Scan” button on your device. Blue numbers will indicate that you are at an appropriate distance; if you stray too close or too far, a prompt will alert you, helping you stay on target. For enhanced efficiency, consider using an automatic turntable, which allows you to capture multiple angles effortlessly, preparing your data for alignment.
Step 5: Import Scan Data from Phone to Computer
Once your scanning session is complete, select all the scanned data on your phone. Next, open the JM Studio application on your Windows computer. Navigate to “File” > “Import from Mobile” and scan the QR code displayed on your computer screen using your phone. Ensure both devices are connected to the same Wi-Fi network for a seamless connection. When you see “Connected to Mobile,” you can begin transferring your scanned files to the computer. This process might take a few minutes, and the files will be saved in a designated folder (note that you can change this location in the software settings). To access your scanned data, choose “File” > “Import,” select your uploaded file, and you’re ready to start processing your model.
Step 6: Process the Scan Data
The process is consistent with previous practices. You can remove noise and auto-align the scanned data for optimal results. Proceed to the next phase—processing your model. Here, you have several options: Statistical Noise Removal, Fusion, Mesh Data Processing, Remove Floating Parts, Repair Gaps, Simplify, Mesh Denoising, and Texture Mapping. If the scanned model is very complete, we recommend skipping the “Repair gaps” option, as it will automatically fill all gaps. Make your selections carefully to achieve the best possible model. (Further guidelines on mobile scanning can be found in another article.)
Conclusion
In conclusion, you have now completed the steps for mobile scanning with the Seal Scanner. We hope you find this journey into 3D scanning both enjoyable and rewarding. Happy scanning!


Featured collection
Small-format
Save $175.00
Seal 3D Scanner
Small-format
Save $90.00
Seal Lite 3D Scanner


