Content

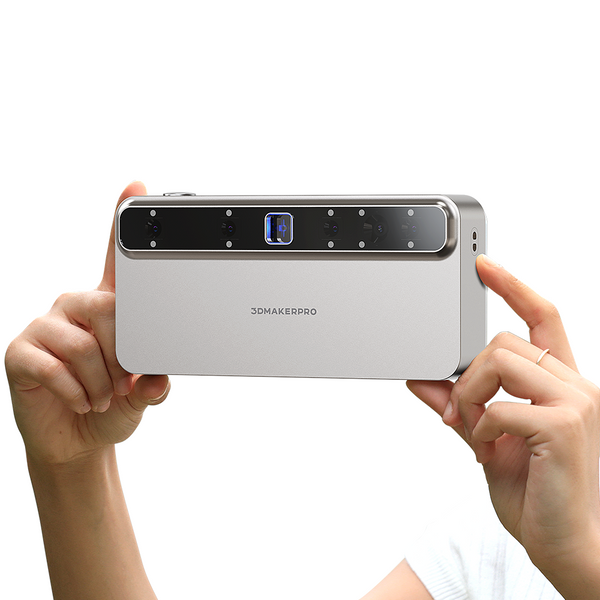
Welcome to both new and returning members of the 3DMakerPro community! Many of you may already own the Toucan 3D Scanner, and if you’re still considering whether it’s the right choice, this guide is designed to help answer your questions. In this article, we’ll walk you through the scanner’s four scanning modes and highlight key parameters that will help you achieve the best possible results. Thank you for your continued support—feel free to share your thoughts, experiences, or questions in the comments below.
Common Settings
a) Software Update
Enable Automatic Updates to ensure you always have access to the latest software version and features. We regularly release updates to improve functionality and enhance the overall user experience.

b) Wi-Fi
Turn on the Wi-Fi option and make sure your Toucan scanner and computer are connected to the same network. This allows you to perform post-processing or export scanned models to your computer. You can complete these steps either before or after scanning, depending on your workflow.

c) Display & Brightness
Adjust the screen brightness to ensure clear visibility in both dark and bright environments. This setting only controls the brightness of the display screen.
During scanning, you can rotate the roller button in the upper-right corner of the device to adjust the scanner’s light brightness. For dark objects, increasing the light intensity helps capture more detailed features. Turn the roller clockwise to increase brightness and counterclockwise to decrease it.

d) Fan Speed
Before starting a scan, open the settings and set the fan speed to the maximum value of 100 to enhance cooling. This helps maintain stable performance and prevents overheating, which could otherwise impact processing speed or charging efficiency.

Choose a Suitable SLAM Mode to Start a New Scan
Each scanning mode offers two options: Normal Scan and Single Shot. If Normal Scan results in incomplete data, you can supplement it with Single Shot, which captures color information more effectively. Below is an overview of the available SLAM modes:
a) Geometry Mode (Recommended)
This mode captures the geometric features of an object without recording any color information.
b) Texture Mode
This mode captures both texture and color data, producing vivid and realistic 3D models.
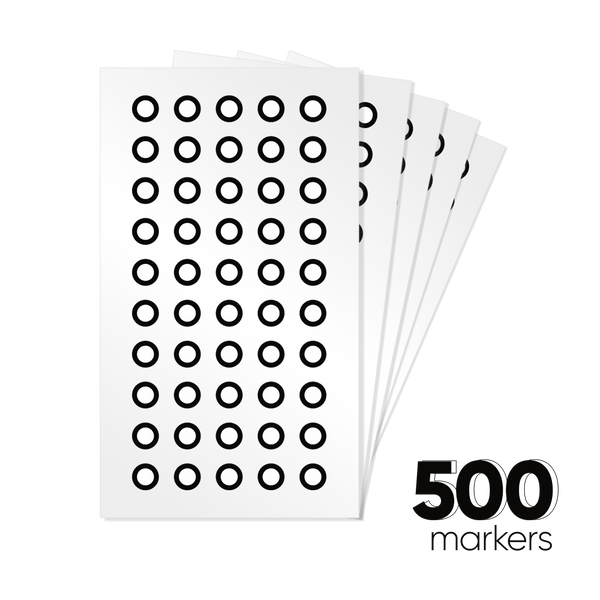
c) Marker Mode
Ideal for scanning challenging objects with weak features or unclear colors. Black-and-white marker dots must be attached to the object to assist with accurate scanning.
d) Global Marker Mode
When objects lack sufficient texture or geometric detail, when it is difficult to achieve high-quality models through texture- or geometry-based alignment, when marker-based stitching proves challenging, or when the object is too small to scan conveniently, you can try using global marker points.

How to Scan
Step 1 Choose SLAM Mode
From the Home Screen, tap New Scan (scan icon) to enter the scanning interface. Tap the first adjustment button on the right to select a SLAM mode, then press Apply (blue button).
- For light-colored objects, set Object Type to Normal; for dark-colored objects, select Dark.
- Choose Class 1 Laser for light-colored objects and Class 3 Laser for dark-colored objects.
Safety Note: Class 1 lasers are eye-safe and recommended whenever possible. Class 3 lasers emit stronger light and may cause eye damage. Avoid looking directly at the light source during scanning. When scanning faces, always use Class 1 and keep your eyes directed downward—never stare directly into the light source.

Step 2 Begin to Scan (Geometry/Texture/Marker)
(1) Normal Scan
After selecting Scan, tap the right arrow on the screen to start. You can hold the scanner and move around the object, or rotate the object to capture it from all angles. Tap the Pause button to temporarily stop scanning. You may resume scanning as needed, but be sure to return to the last scanned position to avoid losing tracking. Note that excessively long scan sessions generate large data files, which can significantly increase processing time.
When you are satisfied with the scan, tap the Checkmark to save the data. If you are completely unsatisfied, select the Return option to discard the scan—no data will be saved. Don’t worry: multiple scans can be merged later, so in most cases, it is recommended to save the scan data.
Left-Side Options
Camera Window: Keep this enabled to ensure the object is tracked correctly. This option is required when using Texture Mode.
Depth of Field Adjustment: Adjust according to the scanning distance.
-
Close-up Mode: 100–300 mm
- Telephoto Mode: 350–1000 mmSelect Near or Far at the bottom of the screen as appropriate.
Base Removal: When enabled, the system automatically removes the turntable from the scan. For complex models, parts of the turntable may still be detected and will require manual cleanup during post-processing.
Point Cloud Coloring (three colored circles): Available only in Texture Mode. When enabled, it captures and applies color information to the object.
(2) Single Shot
If you select Single Shot, tap the camera icon on the screen to begin. This mode uses a different scanning method: while slowly rotating the object, you must continuously tap the camera button to capture images.
For convenience, you can use the circular button at the top-right of the device, which functions like a camera shutter—each press captures one photo. Rotate the object slowly and take photos continuously to ensure complete and accurate data capture.

(3) For Marker Scan
For Marker Scan, ensure that at least five marker points are visible in each frame, with a minimum of seven marker points in the first frame. The more marker points detected, the lower the risk of scanning errors.
When scanning large objects, it is recommended to place one marker point every 10 cm. For smaller objects, marker spacing can be adjusted based on the object size and complexity.
Note
After scanning is complete, a dialog box will appear showing the point cloud distance. Lower values indicate higher precision but also lead to larger file sizes and longer processing times. In most cases, the default settings are sufficient and do not require adjustment.
Step 2 Begin to Scan (Global Marker)
To scan using Global Marker, follow these steps:
1. Select Add a New Global Marker, then tap Start Marker Scan.
2. Scan the turntable, which should be evenly covered with marker points.
- Yellow: Marker points are recognized.
- Green: Marker points are currently being recognized.
- Red: Marker points are lost.
Typically, marker points are easily identified, requiring only two or three rotations of the scanner. After scanning all points on the turntable, tap Pause, check the box, and then select the Next Step arrow. You can now begin scanning the object. Even very small objects can be accurately captured using Global Marker. Rotate the object multiple times or from different angles to ensure a complete scan. If needed, you can scan multiple datasets and merge them later.
Important Notes:
When scanning with global markers, only continuous scanning mode can be used.
You cannot switch between close-up and distant views during scanning, so choose your preferred view before starting.
Step 3 Remove the Noise
Before merging or performing final processing, it’s important to identify and remove excess noise points, as they can reduce the quality of the final model. This step is especially crucial.
1.Open your scan data and tap the second button on the right to rotate and inspect the model. Determine which point clouds need to be deleted based on their angles and positions.
2.Tap the first edit button on the right, then the second button on the left (selection box tool). Draw around the area you want to delete, and then tap the Delete button at the bottom.
Alternative Method:
Select the area you want to keep, then tap the Invert Selection button (second button below, green marker). This will automatically select all unnecessary data except the preserved area. Tap Delete to remove it.
Tips:
- If you select the wrong area, tap the X button (blue marker) below to deselect it.
- If you accidentally delete something, use the Undo/Redo buttons in the bottom right corner to revert or redo changes.
- Use the third button on the left to adjust the thickness of the selection box for more precise editing.

Step 4 Align the Multiple Data
After completing your scans, return to the Home Screen and tap the right arrow icon in the middle of the right side. All scanned models will be displayed.
To merge models:
1. Tap the Merge button in the bottom-right corner.
2. Select the models you want to merge and confirm by tapping OK.
3. Tap Align to begin the alignment process.
Two adjustment values will appear: Downsample Voxel Size and Overlap. The default values are usually sufficient, but you can test different settings to optimize the merge effect.
Tip: Always remove noise before merging to ensure a cleaner and more accurate final model.
If the merge is satisfactory, tap OK, and a new data file will be generated automatically. If not, you can adjust the settings and merge again. You can also perform a manual merge on your computer. In that case, transfer the original scan data, not the already merged version, to ensure the best results.

Step 5 Process the Scanning Data
Once scanning is complete, you can begin processing your model. Open the model you wish to process and first remove any remaining noise, including platform noise or floating points if you haven’t done so already.
Next, tap the second cube-shaped button on the right and select the workflows you want to apply. Typically, all options are selected. A few important considerations:
- If your scan was done in Geometry Mode, you can leave Texture Mapping unchecked, as this mode does not capture color.
- For hollow objects (e.g., vases), skip Repair Gaps, as this option fills all voids. For solid objects like buildings or figures, enable Repair Gaps to fill scanning gaps and improve model completeness.
Tap Apply and wait a few minutes for the software to generate a complete 3D model.
Alternative: Use the One-Click Processing option by tapping the magic wand icon. Choose High Quality, Medium Quality, or Low Quality to generate the model with a single click.

Step 6 Export the Data
Before exporting, ensure that your device and computer are connected to the same Wi-Fi network to avoid transfer issues.
1.Return to the Home Screen and review all scanned data.
2.Tap Select in the top-right corner, choose the models you wish to transfer, and then tap the Export button in the bottom-right corner.
3.You can export to either your computer or a USB drive. A USB drive is typically faster, and sending one model at a time can also speed up the process.
To export to a computer:
- Enter your PC’s IP address when prompted on the device.
- Open JM Studio on your computer and navigate to File > Import from Device. You will see a string of numbers—enter this accurately into the device.
- Wait a few minutes for the transfer to complete, ensuring that your computer is selected as the receiving device.
For complex models, exporting directly to your computer immediately after scanning can streamline processing. Using a mouse can also provide greater flexibility and convenience when editing.

This concludes our general guide to using the Toucan 3D Scanner. Next, we’ll share tips for capturing higher-quality models with Toucan. Stay tuned! Feel free to leave comments and join the discussion.
Featured collection
All-in-onePhase-Shifting TechPre-order
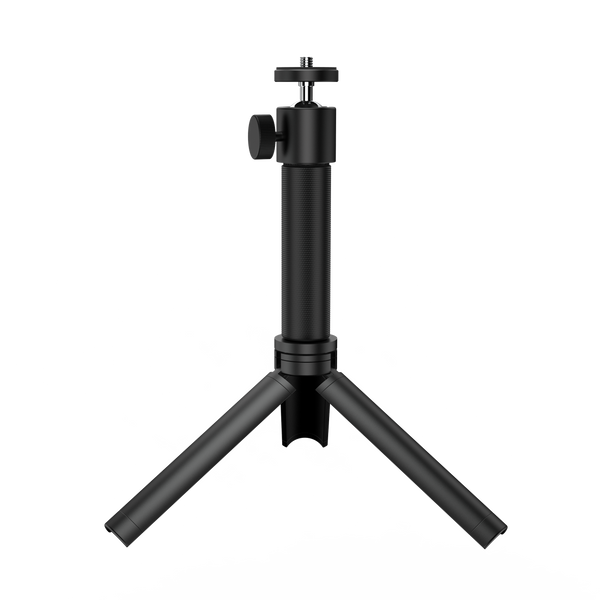
Tripod for Toucan


