Content

Welcome to the RayStudio Workflow Tutorial! In this comprehensive guide, we will explore the essential functions of RayStudio software, which is designed to help you resolve and color the scanned data. It also allows you to export your processed data in various file formats, including LAS, PCD, and PLY, catering to a wide range of applications in fields like geospatial analysis, surveying, and 3D modeling.
Upcoming Features
We’re thrilled to announce the tentative launch dates for several exciting new features that will enhance your workflow:
3D Gauss: Set to launch on April 10, this will introduce advanced statistical modeling capabilities for point clouds.
Point Cloud Meshes and Polygons: Anticipated for April 15, this feature will allow for more intricate 3D visualizations and analyses.
Panoramic Images: Expected on April 30, this functionality will enable you to create immersive visual experiences from your data.

Point Cloud Resolve
First, locate the data exported from the scanner. Ensure that the exported data is complete and includes all the files displayed in the image. If you used our RTK module, your folder will contain a data file that starts with "RTK"; if not, this file will be absent.
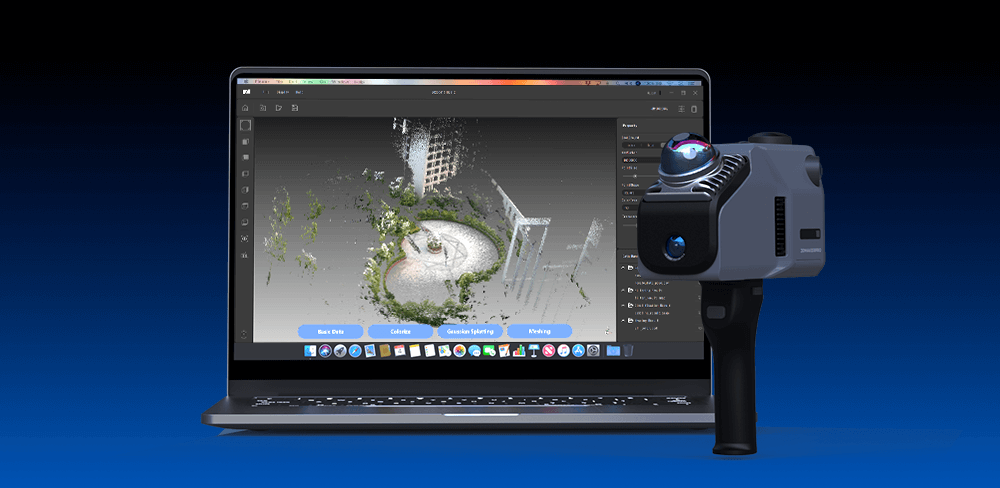
Next, open Ray Studio and click the “Open Project” button. Select the data you exported from the scanner. Then, click the "Basic Data" button to access the data processing workflow options menu. From here, you can choose your preferred processing method. In this demonstration, we will uncheck all options and keep only "Point Cloud Resolve" selected. Finally, click "Start." You can use the transparency button to view the data.
Color Point Cloud
Click the "Open Project" button and select the data exported from the scanner. Then, click the "Colorize" button and choose the Scenario Type based on your scanning environment (Indoor or Outdoor). If you do not have the RTK module, uncheck the “Real-Time Kinematic” option. If you do have the RTK module, make sure to check the “Real-Time Kinematic” box and upload the RTK file. Click "Start," and once processing is complete, click "Finish" to obtain a color point cloud. It's that simple!
Next, let’s explore the functions of the menu buttons on both sides of the interface.
On the left side, the first box-shaped button is the “Reset Camera Perspective.” If you wish to reset the view after moving the scan data, simply click this button.
The second button, shaped like an eye, is for “Enter First-Person Perspective.” This allows you to immerse yourself in the scene using the keyboard (WSAD) or by dragging the interface with your mouse.
The third button, labeled EDL, adds shadows to the point cloud. It’s recommended to use this feature alongside the “Transparency” button on the right for a clearer and more visually appealing colored point cloud.
On the right side, the first button is “Background,” which lets you adjust the background color for easier observation of the point cloud data.
The second button, “Max Number,” is to be determined, so stay tuned.
The third button, “Point Size,” allows you to modify the size of the points; smaller values result in a clearer point cloud, so using the default minimum value is recommended.
The fourth button, “Point Shape,” lets you choose between square or round points, with square point clouds generally offering better clarity.
The fifth button, “Color Type,” offers options for RGB, elevated, and intensity formats.
The sixth button, “Transparency,” is recommended to be enabled with a default value of 0.25. You can adjust this according to your desired effect: smaller values increase transparency, while larger values enhance shadow intensity.
Finally, click the square button in the upper right corner to enter full-screen mode.

RTK (Real-Time Kinematic)
To begin, locate the data you imported for your scanner. If you use our RTK module, your folder will contain a data file that starts with "RTK." To process the RTK data, you will also need to copy the Observation Data (.25o) and Parameters/Position Data (.25p) from your RTK base station to your computer.
Next, open the Ray Studio Software and select "Open Project" from your computer. Make sure to check the RTK option in the processing steps. Then, locate your RTK data file and click "Start." The processed RTK scan data will be found in the tmp folder of your project directory. Finally, you can export to it.
Stay Tuned
As we continue to improve RayStudio, we will keep you updated on new features and enhancements. Thank you for your interest in RayStudio, and stay tuned for further developments that will help you maximize your data an

Featured collection
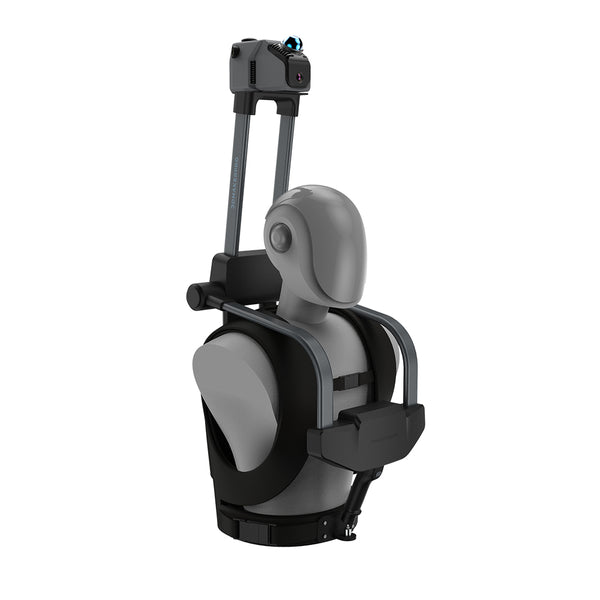
LiDAR scanner
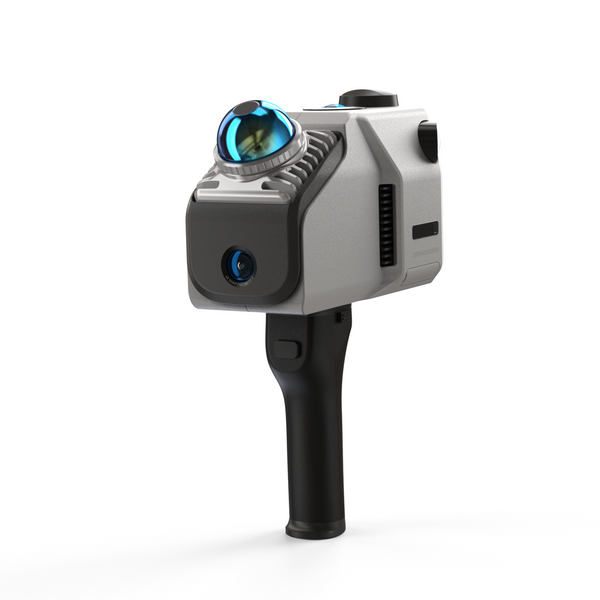
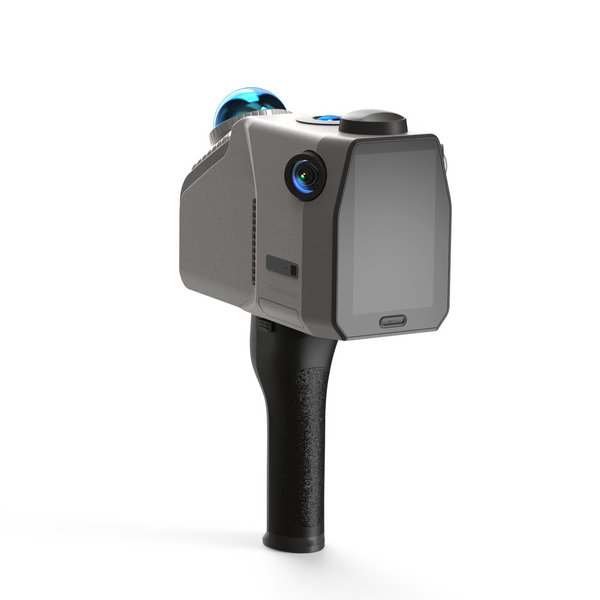
Eagle LiDAR Scanner
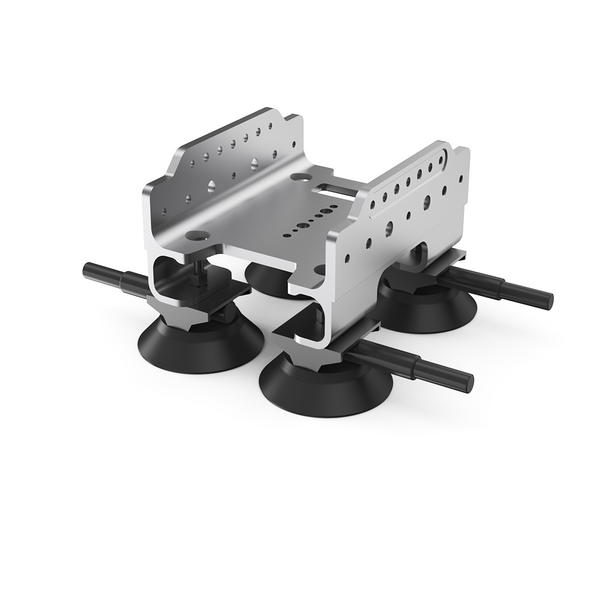
Automotive Rooftop Mount


