Content

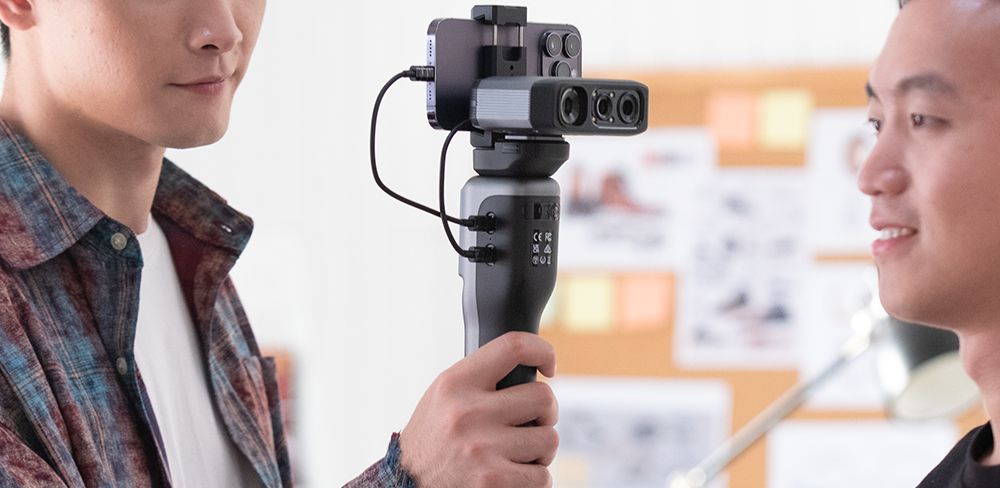
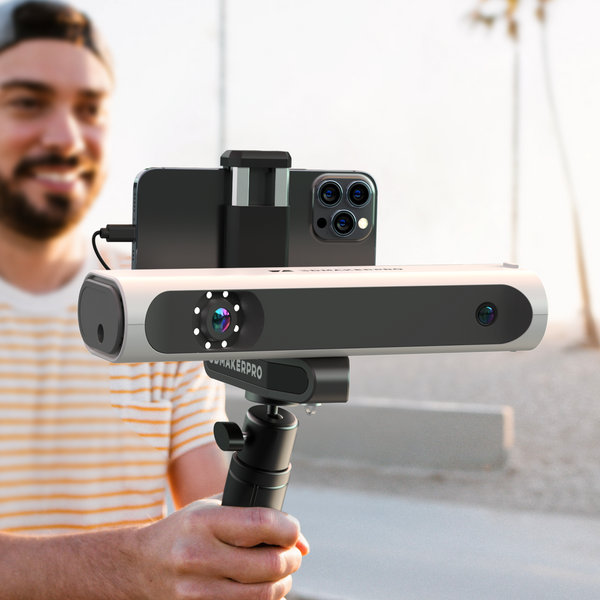
Conventional 3D scanners lack built-in data processing chips and require a PC connection to function. They are difficult to move when scanning large objects and are virtually impossible to use outdoors. In fact, you can easily use our 3D scanner app - Connect by 3DMakerpro - to achieve mobile scanning with Mole and Lynx scanners. The scan data can be easily edited and used for various purposes. With Connect, 3D scanning has never been easier, more efficient, and more versatile. Want to know how to 3D scan on Mac, iPad, and Android devices? Read on.How to Achieve Mobile Scanning
How to Achieve Mobile Scanning
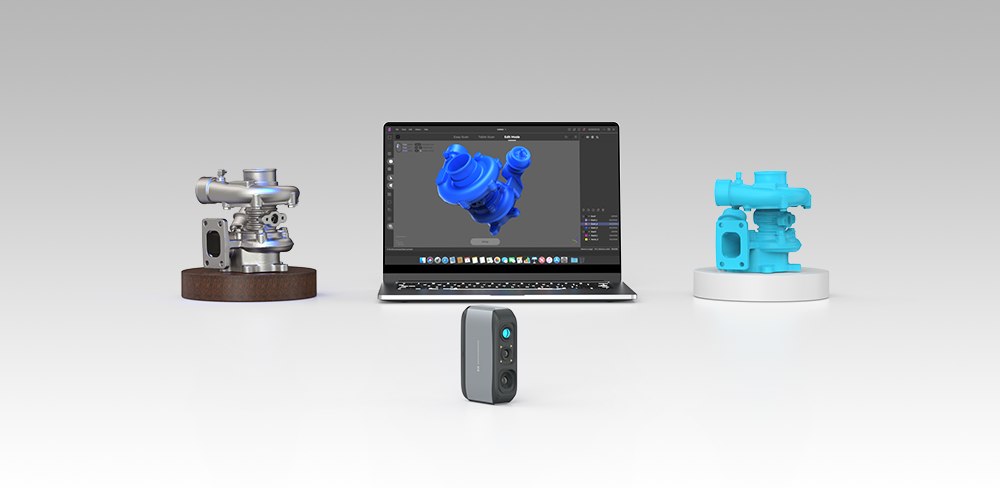
To achieve mobile scanning, a high-power processing chip needs to be attached to the scanner. 3DMakerpro has launched Connect, a cloud-based platform that can process point cloud data and store it on smartphones. Compared to PC connections, Connect can unleash 95% of the scanner's performance and provide excellent mobile scanning capabilities. The 3DMakerpro Connect currently supports the Mole and Lynx scanners.
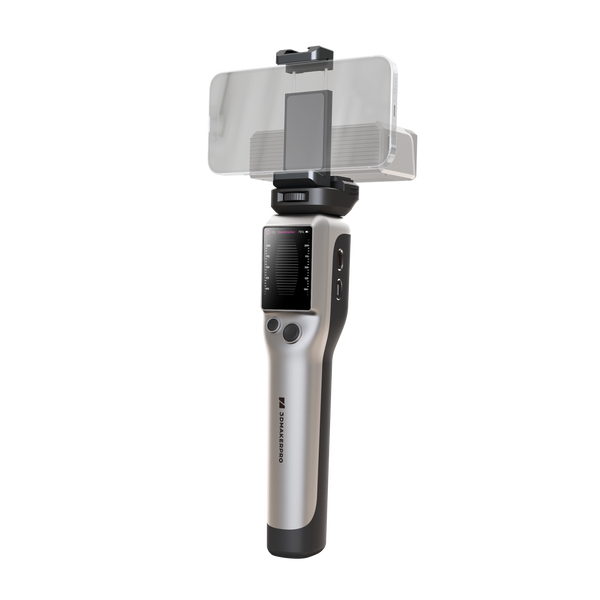
Connecting to Connect
Connect requires a mobile power source with a minimum specification of 12V PD 22.5W Type-C interface. The power cable, mobile cable, and device cable need to be connected to Connect as shown in the images above. Both the desktop and mobile versions of JMStudio need to be downloaded from here.
Once the scanner is connected to the PC, open JMStudio Desktop and go to "File," then click on "Import _calib." The scanner's QR code needs to be scanned to successfully connect and start scanning.
1. Connect requires a mobile power supply, and the minimum specification: 12V PD 22.5W Type-C interface.
2. Connect the power cable, mobile cable, and device cable to connect respectively.

(Schematic diagram of Lynx connected to Connect)

(Schematic diagram of Mole connected to Connect)
3. Download the corresponding version of JMStudio for Desktop and Mobile.
4. Connect the scanner to the PC, open JMStudio Desktop and go to File, click Import _calib.
 (Steps to find the Scanner’s QR code)
 (Scanner’s QR code)
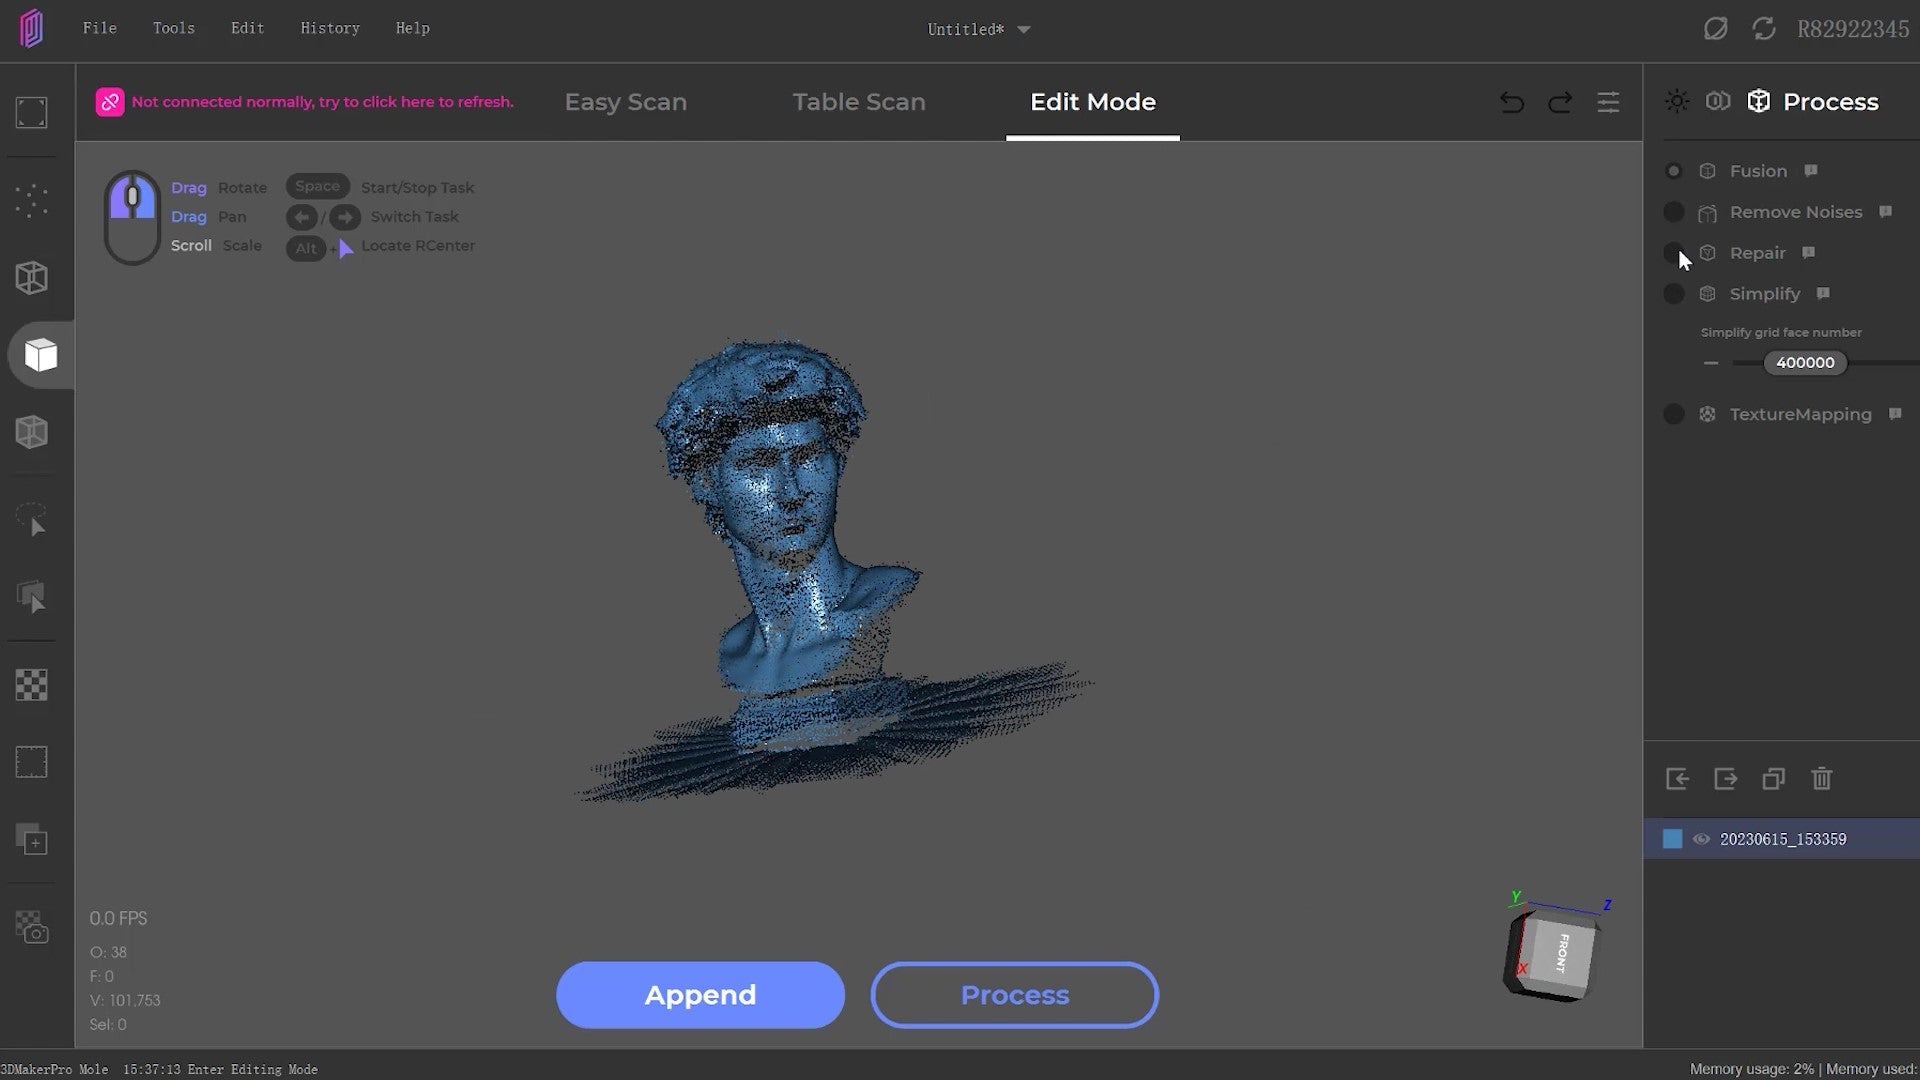
5. After successfully identifying and connecting to the scanner, you can start scanning!
 (Connect the scanner and start the scan)
6.The scan data needs to be exported into JMStudio desktop for further editing, Please make sure the cellphone and PC are connected to the same WiFi, the firewall is disabled and the network is set to private. Open JMstudio Desktop, go to File and Click on Import from Mobile, In JMStudio Mobile, Tap on "Select" in the top right corner to select the exported file and tap on "Export" button, and then scan the QR code generated on the desktop.
 (Click “Import” from Mobile)
 (Scan QR code using the JMStudio APP)
7. After the data transfer is over, you can work with your scanned data on the desktop. Well done, the entire steps to connect have been completed.
Exporting the Scan Data
After the scan data is collected, it needs to be exported into JMStudio Desktop for further editing. You must ensure that the PC and smartphone are connected to the same WiFi, the firewall is disabled, and the network is set to private. Open JMStudio Desktop and click on "Import from Mobile," then select the exported file from JMStudio Mobile and tap on the "Export" button. Scan the QR code generated on the desktop, and the data transfer will be completed.
 (file exported from JMStudio app)
 (Click on Cloud Data)

Featured collection
Medium-formatSold out


Mole 3D Scanner
Large-formatSold out
Lynx 3D Scanner


