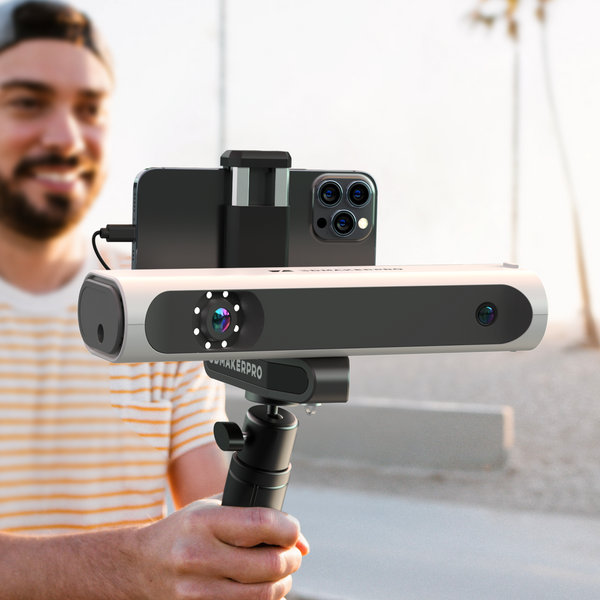
Bij het uitvoeren van een 3D-scanklus kom je vaak verschillende uitdagingen tegen. Vandaag beschrijven we tien veelvoorkomende fouten en geven we advies om je te helpen deze problemen effectief aan te pakken.
1. Kies complexe objecten
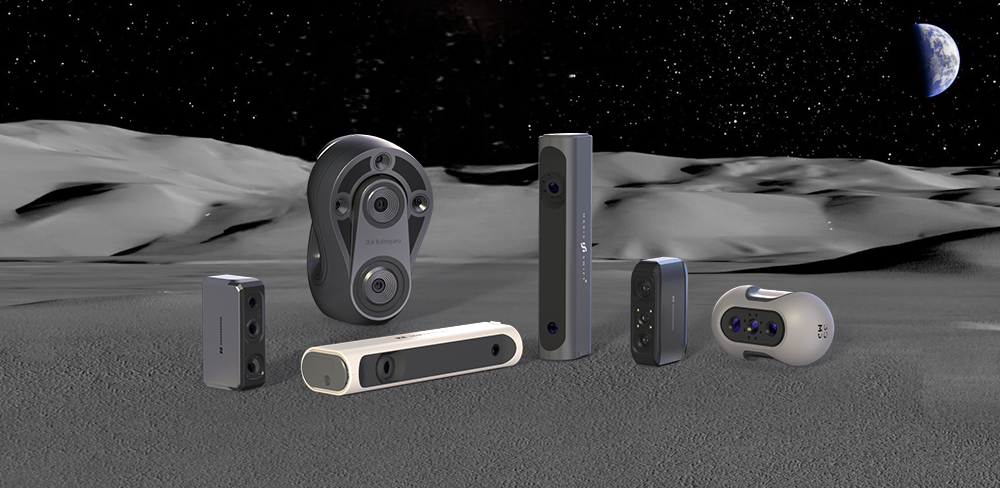
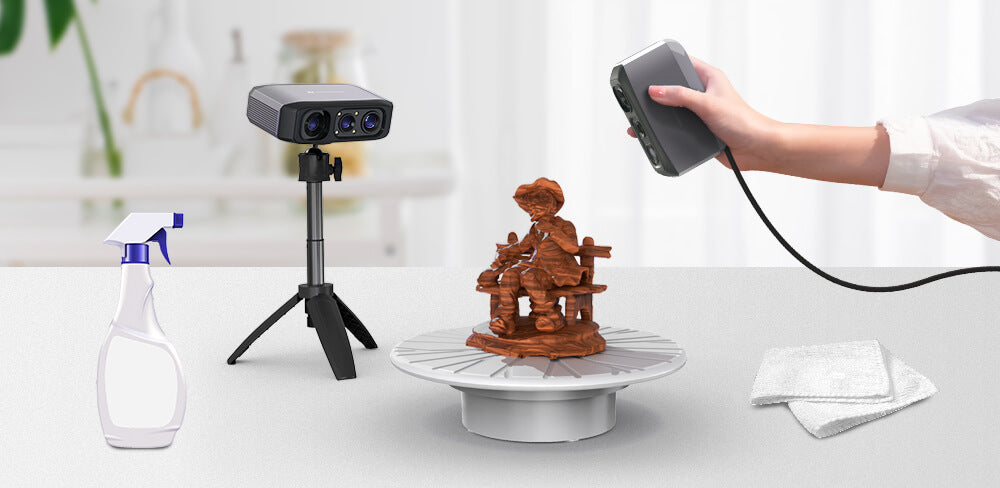
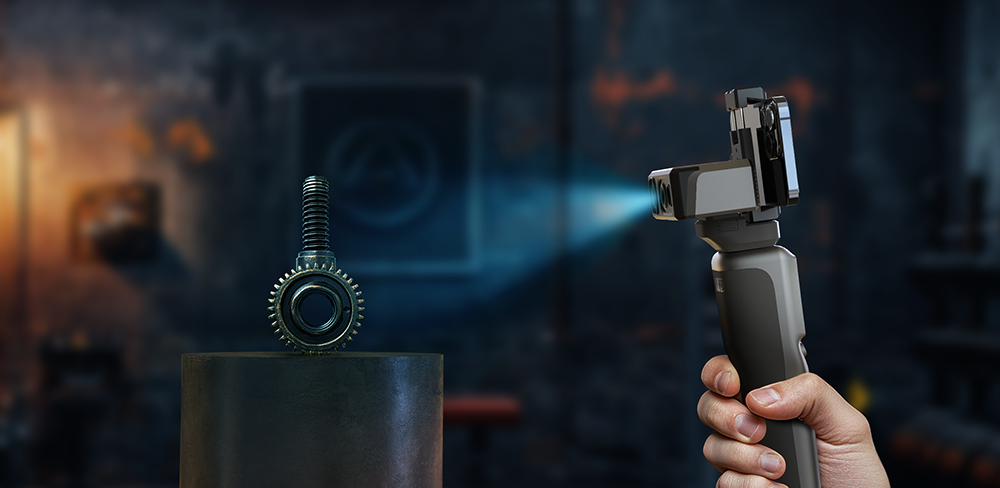
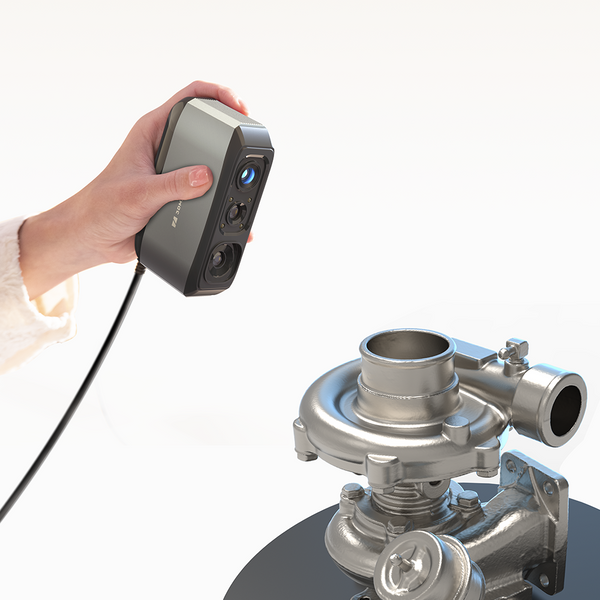
Scanners zijn uitstekend in het reproduceren van beelden, maar bepaalde materialen kunnen een uitdaging vormen. Donkere kleuren (zoals zwart of rood), hoogglanzende en transparante oppervlakken en metalen oppervlakken reflecteren het licht vaak slecht, waardoor het voor scanners moeilijk is om details vast te leggen. Gebruik voor betere resultaten AESUB blauwe scanspray, wat de zichtbaarheid verbetert zonder schittering. Deze spray is kleurloos en verdwijnt na verloop van tijd, waardoor schoonmaken niet nodig is. Vermijd echter contact met kinderen en huisdieren en spuit niet in de buurt van gezichten. Richt 15-20 cm boven het oppervlak van het object en spuit diagonaal. U kunt ook onze Mole of Whale scanners die goed presteren bij donkere objecten en in omstandigheden met weinig licht.
De tweede situatie is wanneer het item holle delen heeft of relatief dun is, wat ook gemakkelijk tot een mislukte scan kan leiden. Daarom is het aan te raden om een scanner te kiezen met een groter scanoppervlak of een hogere scannauwkeurigheid. U kunt ook de eerder genoemde spray proberen.

2. Het verwaarlozen van de oppervlaktevoorbereiding
Een schoon model is cruciaal voor een succesvolle scan. Een vuil of stoffig object bemoeilijkt de scan- en verwerkingsfase en heeft een negatieve invloed op uw digitale model. Veeg het object vóór het scannen voorzichtig af met een vochtig papieren doekje of gebruik een smetteloos model.

3. Niet Belichting aanpassen
Het aanpassen van de belichting vóór het scannen is essentieel voor optimale helderheid. Versleep de voortgangsbalk van de belichtingsparameter om de zichtbaarheid te verbeteren. U kunt ook tijdens het scannen aanpassingen doorvoeren om beter aan uw behoeften te voldoen.

4. De ongeschikte scanner selecteren
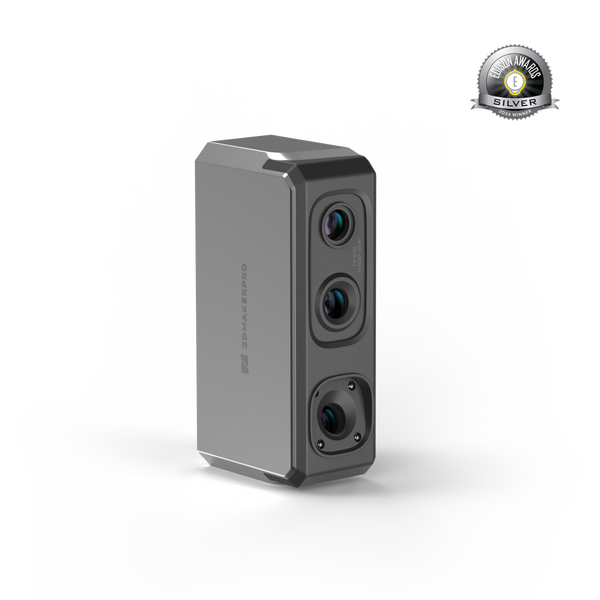
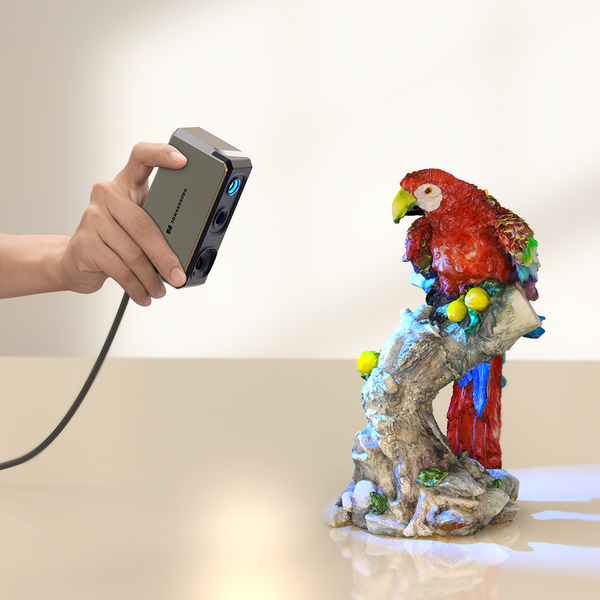
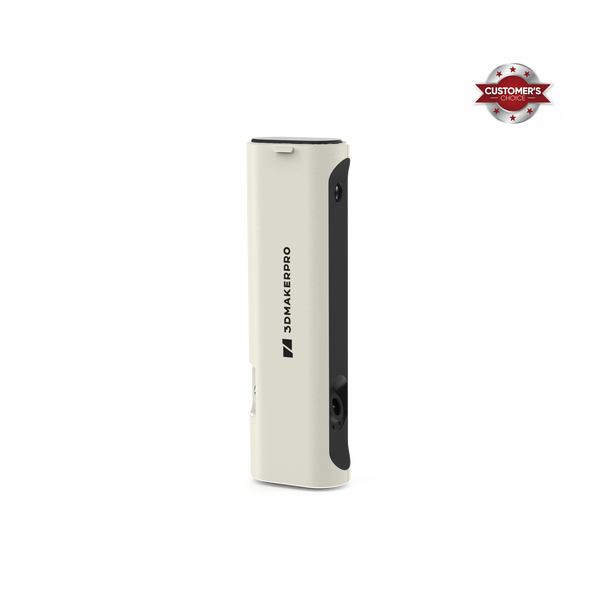
Elke scanner is ergens anders goed in, dus het kiezen van de juiste is belangrijk om tijd te besparen en de kans op succes van uw werk te vergroten. Bijvoorbeeld, de Seal scanner is beter geschikt voor munten dan de Lynx scanner. Als je kiest Lynx scanner, kunt u een rond object zonder patroon krijgen. Echter, de Seal scanner kon de textuurdetails en kleuren prachtig herstellen. Bovendien Moose scanner heeft 24-bits kleurtexturen, die de originele kleur van het object gemakkelijk weergeven en eenvoudig kunnen worden uitgelijnd voor verschillende scangegevens. Terwijl de Mole kan vergelijkbare resultaten alleen bereiken met een extra kleurenkit. Daarom is het kiezen van een geschikt hulpmiddel cruciaal.
5. Te snel bewegen
Bewegingssnelheid is cruciaal voor een succesvolle scan. Als u te snel beweegt, vooral bij grotere objecten, kan de tracking verloren gaan. Keer in dat geval langzaam terug naar het laatst bekende trackingpunt. Sommige scanners hebben een beperkt opnamebereik, waardoor langzamere bewegingen vaak nodig zijn. Wees bovendien voorzichtig bij het gebruik van een draaitafel, want het kan soms lastig zijn om terug te keren naar de oorspronkelijke positie als deze te snel beweegt.

6. Tracking verliezen
Trackingverlies kan optreden door verschillende factoren, waaronder de kleur, het materiaal, de structuur en de bewegingssnelheid van het object. Raak niet in paniek als u problemen ondervindt met tracking; pas gewoon uw scanhoek en de afstand tot het object aan. Houd rekening met uw afstand tot het object, aangezien te dichtbij of te ver weg kan de tracking verstoren. Let op de afstandsindicator aan de linkerkant van de scanner: blauw geeft een perfecte afstand aan, terwijl rood aangeeft dat u te dichtbij of te ver weg bent. JM Studio-software geeft u realtime herinneringen om u te helpen.
7.Misalignment
Verkeerde uitlijning treedt vaak op bij het scannen met hoge snelheid of als uw hand gekanteld is. De enige oplossing is opnieuw scannen, aangezien verkeerde uitlijning kan leiden tot dubbele schaduwen of meerdere onjuiste afbeeldingen. Vergelijk het met het opmerken van een kleine rotte plek op een appel; negeren kan tot grotere problemen leiden. Snel opnieuw opstarten zorgt voor een efficiëntere workflow. Bovendien zijn sommige scanners gevoeliger voor verkeerde uitlijning bij specifieke objecten, dus testen is aan te raden.

8. Onjuiste handmatige uitlijning
Na het voltooien van uw scans moet u mogelijk het tijdrovende uitlijningsproces uitvoeren. Hoewel automatische uitlijning effectief is, is het mogelijk niet voldoende voor complexe items. Handmatige uitlijning is nodig bij het combineren van gegevens vanuit meerdere hoeken, zoals de voorkant, linkerkant, achterkant, bovenkant of onderkant. Zorg er bij het scannen vanuit verschillende perspectieven voor dat u enkele posities herhaalt om verbindingspunten voor de uitlijning te creëren. Er is nog een tip: wanneer u op de knop "Bevestigen" klikt wanneer u klaar bent met uitlijnen, worden de verschillende gescande objecten samengevoegd tot één object, wat niet-omkeerbaar is en niet meer kan worden gewijzigd. Als u niet zeker bent en opnieuw wilt uitlijnen, kiest u direct de volgende procedure: Proces. Als u dit meerdere keren doet, kan het eenvoudiger voor u worden!

9. Het gebruik van de verkeerde reparatiegaten
De optie "gaten repareren" kan nuttig zijn, maar is alleen geschikt voor objecten zonder holtes of gaten. Als u een reus of een hert scant en vervolgens "gaten repareren" kiest, wordt het een ramp. Het vulmateriaal zal in de hele vaas trekken, waardoor uw print de bloemen niet kan dragen. En uw hert zal vreemd worden en meer dan vier poten hebben. Denk dus goed na voordat u deze optie kiest. Over het algemeen, om ruis en zwevende delen te verwijderen, voldoen deze twee functies in hoge mate aan uw behoeften. Als u gaten wilt repareren, raden we u aan om Geomagic Wrap voor 3DMakerpro software om de functies van Doctor Mesh en Hole-Fill te ervaren.


10. Verkeerd ruis verwijderen
Het is een eenvoudige maar krachtige functie voor gebruikers. Zoals eerder vermeld, kunt u kiezen voor de automatische functie Ruis verwijderen en Zwevende delen verwijderen. Voor handmatige verwijdering kunt u verschillende lasso-tools gebruiken (rechthoek, polylijn, cirkel, punt) om te selecteren en op de Delete-toets drukken om ongewenste delen te verwijderen. U kunt ook Ctrl ingedrukt houden terwijl u met de muis sleept om onnodige delen te selecteren en vervolgens te verwijderen. Controleer uw selecties altijd goed om te voorkomen dat u onbedoeld essentiële details voor de 3D-dimensionering van het digitale model verwijdert. U kunt per ongeluk zowel de voor- als de achterkant tegelijk selecteren en per ongeluk verwijderen.

Vergeet ten slotte niet dat zorgvuldig oefenen essentieel is. Hoewel deze voorzorgsmaatregelen misschien ingewikkeld lijken, helpt consistent oefenen u fouten te voorkomen en uw 3D-scanvaardigheden te verbeteren. Veel succes met uw scanavontuur!


