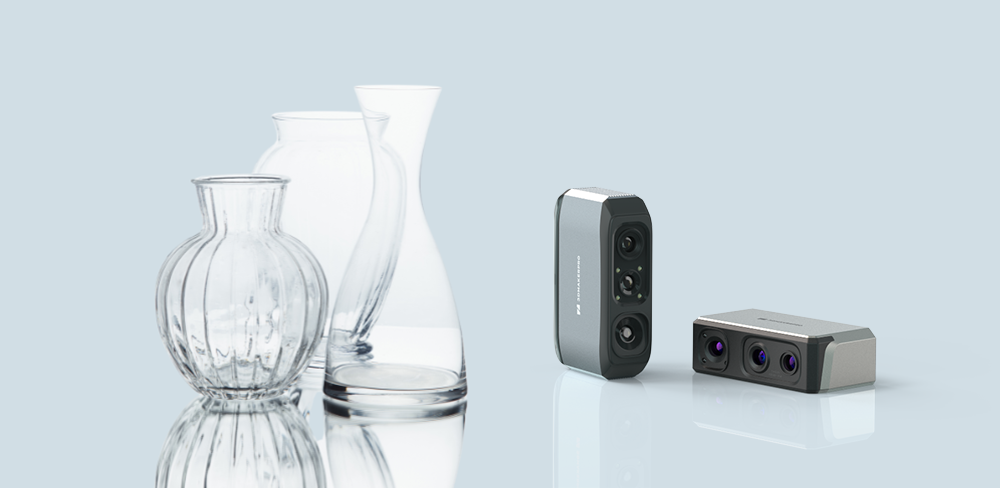
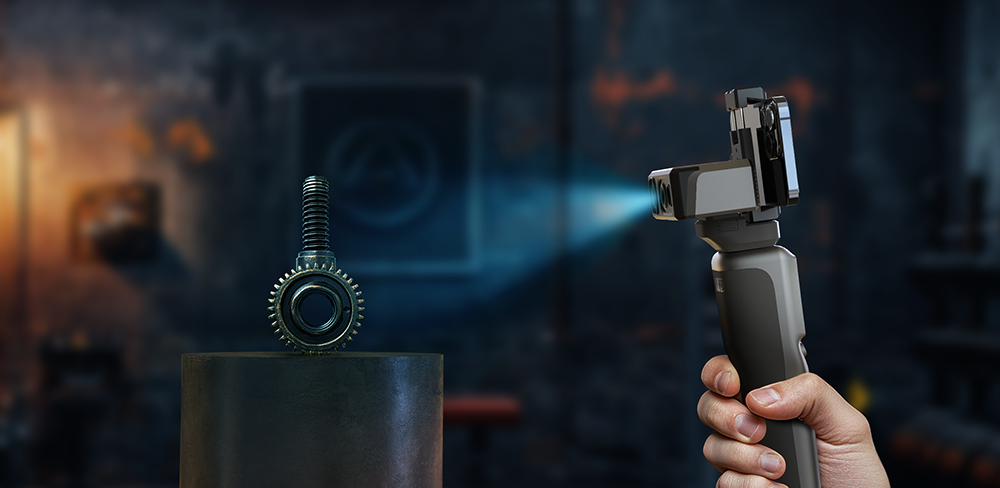
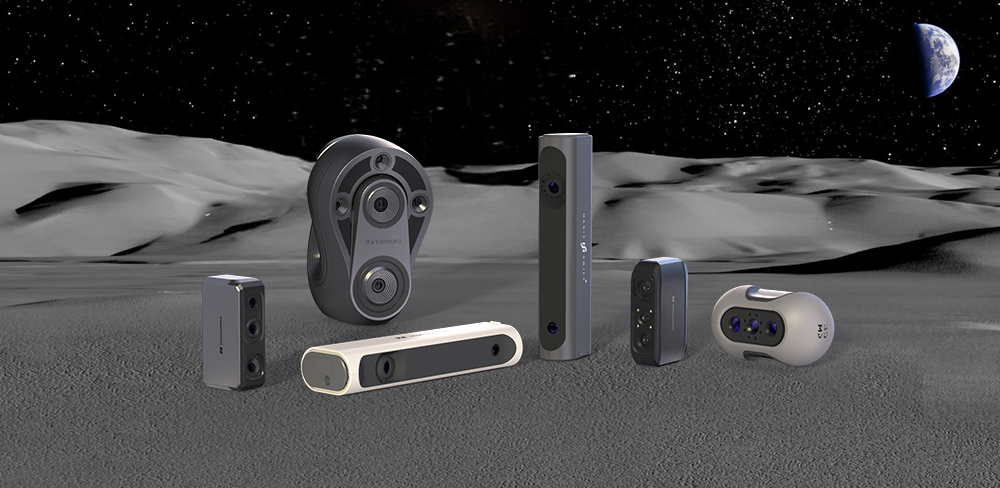
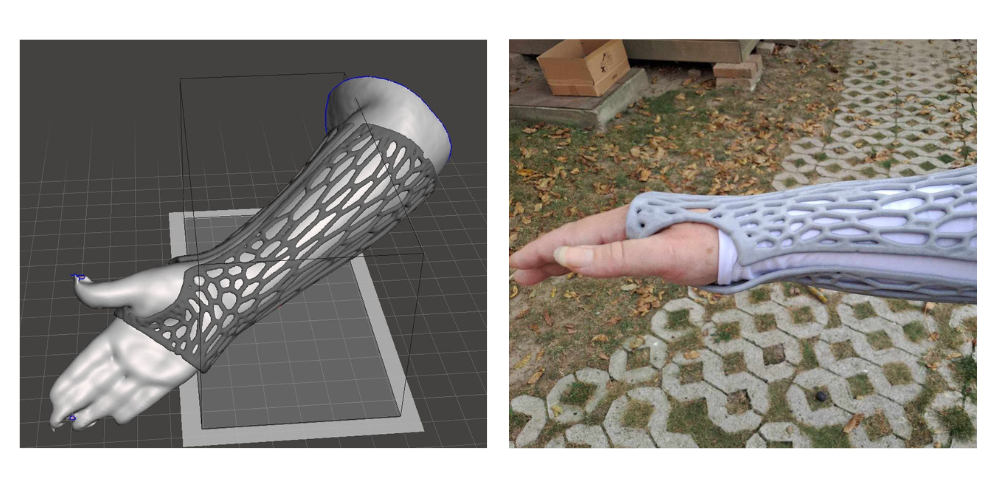
Los escáneres 3D suelen presentar importantes dificultades al escanear objetos transparentes, principalmente porque la luz atraviesa estos materiales directamente en lugar de reflejarse en sus superficies. Esta propiedad inherente impide que el detector del escáner capture los datos 3D necesarios, lo que resulta en escaneos incompletos o distorsionados. Por consiguiente, obtener representaciones precisas de objetos transparentes puede ser especialmente difícil en diversas aplicaciones, desde el arte y el diseño hasta la ingeniería y la fabricación.
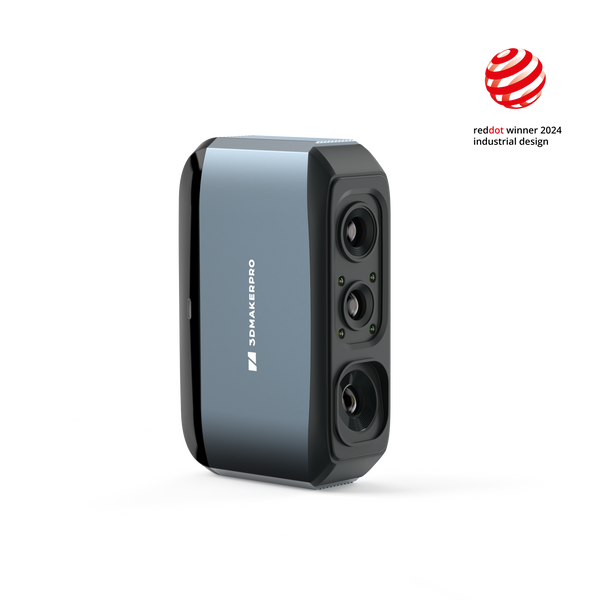
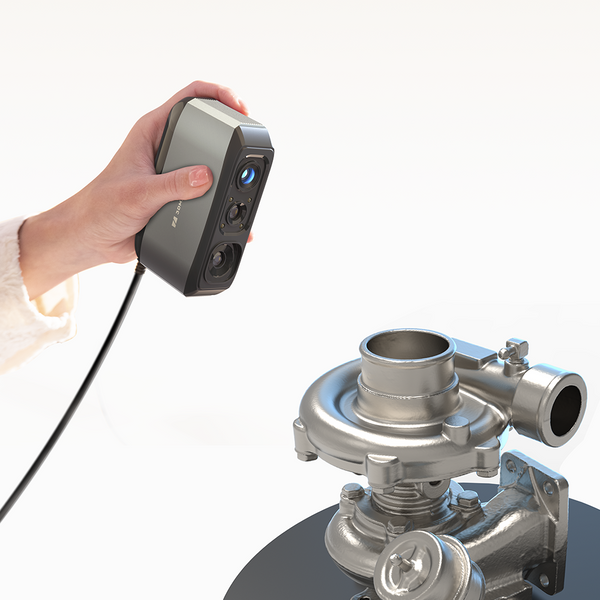
Afortunadamente, 3DMakerpro ofrece servicios profesionales escáneres 3D, como el Moose y Seal escáneres, diseñados específicamente para abordar eficazmente estos desafíos y ofrecer resultados de alta calidad.
Moose Escáner 3D
El Moose escáner Destaca por sus impresionantes especificaciones, incluyendo excepcionales 0,03 mm precisión y 0,07 mm Resolución. Cuenta con un modo de seguimiento visual con IA integrado que mejora su capacidad para procesar formas complejas y detalles intrincados. Junto con una luz LED azul inteligente, el Moose El escáner puede capturar una amplia gama de tamaños de objetos, desde 15 mm a 1500 mmEsta versatilidad lo convierte en la opción ideal para diversas aplicaciones, ya sea que esté capturando diseños delicados o componentes transparentes más grandes.
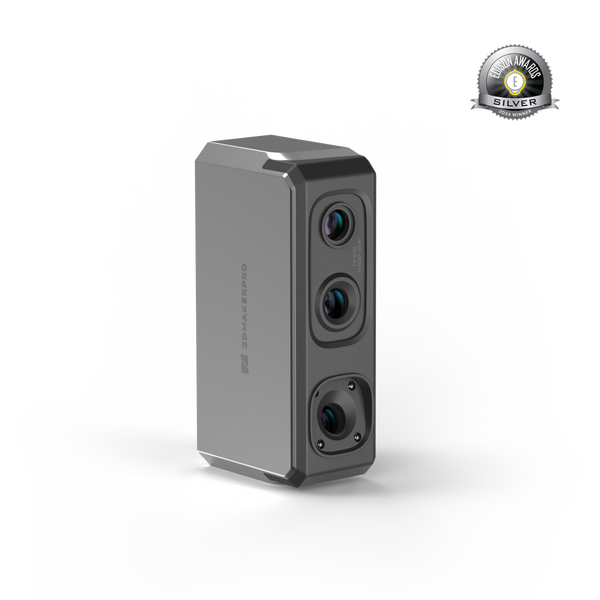
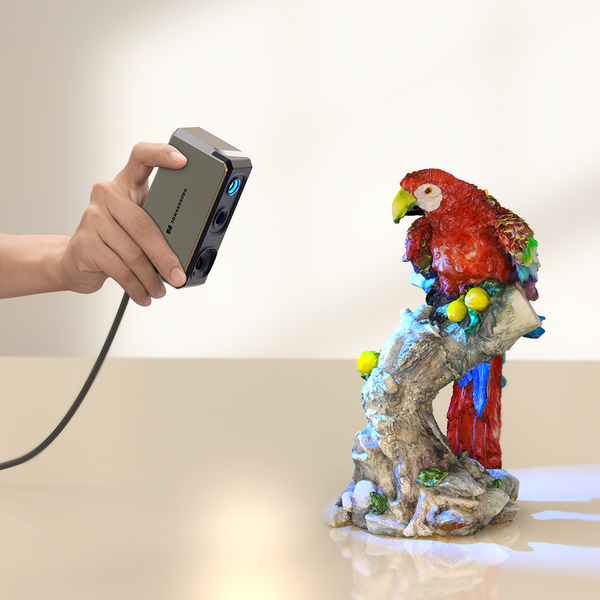
Seal Escáner 3D
El Seal escáner Es famoso por su notable precisión, con una exactitud de 0,01 mm y una resolución de 0,05 mmEstas características lo hacen especialmente eficaz para capturar detalles finos en objetos pequeños, como cristalería delicada o prototipos complejos. Equipado con modo de seguimiento visual, el Seal El escáner puede escanear eficientemente elementos dentro de un rango de 10 mm a 300 mmTambién admite múltiples formatos de salida, incluidos OBJ, STL, PLY y ASC, lo que proporciona flexibilidad para diferentes flujos de trabajo y aplicaciones de software.
Para obtener resultados óptimos, es recomendable utilizar ambos escáneres en conjunto. Spray de escaneo azul AESUBEste espray especializado optimiza el proceso de escaneo al proporcionar un acabado mate que mejora la absorción de la luz, garantizando una captura de datos más precisa para elementos transparentes. Al combinar estas tecnologías de escaneo avanzadas con la preparación adecuada, puede lograr modelos 3D de alta fidelidad que satisfacen las necesidades de sus proyectos.
Ejemplos de escaneo
Moose El escáner escanea vidrio transparente
Al escanear vidrio transparente, puede resultar difícil identificar el objeto directamente, incluso con ajustes de brillo. Para mejorar la visibilidad, es fundamental aplicar el espray de escaneo azul AESUB. Una vez tratado el vidrio, Moose escáner lo captura en un color blanco.
Para restaurar completamente la apariencia original del artículo, es necesario escanearlo desde múltiples ángulos. Comience escaneando desde el frente, girando completamente para asegurar que se cubran todos los detalles. A continuación, coloque el artículo de lado y escanee el lado izquierdo para capturar con precisión la profundidad y la base de la botella de vidrio. De lo contrario, la imagen podría omitir partes y huecos, lo que provocaría que el software los rellenara incorrectamente. A continuación, escanee el otro lado del mismo modo.
Después de escanear, elimine cualquier ruido redundante y active la función de alineación automática. Si los datos de escaneo son correctos, el resultado de la alineación automática será excelente. Sin embargo, si faltan datos, tanto la alineación automática como la manual podrían no ser perfectas. Tenga paciencia y asegúrese de cubrir todo el objeto. Si el spray desaparece, vuelva a aplicarlo. Spray de escaneo azul AESUB para obtener resultados óptimos.
Finalmente, procese sus datos de escaneo seleccionando "Eliminación de ruido estadístico", "Fusión", "Eliminar partes flotantes" y "Mapeo de texturas". El modelo digital resultante será de alta calidad y cualquier detalle adicional se puede modificar usando Envoltura Geomagic para 3DMakerpro.
Seal El escáner escanea vidrio transparente
El proceso de escaneo para el Seal El escáner es similar al del Moose escáner. Sin embargo, tenga en cuenta los siguientes consejos:
a) Distancia de escaneo
Asegúrese de que la distancia de escaneo no sea ni demasiado corta ni demasiado larga. La distancia de trabajo óptima para el Seal El escáner está entre 180 mm y 280 mmPuede monitorear la escala de distancia en el lado izquierdo de la interfaz del software.
b) Ángulo de escaneo
Preste atención al ángulo de escaneo para evitar errores de desalineación causados por desviaciones significativas en la forma de sujetar el escáner. Afortunadamente, Seal escáner Cuenta con una función de autocalibración inteligente. Si observa una desalineación significativa en la pantalla, espere a que finalice el proceso de escaneo antes de eliminar los datos. El resultado final podría ser preciso.
c) Requisitos del ordenador
Los análisis múltiples pueden ralentizar el equipo. Las especificaciones recomendadas para un rendimiento óptimo con el Seal Los requisitos mínimos para el escáner son un procesador Intel Core i7 (8.ª generación), 16 GB de RAM y una GPU NVIDIA 3060 con 4 GB de VRAM. Los requisitos mínimos son un procesador Intel Core i5 (8.ª generación), 16 GB de RAM y una GPU MX250 con 2 GB de VRAM. Para un procesamiento eficiente, recomendamos usar un ordenador de alta gama.
d) Función deshacer
Si elimina accidentalmente parte del modelo virtual, puede hacer clic en el botón Deshacer ubicado en el extremo derecho de la barra de la ventana en la parte superior para volver al paso anterior.
e) Mapeo de texturas
Si no necesita mostrar el modelo digital, puede omitir la función de mapeo de texturas para ahorrar tiempo. Dado que usamos Spray de escaneo azul AESUBEl modelo digital final aparecerá blanco en lugar de transparente. Si planea imprimirlo, puede elegir el filamento de su color preferido.
f) Calidad de imagen
El Seal El escáner ofrece imágenes más precisas que el Moose escáner, con una precisión de 0,01 mm y una resolución de 0,05 mm, en comparación con el MooseLa precisión de 0,03 mm y la resolución de 0,07 mm. Sin embargo, el procesamiento con el Seal El escáner puede tardar más tiempo, aproximadamente 20 minutos, en comparación con el Moose, que tarda aproximadamente 10 minutos.
Esperamos que con este video y el texto anterior haya aprendido a escanear objetos transparentes utilizando tanto el Moose y Seal escáneresEs un proceso relativamente sencillo para los usuarios. Si tiene alguna dificultad al escanear, no dude en dejar un comentario para que podamos discutirlo y resolverlo juntos. Recuerde: dos cabezas piensan mejor que una.


