Inhoud

3D printing has revolutionized education across various disciplines, particularly in biology, anatomy, and archaeology. This innovative technology enhances traditional learning methods and facilitates interactive, hands-on experiences that captivate students' imaginations. One particularly engaging project involves scanning and creating a 3D printable skull model. In this article, we’ll use the Moose 3D scanner as a prime example to guide you through this fascinating process.
Overview of the Moose 3D Scanner
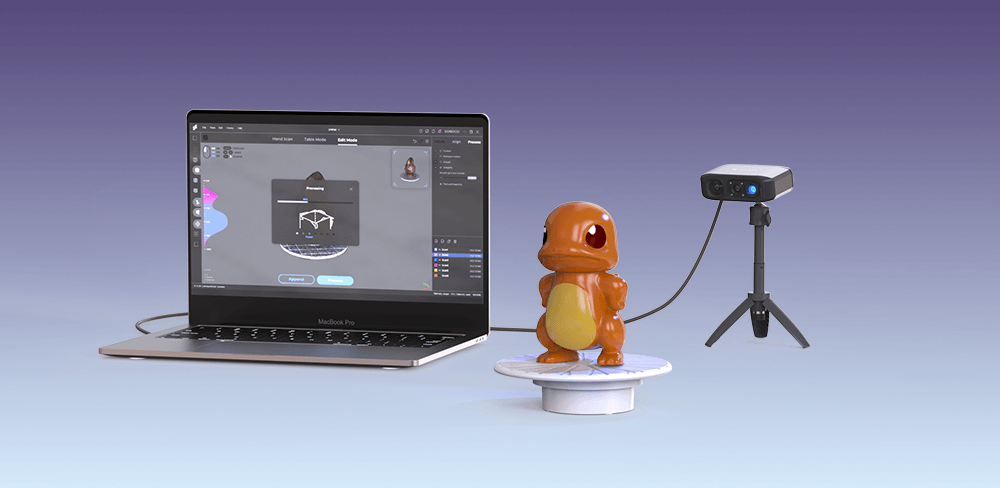
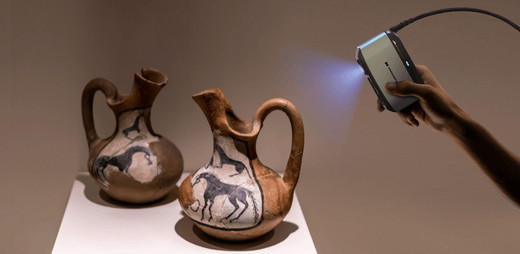
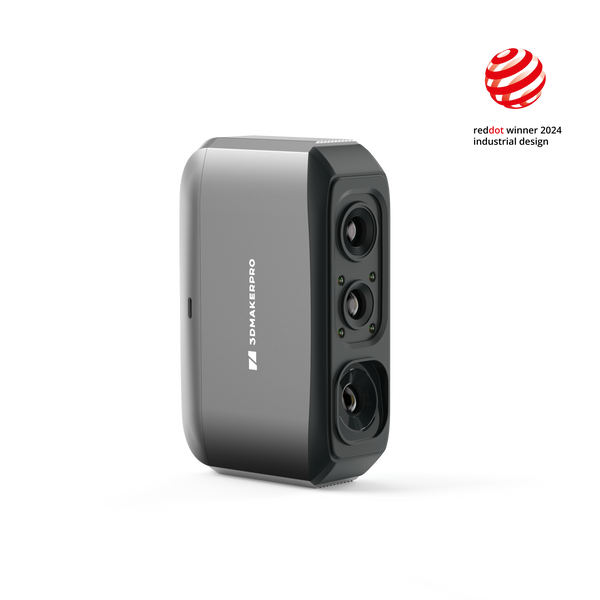
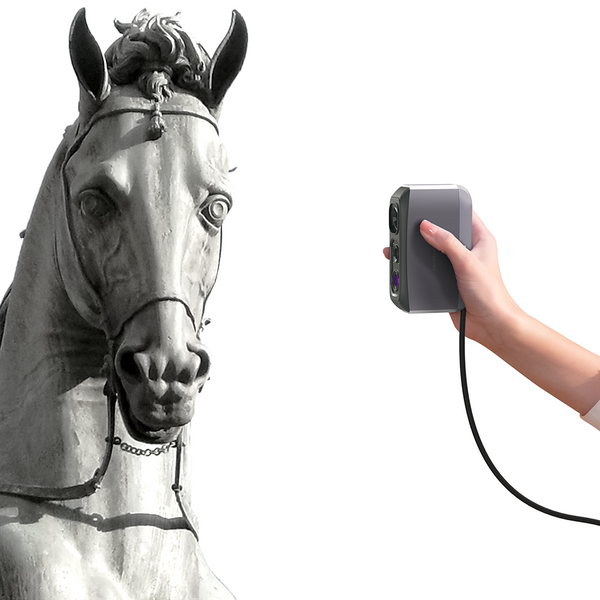
The Moose 3D Scanner is a remarkable handheld device that strikes an ideal balance between performance and usability. With an impressive accuracy of 0.03mm and a resolution of 0.07mm, it captures intricate details with exceptional clarity. It's 10 fps frame rate ensures smooth scanning, while the AI Visual Tracking mode enhances precision by dynamically adjusting to object movements. Operating within a work distance of 150-400mm and a typical scanning range of 15-1500mm, the Moose scanner is versatile enough for a wide array of applications, from academic settings to creative projects.
Step 1: Gather Your Materials
Before diving into the scanning process, ensure you have the following materials:
3D Scanner:
Utilize the Moose handheld 3D scanner. This device can be paired with a turntable for stationary desktop scanning (self-made parts required), or a Smart Grip for mobile scanning, making it adaptable to various environments.
Software System Requirements:
Output format: OBJ/STL/PLY/ASC
Compatible system: Windows10/11 64bit, MacOS12/13/14
Compatible mobile: Android 10.0 or later, iOS 15.0 or later (Extended support)
Minimum computer requirements: Intel Core i5 8th, 16GB RAM MX250 GPU with 2GB VRAM
Recommended computer requirements: Intel Core i7 8th, 16GB RAMNVDIA 3060 GPU with 4GB VRAM
3D Scanning & Printing Software:
Use software like JM Studio to process scanning data, along with slicing software to prepare your 3D prints for 3D printing.
3D Printer:
A 3D printer builds objects layer by layer from digital models using additive manufacturing. Common types include FDM (which melts plastic), SLA and DLP (which cure resin with light), and SLS (which fuses powder with lasers). Each type suits different needs—from simple prototypes to detailed or functional parts—across industries like manufacturing, healthcare, and education.
FDM printers are especially beginner-friendly. Recommended models include: Creality Ender 2 Pro, Anycubic Mega Zero 2.0, Prusa i3 MK3S+, FlashForge Creator Pro, Bambu Lab P1S, Ultimaker S3, Formlabs Form 3, Elegoo Mars 2 Pro, and Snapmaker 2.0.
Step 2: Choose Your Skull Model
You can opt for either a real skull or an anatomical model. If you decide on a real skull, ensure it is ethically sourced and legally obtained, considering cultural implications and respect for human remains. Alternatively, high-quality 3D printable skull models are readily available on platforms like Thingiverse or MyMiniFactory. When selecting a model, consider factors such as detail level, cost, and the educational value it provides.
Step 3: Scan the Skull
Begin by connecting the Moose 3D scanner to your computer and placing the skull on a turntable. Scan the skull at a steady, even speed to ensure comprehensive capture. To achieve a complete model, perform three scans: one for the front, one for the left side, and one for the right side. The Moose 3D scanner utilizes smart blue light, effectively capturing the white skull models.
Step 4: Process the Scan
Start by removing any extraneous noise to ensure a clear model. Then, combine the three scans. In the final processing stage, apply settings for Statistical Noise Removal, Fusion, Remove Floating Parts, Simplify, Mesh Denoising, and Texture Mapping. Choose Generic and Moderate Refinement, then apply the settings. In about 20 minutes—including three minutes of scanning and over ten minutes of processing—you’ll have a vivid digital model that captures the intricacies of the 3D printable skull.
Step 5: Slice and 3D Print the Skull
For the printing phase, the Bambu Lab P1S 3D Printer is highly recommended, with its default settings typically sufficient for most projects. Connect the printer, and you can begin the printing process. Adjust the skull's scale to ensure it fits comfortably on the print bed, allowing for a successful print.
Step 6: Utilize the 3D Printed Skull
After printing, engage in simple post-processing techniques, such as sanding, polishing, and coloring. The skull can be applied in a variety of educational contexts:
Anatomy course: Use the 3D printable skull to teach students about human anatomy, skull features, and the functions of various parts. Incorporate interactive activities, such as labeling or comparing with diagrams, to deepen understanding and foster critical thinking.
Art Classes: Provide the 3D skull to students for artistic interpretation, allowing them to observe anatomical details up close. This tactile experience can enhance their understanding of form and proportion, and comparing final artworks can enrich classroom discussions.
Multidisciplinary Projects: Collaborate with art or history courses to explore cultural representations of skulls, blending artistic expression with scientific inquiry. This interdisciplinary approach can stimulate students' interests in both subjects, demonstrating the interconnectedness of knowledge.
Digital Learning: Consider creating a digital version of the 3D printable skull for use in virtual or augmented reality environments. This modern approach can enhance student engagement, offering an immersive experience that complements traditional learning methods.
Creating a 3D printable skull model is not only an engaging project but also a transformative way to enrich education in anatomy and related fields. By following the steps outlined above, you can provide students with a hands-on learning experience that fosters curiosity, creativity, and a deeper understanding of human biology. Embrace the possibilities of 3D printing with the Moose 3D Scanner, and inspire the next generation of learners! With the right tools and techniques, you can turn a simple skull model into a multifaceted educational resource, paving the way for innovative learning experiences. Happy scanning and printing!

Uitgelichte collectie
Medium-format
Bespaar $140.00


Medium-format
Bespaar $80.00


