


When a product is missing a critical component, reverse engineering combined with advanced technology offers an innovative solution. By utilizing the Seal or Moose 3D scanner, coupled with 3D printing capabilities, it is possible to recreate missing parts efficiently and accurately. This article will guide you through the process of reverse engineering and utilizing 3D printing to create missing components for your products.
Step 1: Scan the Existing Part
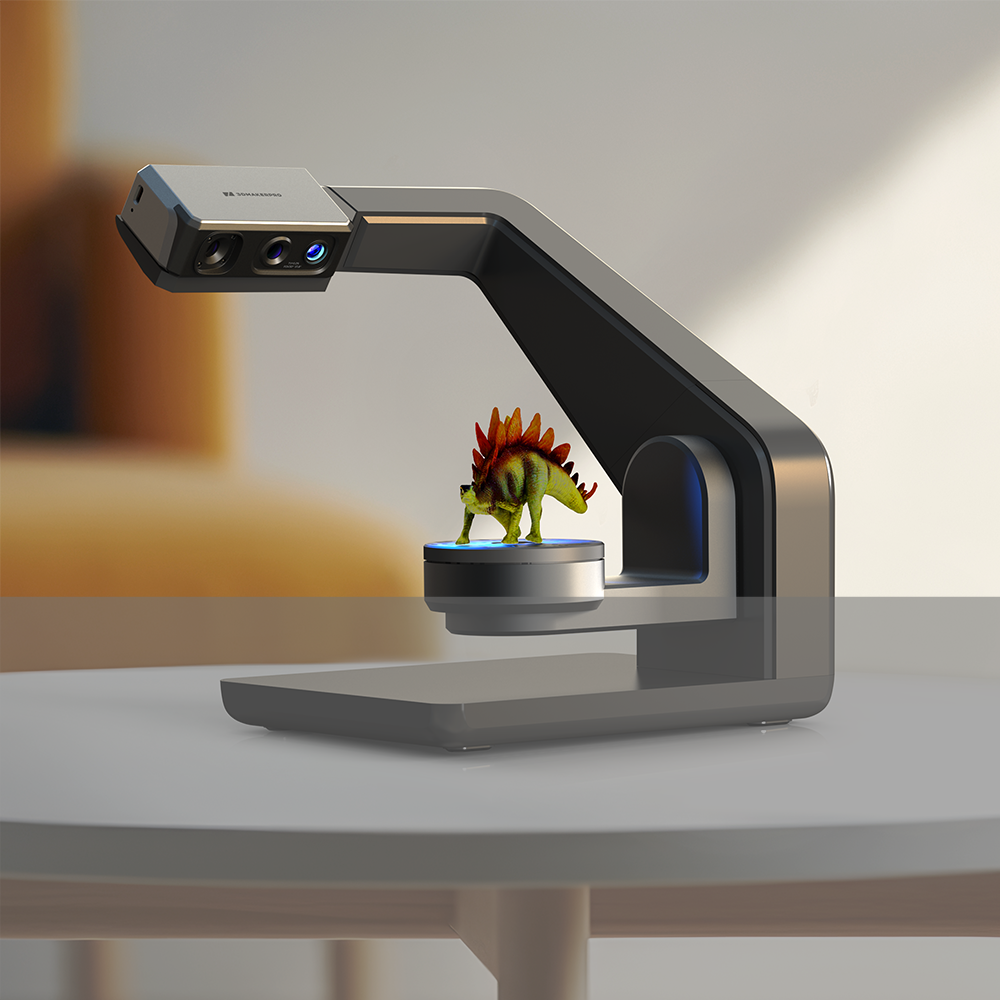
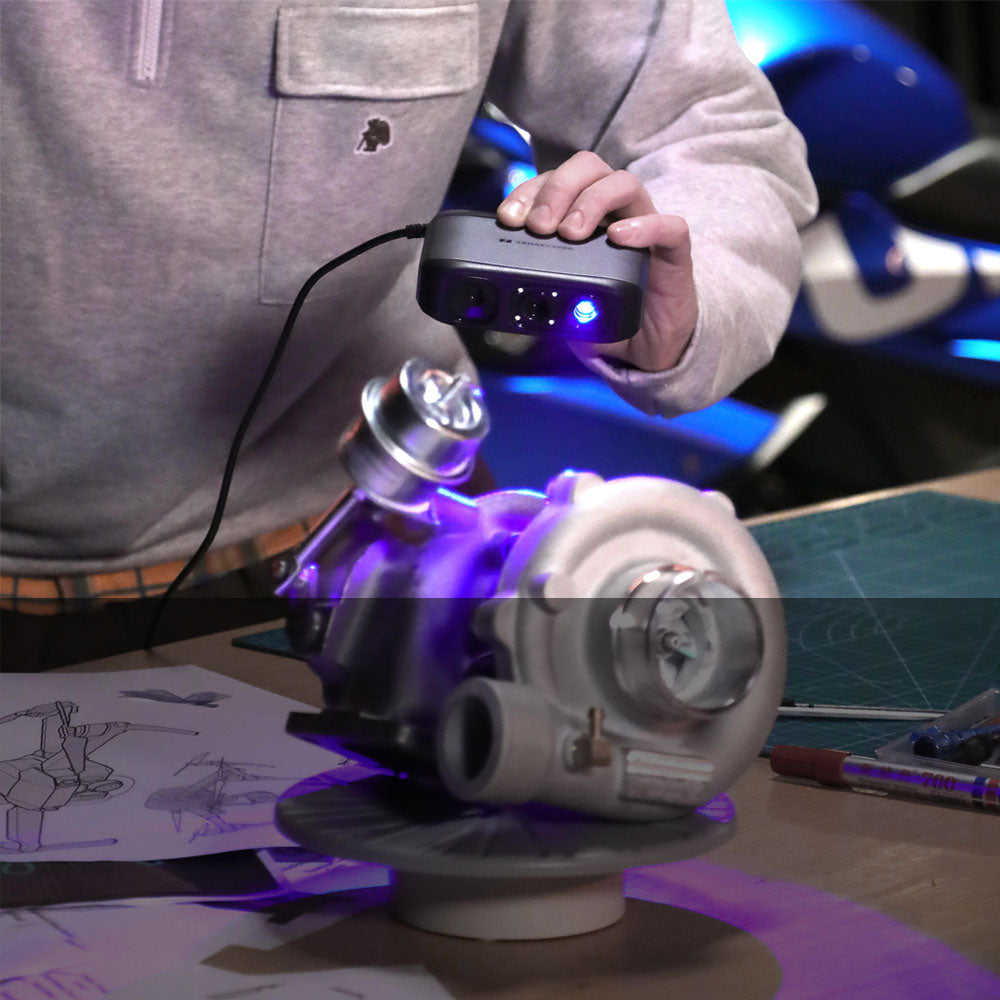
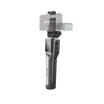
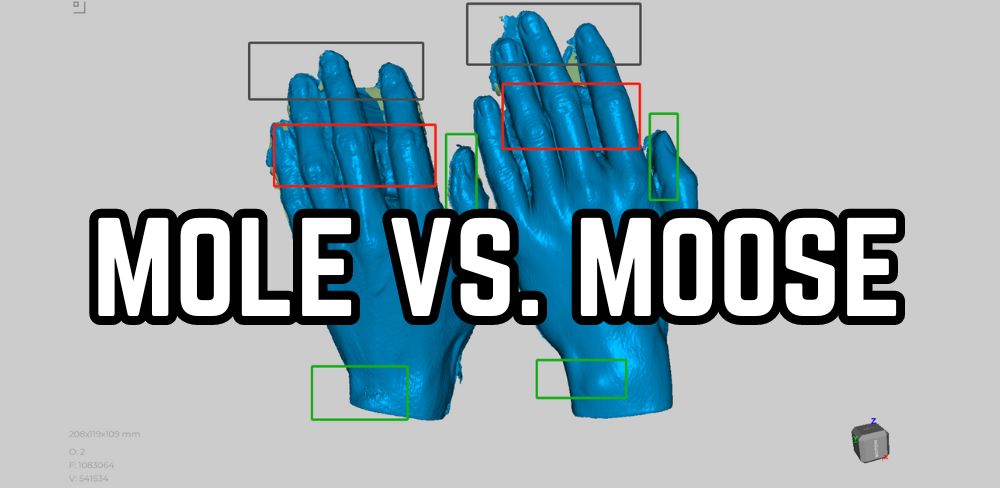
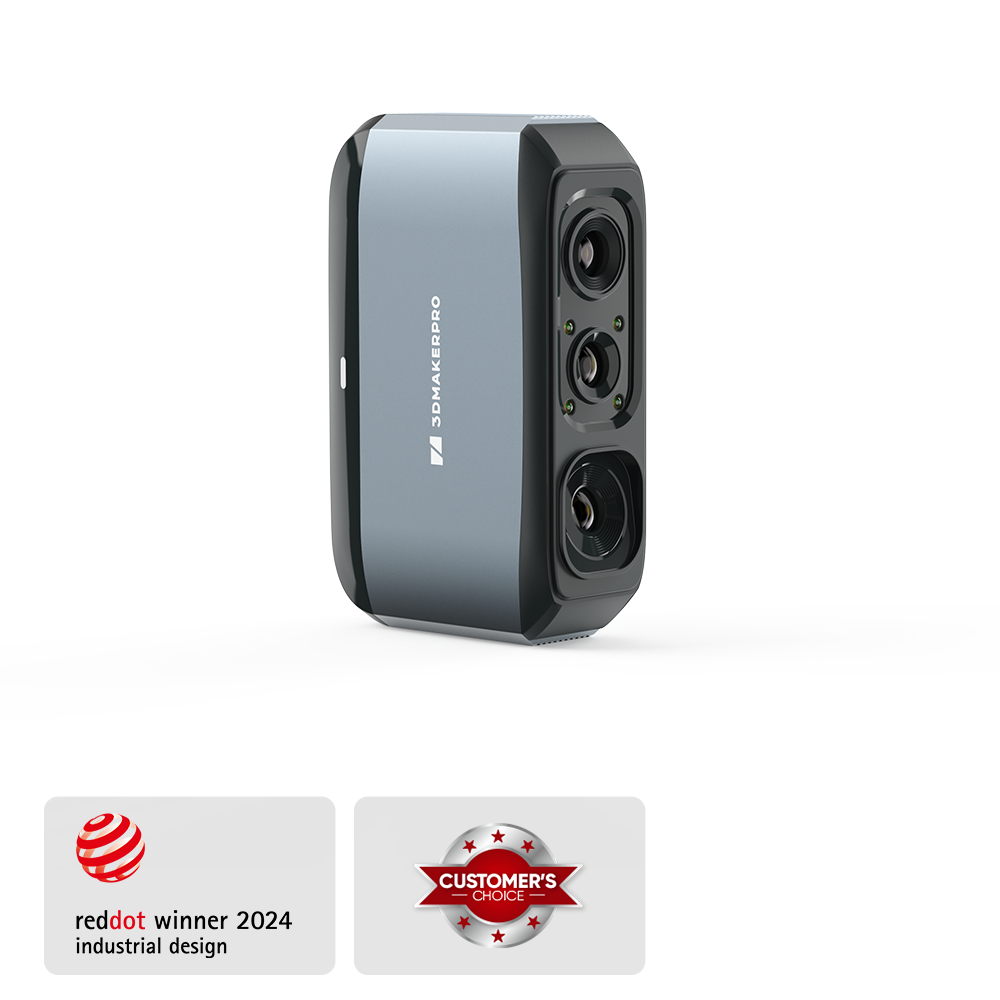
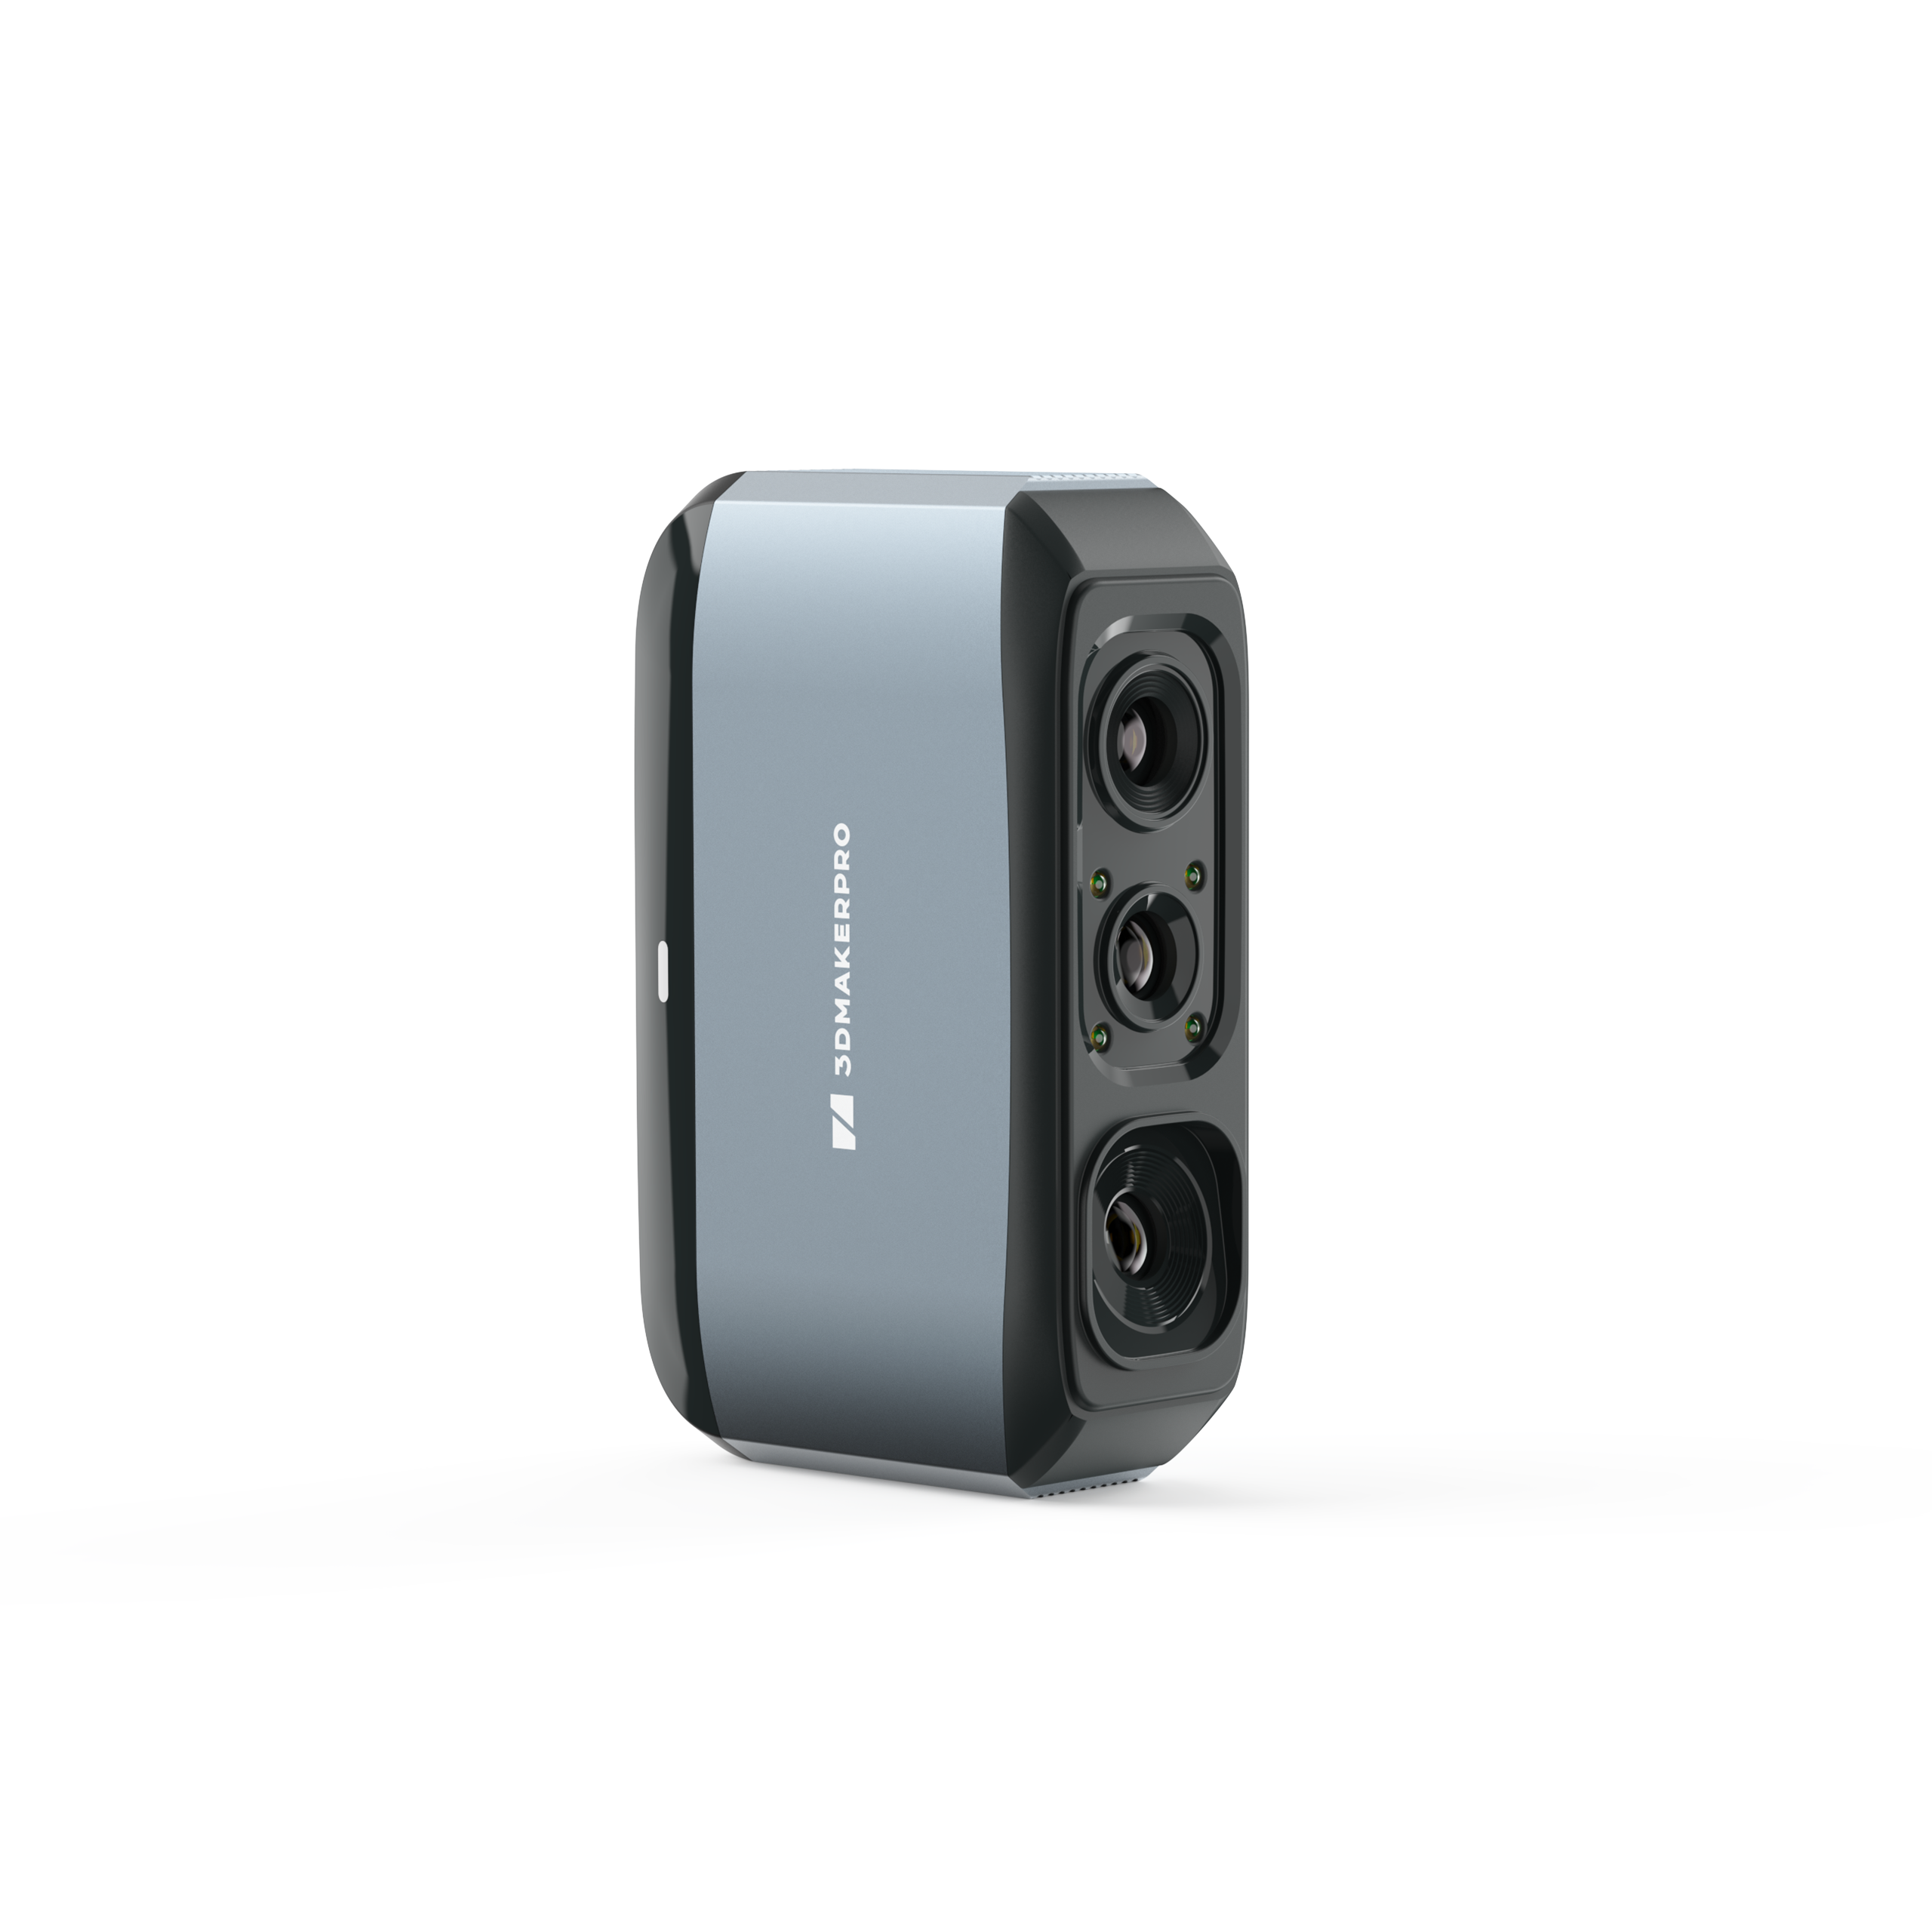
Start by using the Seal or Moose 3D scanner to capture a detailed and precise digital representation of the intact part. Move the scanner around the part, ensuring complete coverage and capturing its shape, dimensions, and intricate details. These scanners employ advanced technologies, including AI algorithms, to ensure reliable and accurate scanning results.
Step 2: Process and Edit the Scanned Data
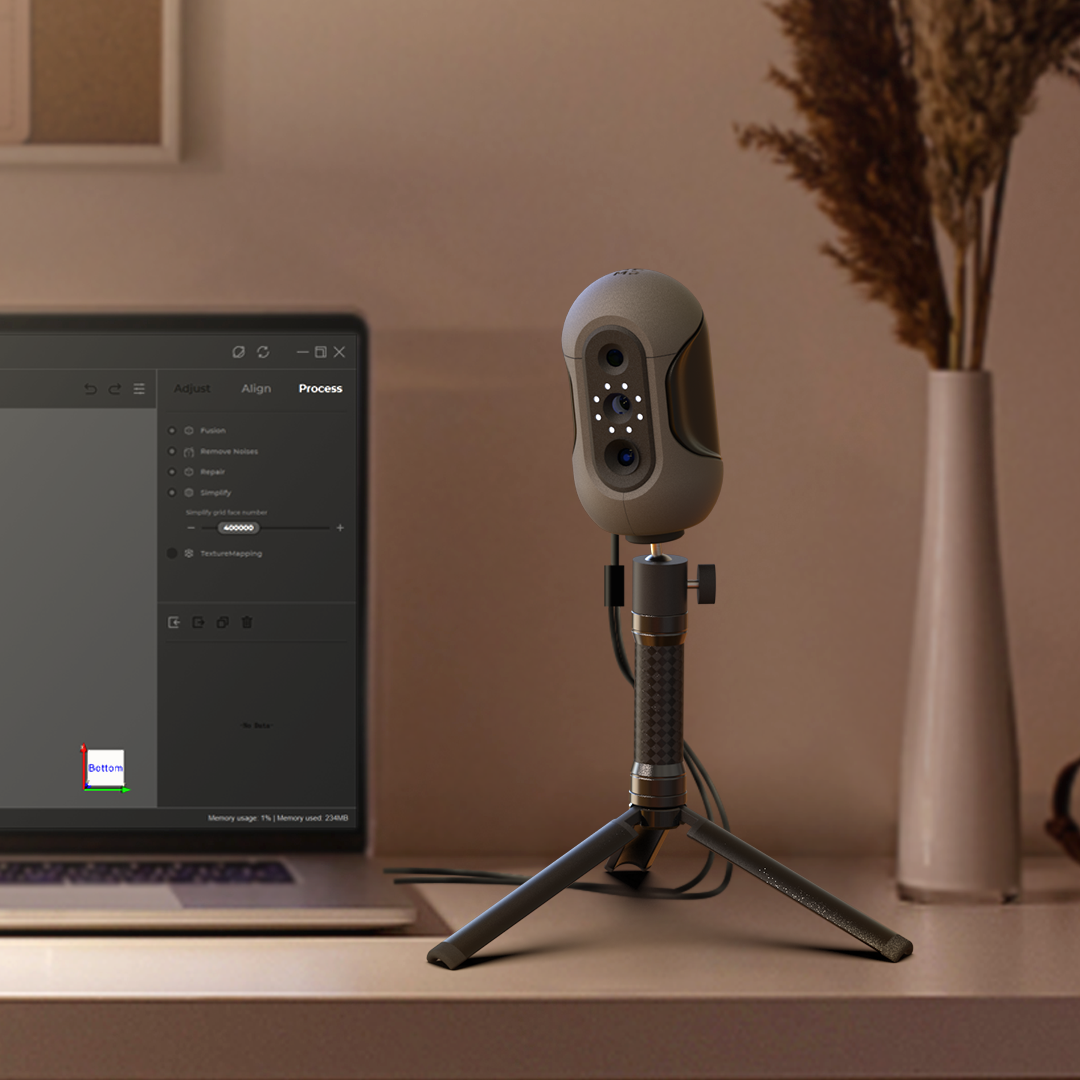
After scanning, transfer the scanned data to a computer or compatible software for processing and editing. Take advantage of the powerful apps that seamlessly integrate with the Seal or Moose scanners to manipulate and refine the scanned data. Use the software tools to clean up the data, remove imperfections, and optimize the model for reverse engineering.
Step 3: Reverse Engineer the Missing Part
Import the edited scanned data into 3D modeling software and begin the reverse engineering process. Use the existing part's scanned data as a reference to recreate the missing component. Consider critical dimensions, features, and functionality while designing the new part. Ensure that the newly designed part aligns with the original product's specifications.
Step 4: Prepare for 3D Printing
With the reverse-engineered model finalized, prepare it for 3D printing. Choose the appropriate material that matches the requirements of the missing part in terms of strength, durability, and functionality. Adjust the model's orientation and add necessary supports to ensure successful printing.
Step 5: 3D Print the Missing Part
Load the chosen material into the 3D printer and initiate the printing process. Based on the reverse-engineered model, the printer will meticulously build the missing part layer by layer. Monitor the printing process to ensure accuracy and address any issues that may arise.
Step 6: Post-Processing and Assembly
Once the 3D printing is complete, remove the printed part from the printer and perform post-processing to achieve the desired finish. This may include sanding, smoothing, or painting to match the appearance of the original product. Verify the dimensions and fit of the printed part, ensuring it aligns with the product's requirements. Finally, assemble the printed part into the product, replacing the missing component.
In Summary
Reverse engineering, combined with the advanced capabilities of the Seal or Moose 3D scanner and 3D printing technology, offers an effective solution for creating missing parts. By scanning, processing, reverse engineering, and 3D printing, you can recreate components with precision and accuracy. It facilitates cost-effective repairs and empowers you to restore functionality to the products seamlessly.


Laat een reactie achter
Alle reacties worden gemodereerd voordat ze worden gepubliceerd.
Deze site wordt beschermd door recaptcha en het privacybeleid en de servicevoorwaarden van Google zijn van toepassing.