Why Do 3D Scanners Struggle with Reflective Objects?
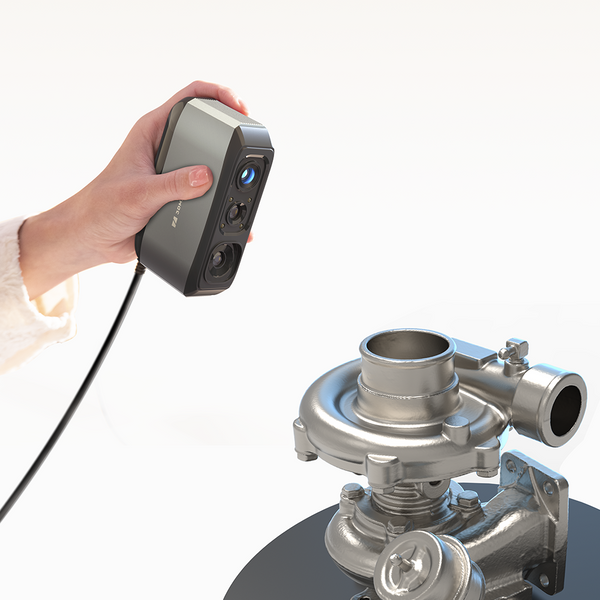
3D scanners struggle with reflective objects because the laser or light emitted by the scanner bounces off the shiny surfaces, causing specular reflections that can deflect the light away from the scanner’s sensors. This results in distorted or incomplete data capture. Reflective surfaces create bright spots that interfere with the scanner’s detection algorithms, making it difficult to accurately capture the surface geometry. Polished and highly reflective materials can also lead to inconsistent readings, as the light may not return to the sensor in the correct way, disrupting the scanning process.
In concise, 3D scanners struggle with reflective objects because shiny surfaces deflect the light away from the sensors, causing glare, distorted data, and incomplete geometry capture. Highly polished materials exacerbate this by disrupting the scanner’s detection process.
How Can We Overcome This Problem?
a) Choose the Right 3D Scanner
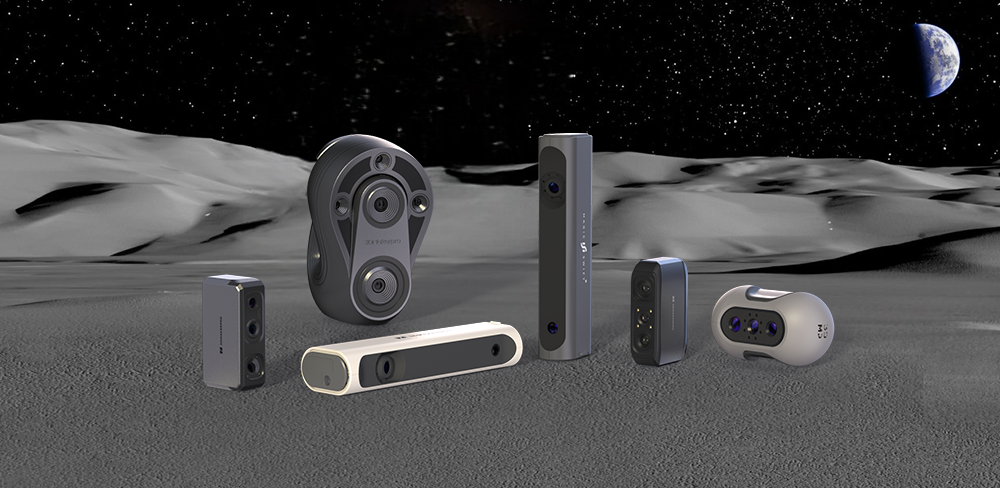
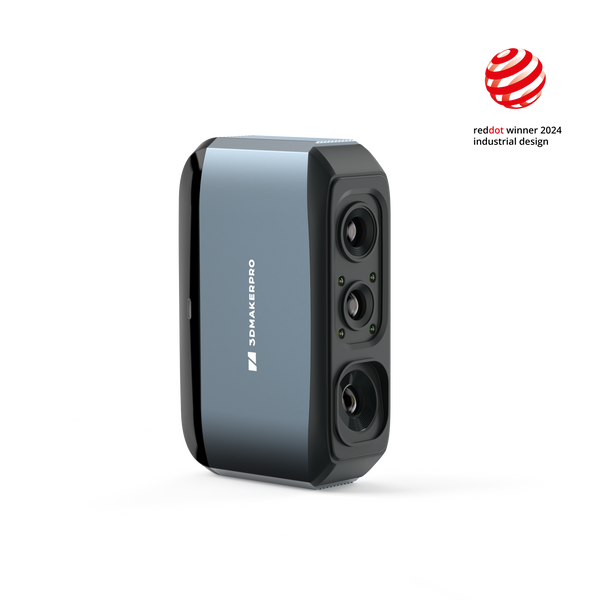
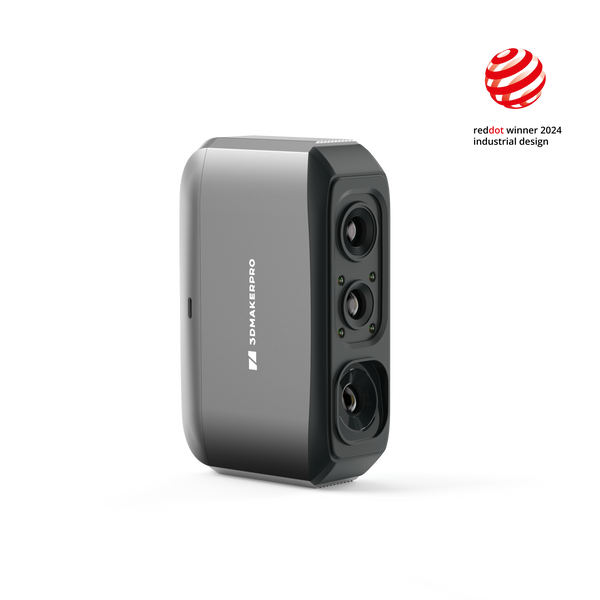
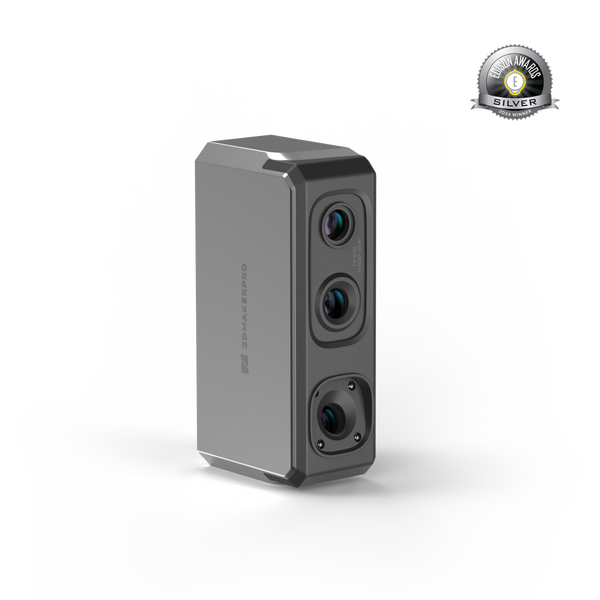
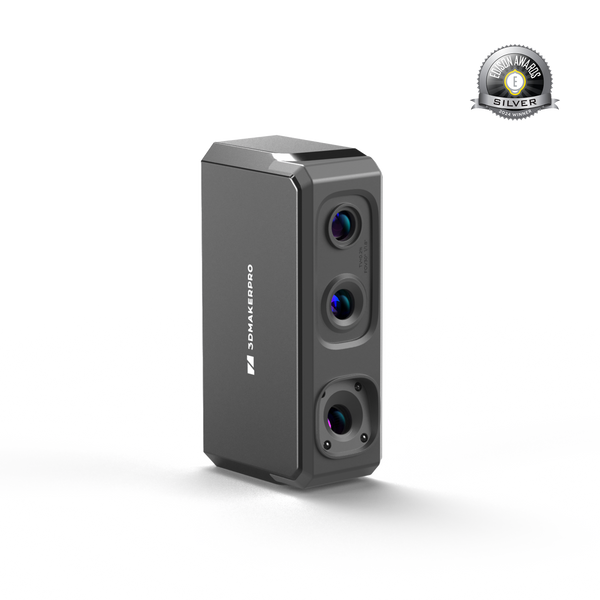
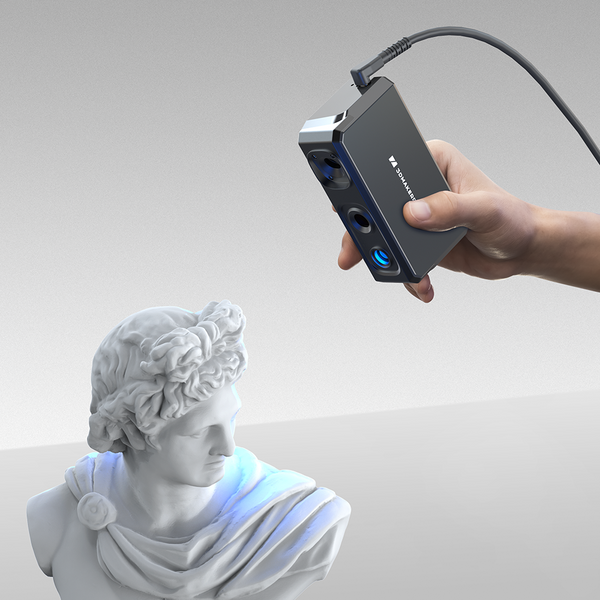
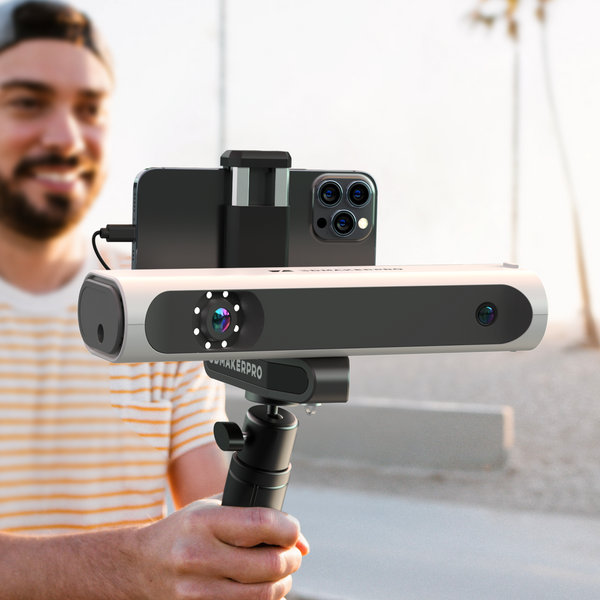
Different scanners excel in different areas. Some are better at scanning black or dark surfaces, while others perform better with reflective objects. Selecting the right scanner for your specific project can save time and enhance accuracy. For example, our Seal Scanner, with 0.01mm accuracy and 24-bit color texture, is effective for scanning slightly reflective metal items. The Lynx Scanner, with a large-format scanning range of 200-5000mm, can easily handle large-scale scanning projects.
b) Use Reflective Stickers
Reflective markers, typically small stickers or magnets with a white circular reflective area surrounded by a black ring, can greatly improve scanning accuracy. These markers are placed on the object or its surroundings, providing high-contrast targets that the scanner can easily detect, ensuring spatial positioning and proper alignment during the scan.

Steps to Use Reflective Stickers:
①Clean the object’s surface to ensure optimal adhesion and scanning quality.
②Choose appropriate markers and evenly distribute them across the object, spaced 10 to 15 centimeters apart. Stick them on flat surfaces, avoiding curves or edges.
③Conduct a test scan to verify that the markers are being detected correctly. Adjust spacing or positioning as needed, especially for objects with complex geometries.
c) Apply Scanning Spray
AESUB Blue is a self-vanishing scanning spray developed by 3DMakerpro experts. It evaporates within a few hours, eliminating the need for cleaning after use. Unlike traditional sprays, AESUB Blue contains no pigments, preventing contamination of sensitive areas such as labs or production environments.
Steps to Use AESUB Blue:
Step one: Apply AESUB blue from 15-20 cm away. Gently push down the spray button and move the can across the area using even, back-and-forth strokes. Move at a consistent pace to achieve an even coating. Spray over the entire surface that you will be scanning.
Step two: Evenly and smoothly scan can be started as soon as you have a stable & white coating.
Step three: Finish your work. The applied coating of AESUB blue sublimes and thus eliminates the need for complex cleaning after use. You just need to wait for several minutes patiently, the spray will disappear soon.
d) Adjust the Exposure
Decreasing the exposure value (EV) can help when scanning reflective objects by reducing glare and excessive reflections, allowing the 3D scanner to capture more accurate details of the object’s surface. Lowering the exposure minimizes light sensitivity, which helps the scanner focus on non-reflective areas and improves contrast, enhancing scan quality. However, it’s important to avoid setting the exposure too low, as this can lead to underexposed data and loss of detail. Experimenting with different exposure settings and scanning from multiple angles can provide the best results for capturing reflective surfaces.

e) Scan Under Controlled Lighting
Conduct the scan in a controlled lighting environment to minimize reflections caused by overhead or ambient light sources. Use diffused light to evenly illuminate the object and reduce harsh glare. Avoid direct light reflections by positioning light sources at angles that do not bounce directly into the scanner. Additionally, use the weakest light intensity possible while still maintaining sufficient visibility, as lower light levels can further reduce the impact of reflections and improve scan quality.

f) Scan from Multiple Angles
Scanning from various angles allows you to collect data from parts of the object that might be overexposed or underrepresented in a single scan. Sometimes collaborating with a turntable can help you systematically scan it from every angle without having to move the scanner around manually. If you scanned the object from multiple angles, combining the scans can provide a more complete and accurate model.

g) Post-Processing in Software
If reflective areas were poorly captured, post-processing software can help clean up and optimize the scan. Tools like JM Studio can enhance texture mapping, while Geomagic Wrap for 3DMakerpro can assist in mesh editing, reducing noise, and filling in holes. These post-processing tools can smooth out inconsistencies and improve the final model.
Example 1: Seal Scanner Scans Trophy
In this guide, we will take you through the step-by-step process of scanning your data. A video tutorial is available at the end of this section.
Step 1: Use Scanning Spray
When scanning the trophy directly with the Seal scanner, strong reflections may prevent successful capturing. To mitigate this, apply AESUB Blue Scanning Spray evenly over the trophy, including the gaps and the black base if possible. Be sure to spray in corners and away from people due to the spray's pungent odor. If the spray dissipates during scanning, simply reapply it and continue. After the scan is complete, there is no need to clean the items, as the spray will disappear on its own. However, it is recommended that you wash your hands afterward. As a 3D printing enthusiast, you will inevitably come into contact with models, consumables, spray, and other plastic or chemical substances. Remember to wash your hands after finishing your work.
Step 2: Scan the Upper Part
The Seal scanner is renowned for its 0.01mm accuracy, though it has a limited scanning range. Therefore, we will divide the process into two parts. The upper section is straightforward to scan due to its large, spherical shape, which facilitates better capture. The white spray will obscure the original color, so using Geometry Mode is sufficient. Ensure a smooth scan, capturing as much area as possible, including the lower part. Using an automatic turntable can enhance the results.
Step 3: Scan the Lower Part
Scan the bottom part, again preferably starting with the ball and the two columns in the front, which will help the scanner locate accurately. Then move your scanner quickly from top to bottom. If the tracking is lost, refer to the instructions on the left and return to the last known position to resume scanning. For the lower part, manually rotating the turntable slowly is recommended, as the Seal scanner may struggle with hollow objects. Scanning the front and back (the two pillars) is easier than the sides, which appear as one pillar. When approaching the sphere, the scanner can be kept further away, and when approaching the lower pillar, it can be kept closer. Of course, you can also gain new insights during the scanning process.
Step 4: Align the Data
Utilize JM Studio to automatically combine the two scans, resulting in a complete digital model. Given the quality of the scanning data, automatic alignment has succeeded, and you can remove any excess noise.
Step 5: Process the Data
Click the "Process" button in the top right corner of the interface. Select "Remove Noise" and "Repair Caps" (Fusion is necessary, with the default option chosen). Since the object was sprayed white and scanned in geometry mode, texture mapping is unnecessary as it won't reflect the trophy's original golden color. For a golden trophy impression, use golden consumables to print. After a few minutes, the object will be generated. Any minor flaws can be corrected using Geomagic Wrap for 3DMakerpro software.
Example 2: Lynx Scanner Scans Trophy
Step 1: Use Scanning Spray
Similar to the Seal scanner, the Lynx scanner will struggle to capture the trophy directly due to strong reflections. Apply AESUB Blue Scanning Spray evenly across the trophy, including gaps and the black base. Spray in corners and away from people due to the odor. If the spray dissipates, reapply as needed. Post-scanning, the spray will evaporate, but remember to wash your hands afterward.
Step 2: Start to Scan-- Data 1
The Lynx scanner features a large-format scanning range, ideal for objects measuring between 100 and 2000 mm. Connect it to the automatic turntable and move the scanner slightly up and down to easily capture all the features of the object. The first scan basically captures all the features, and we get successful yellow scan data 1. However, there is a slight defect on the side, so we can do a second scan later.
Misalignment
The second scanning process was the same as the first time, but when the two data sets were merged, we found that the model was misaligned, so we had to delete the second khaki color scan data and the merged model. A third scan was performed.
Step 3: Continue to Scan-- Data 2
We regroup and perform a third scan. Please move your Lynx scanner slowly up and down, in conjunction with the turntable. The second successful scan data is obtained.
Step 4: Align the Scanning Data
Before the alignment, we can clear the noise in case they will disturb the final work. This time, we successfully automatically align the two models.
Step 5: Process the Scanning Data
Click the "Process" button in the top right corner of the interface. Choose "Remove Noise" and "Repair Caps" (Fusion is necessary, with the default option chosen). As with the Seal scanner, texture mapping is unnecessary due to the white spray. After several minutes, the object will be generated. For modifications, use Geomagic Wrap for 3DMakerpro.
The scan is completed in about 10 minutes for both the Seal and Lynx scanners. If you are familiar with the Lynx scanner, the scan may be even faster. Because the Lynx has a larger scanning area, sufficient spray, and accurate scanning, it is more efficient.
Conclusion
Choose the scanner best suited for your project and utilize appropriate tools and techniques for each. Remember, practice makes perfect—don’t be discouraged by failures. Even experts continue to discover new tips, so embrace the learning journey.


