


Art toys have gained immense popularity in recent years, captivating collectors and enthusiasts with their unique designs and creative expressions. If you're an artist or a toy enthusiast seeking to bring your imaginative concepts to life, the 3DMakerPro Seal 3D scanner offers an incredible tool to transform your ideas into tangible art toy models. This time, we will explore how you can create captivating art toys with the power of the Seal 3D scanner.
Conceptualize Your Design
Before diving into the scanning process, it's essential to have a clear vision of your art toy design. Sketch your ideas, and consider the shape, form, and character you want to bring to life. Take inspiration from various sources, such as movies, comics, or personal experiences, and let your creativity flow.
Gather the Necessary Materials
To create your art toy models, you'll need the following materials:
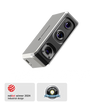
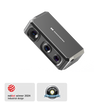
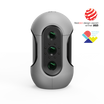
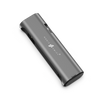
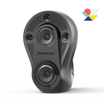
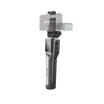
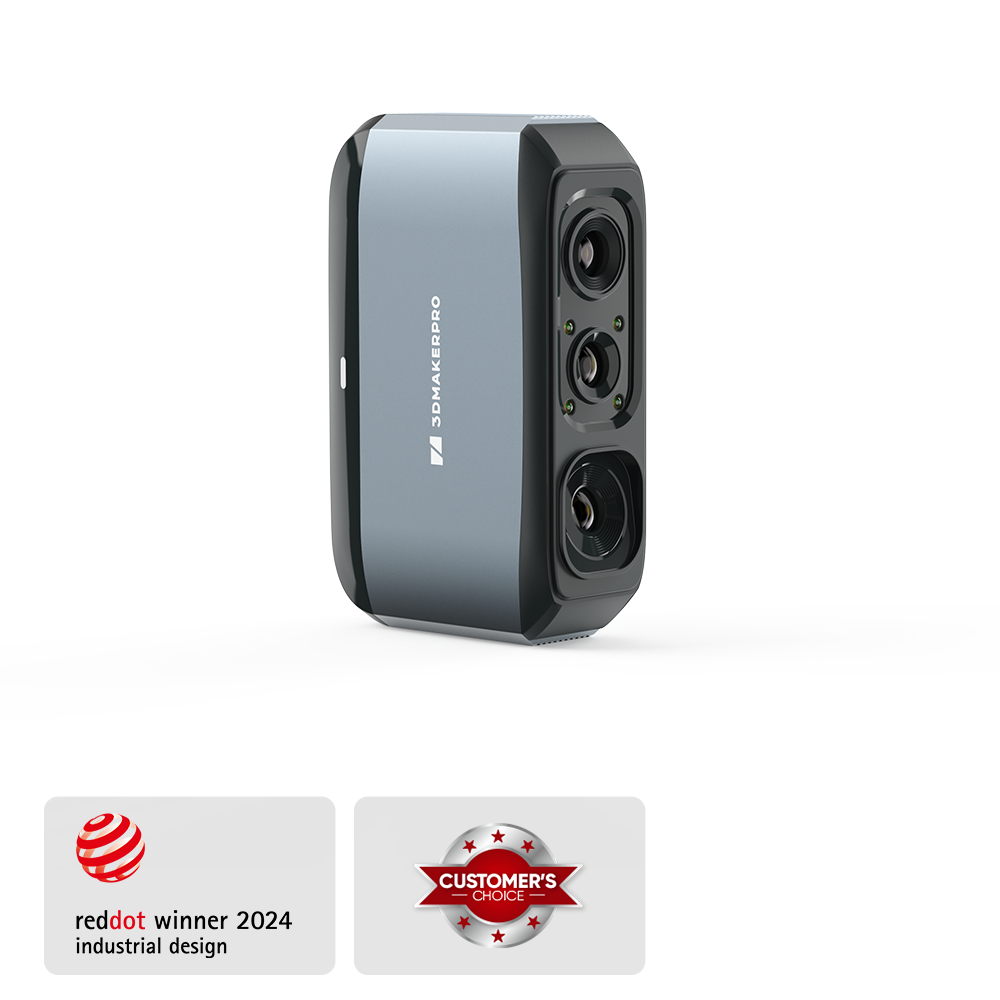
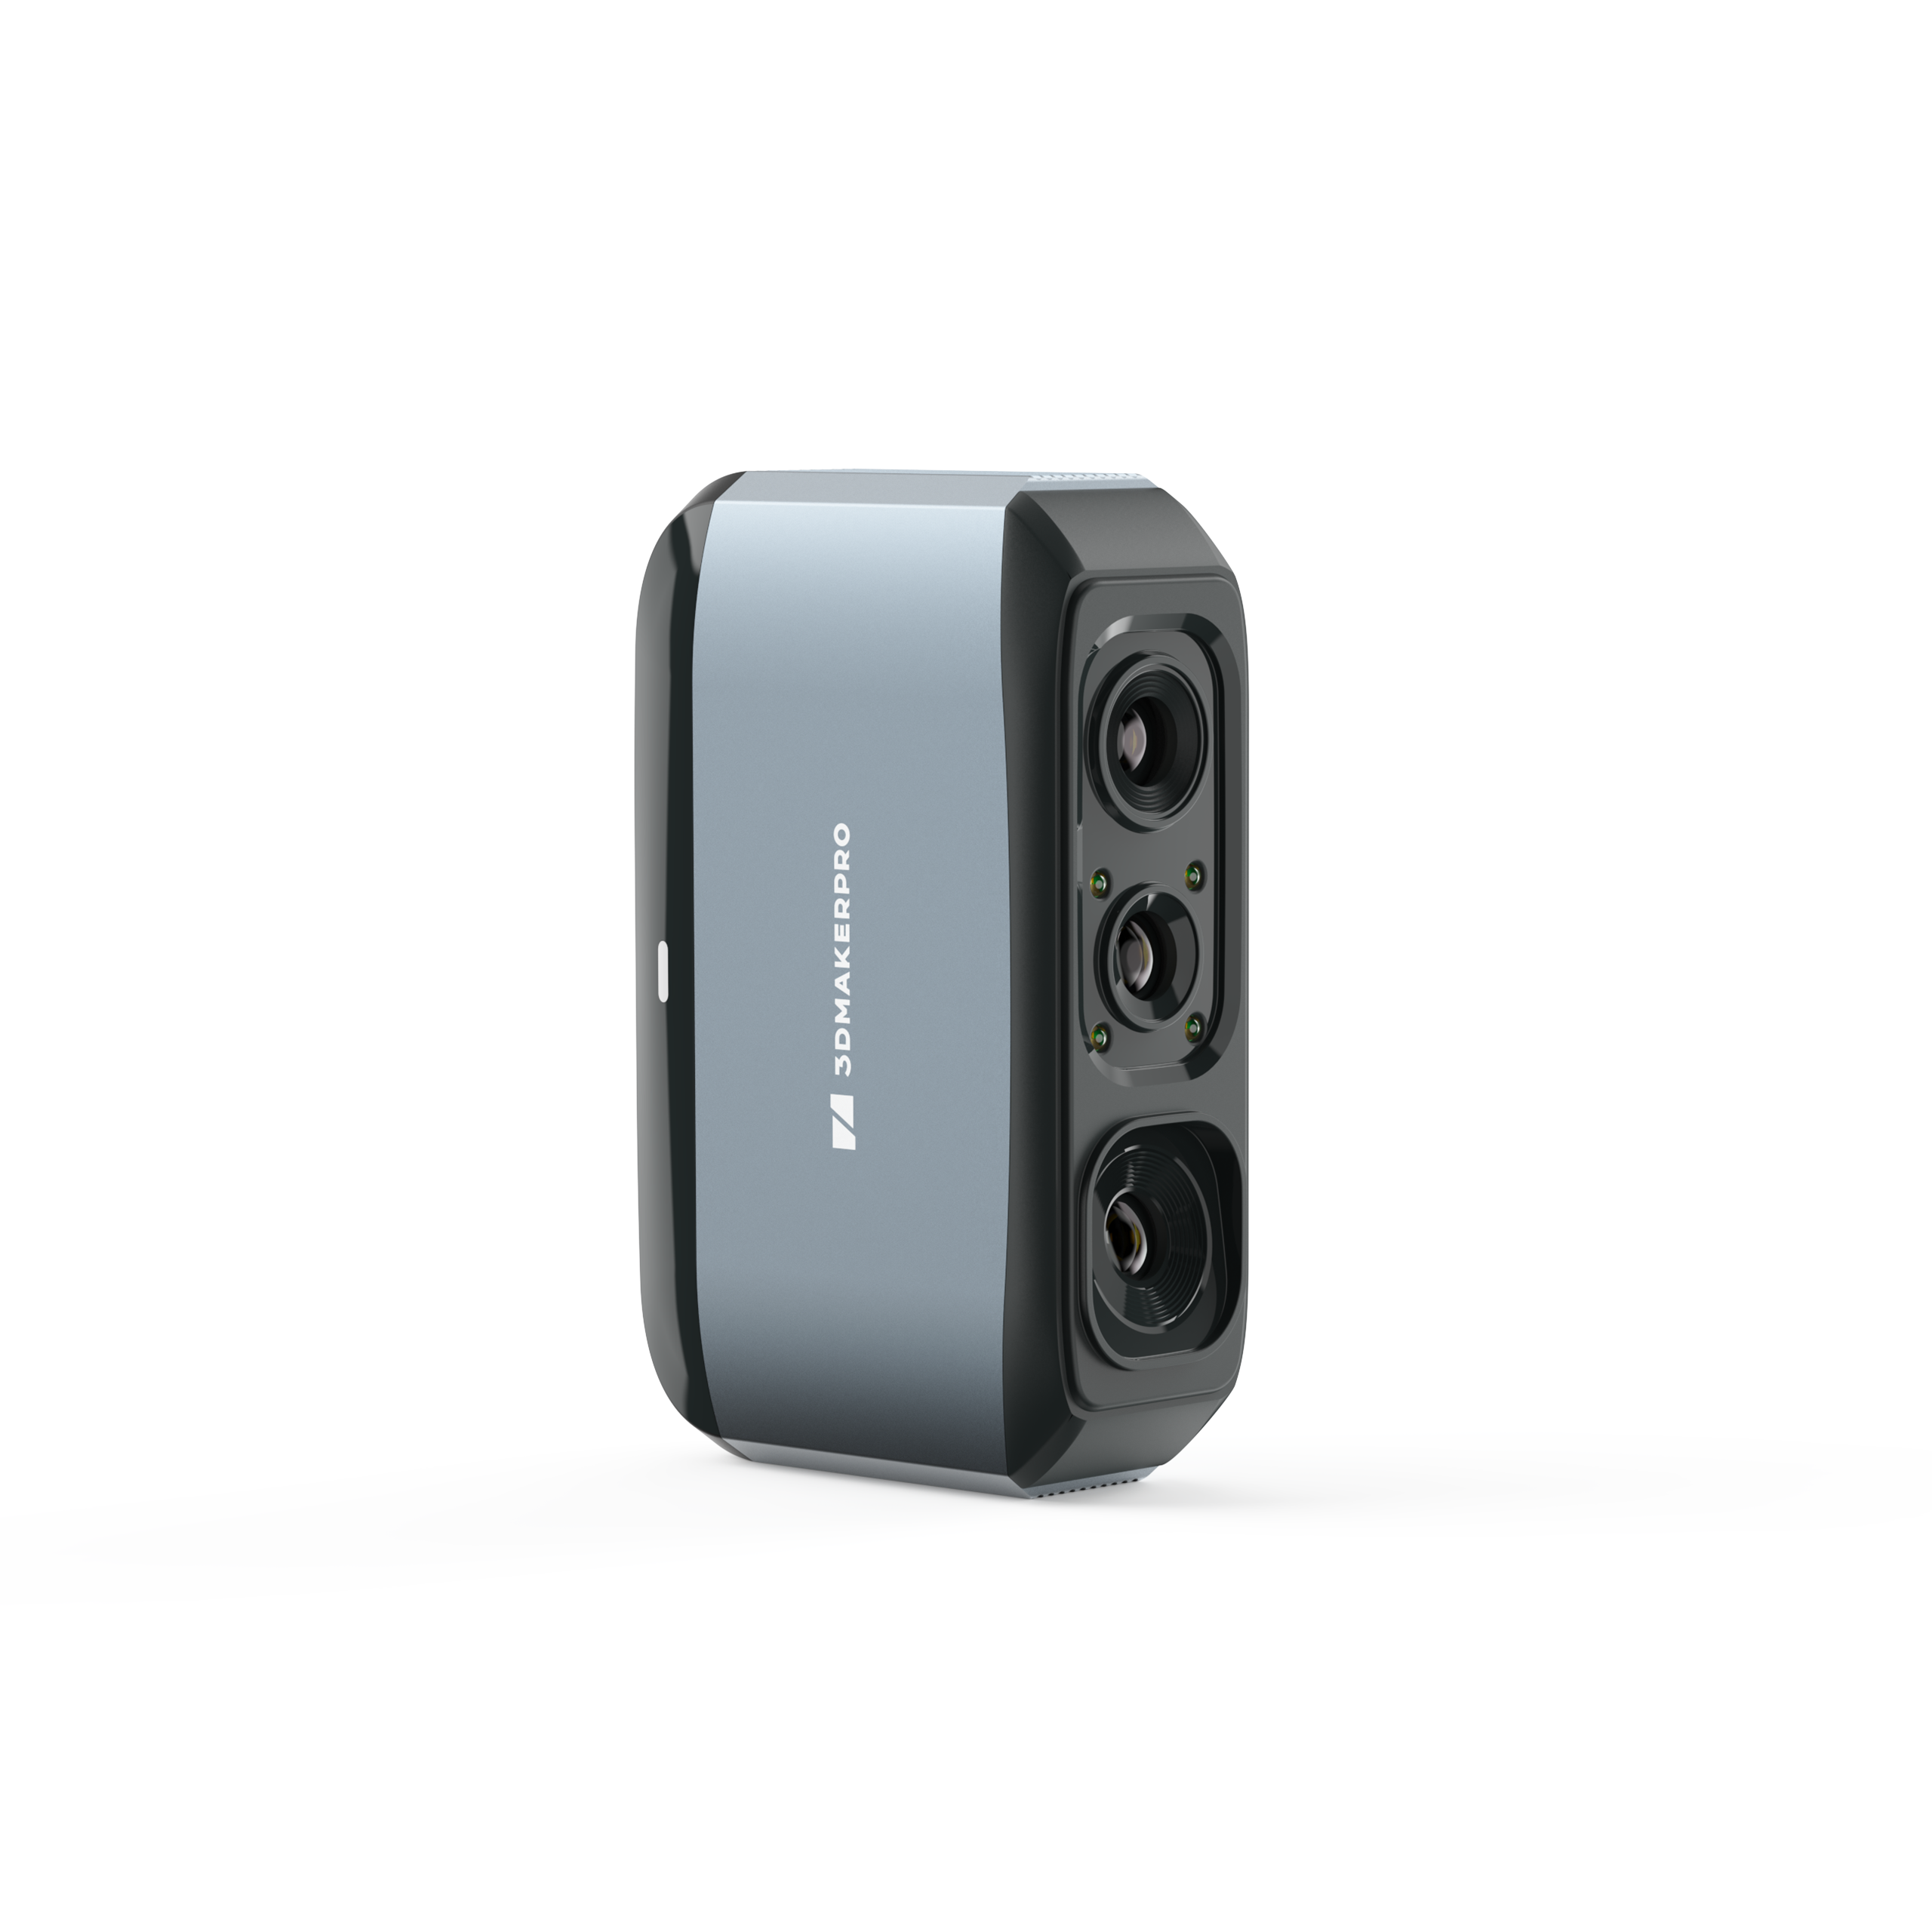
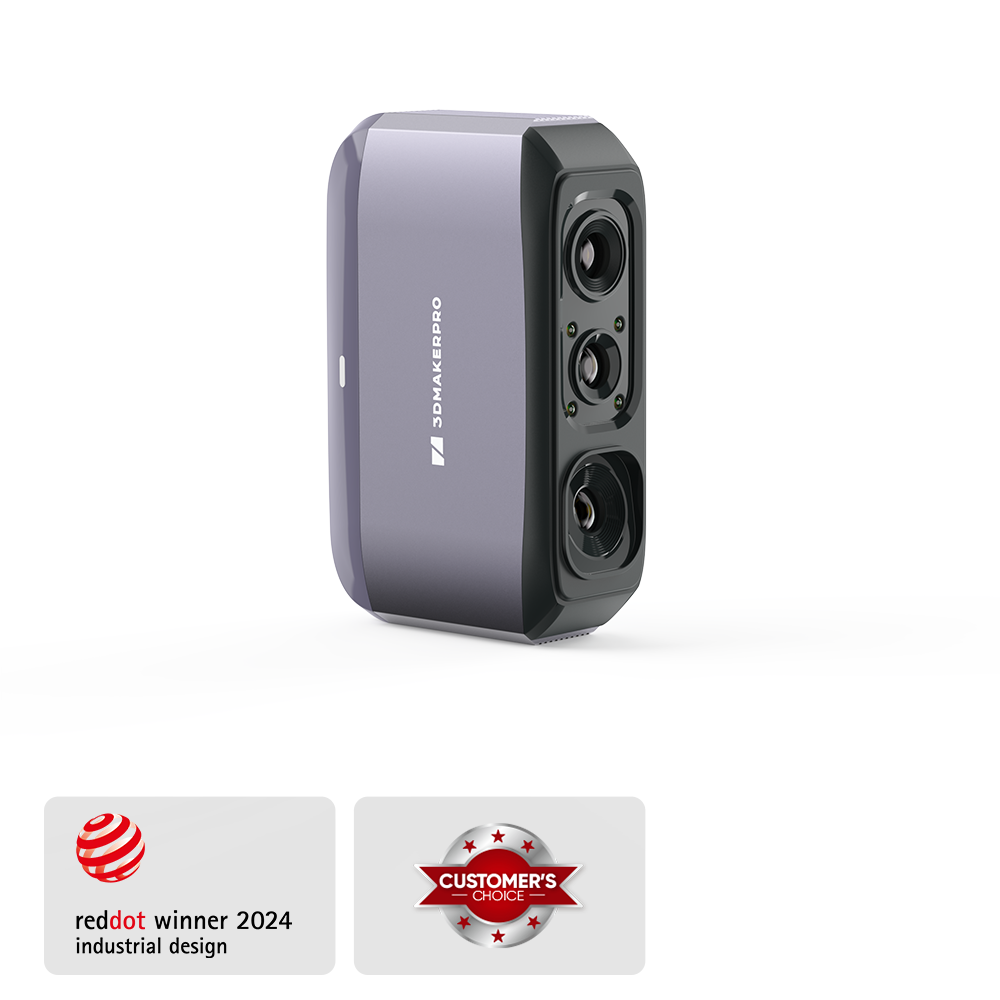
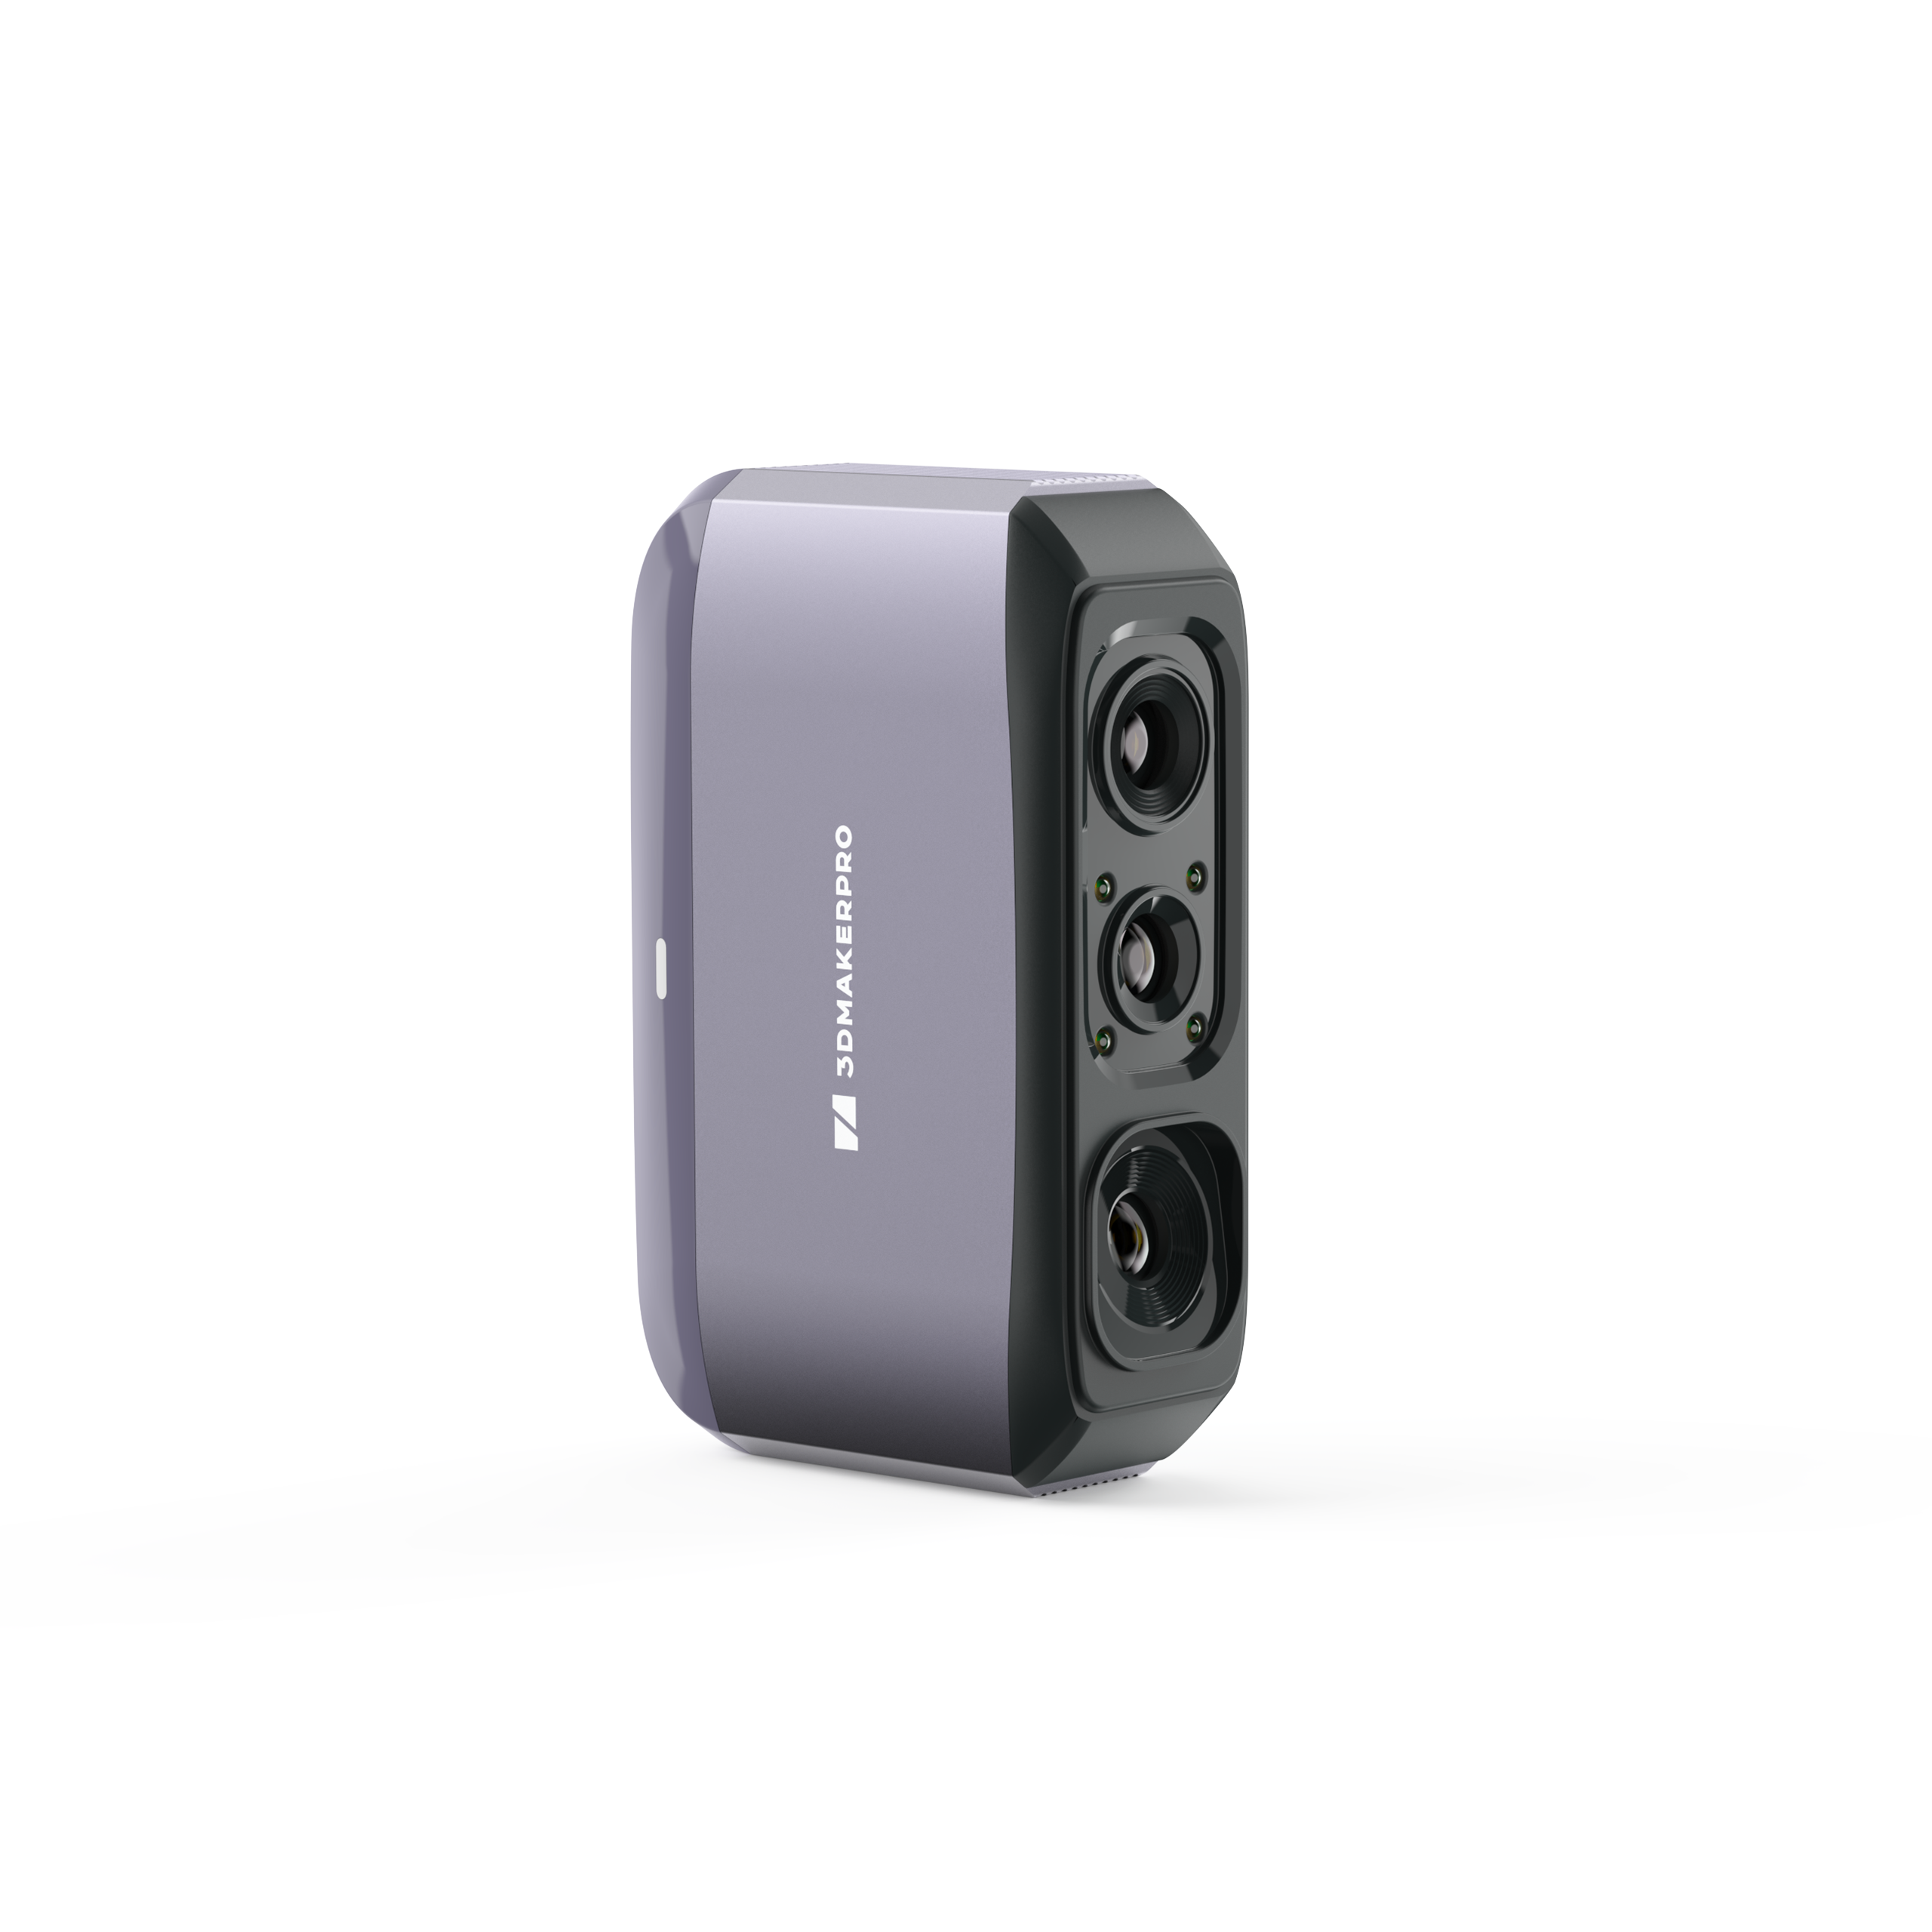
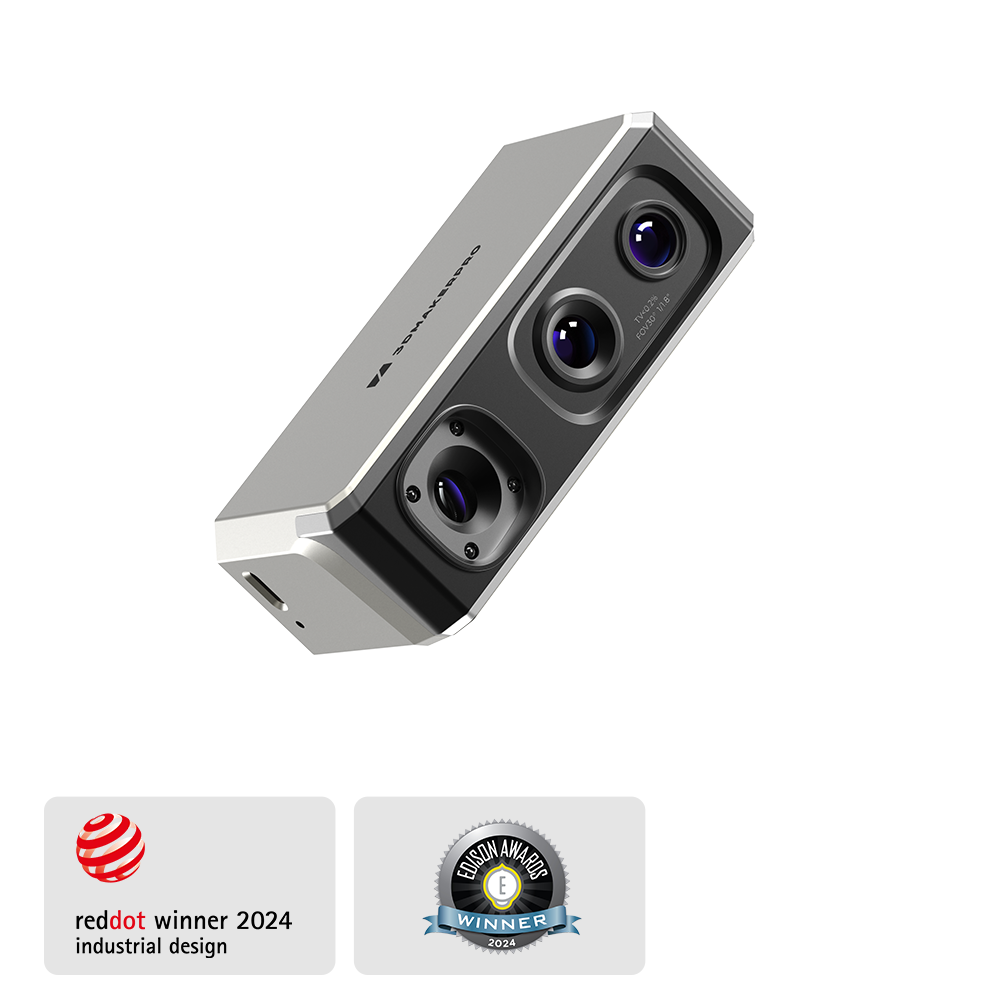
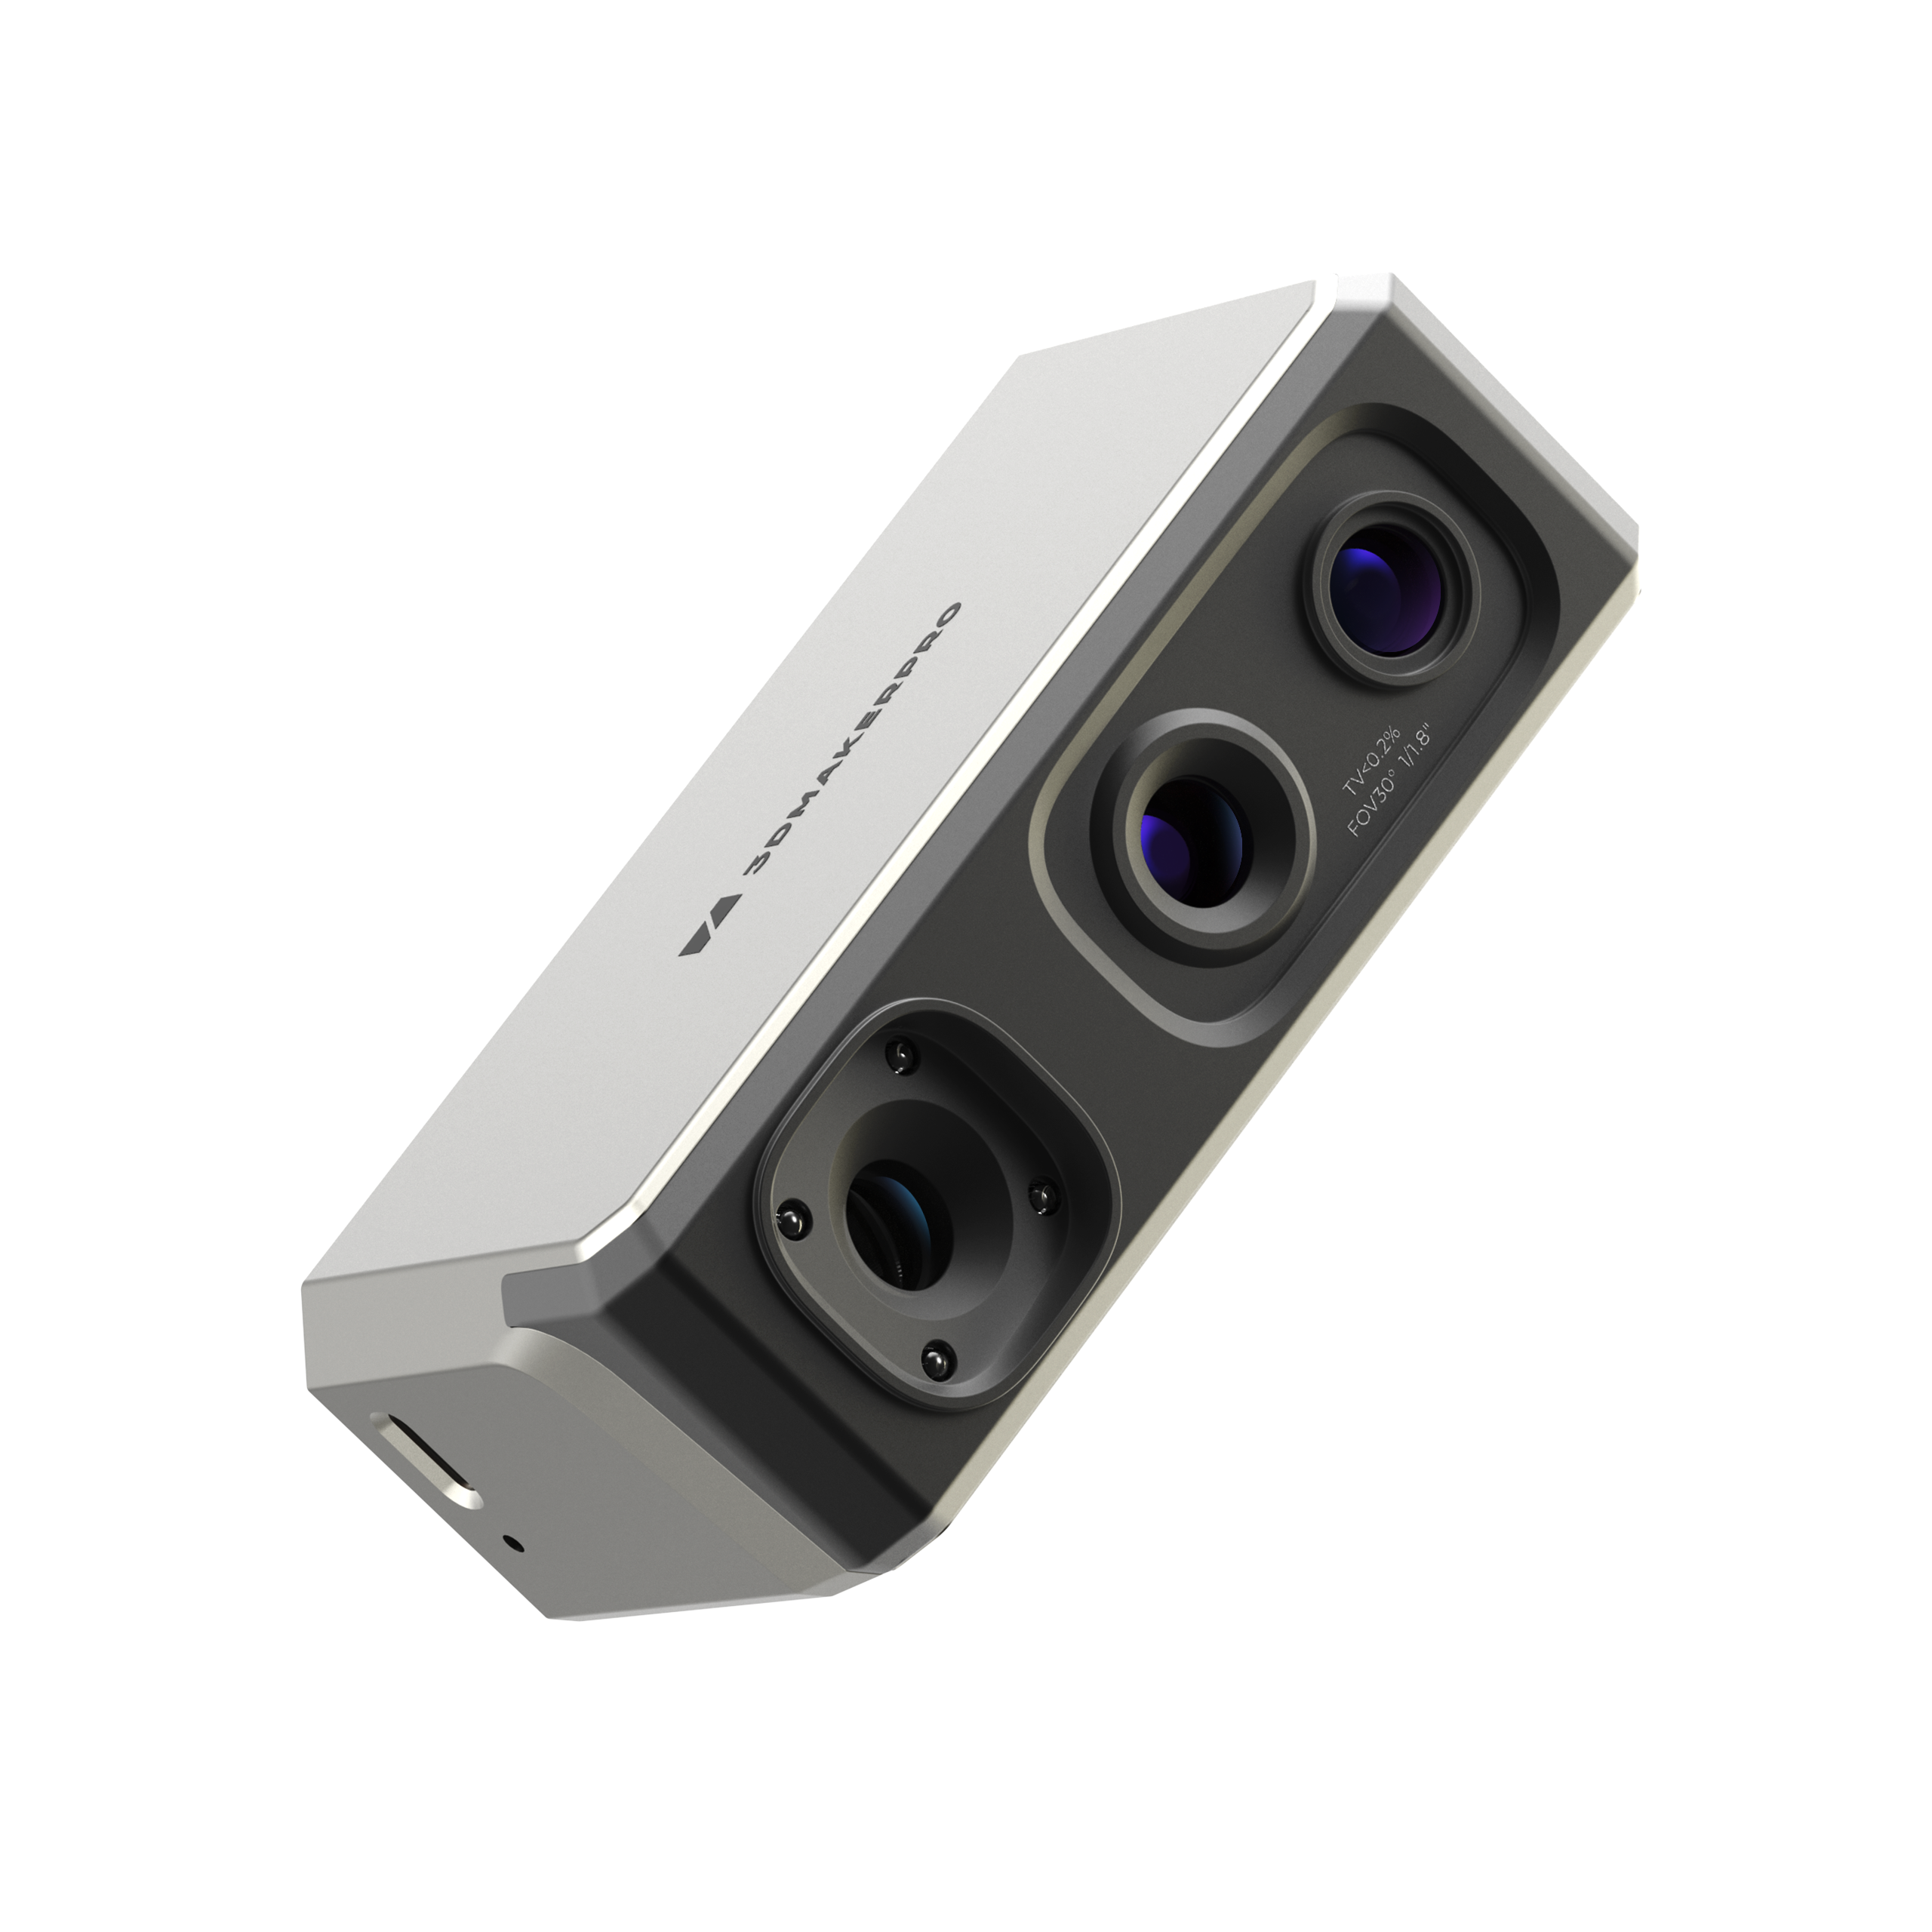
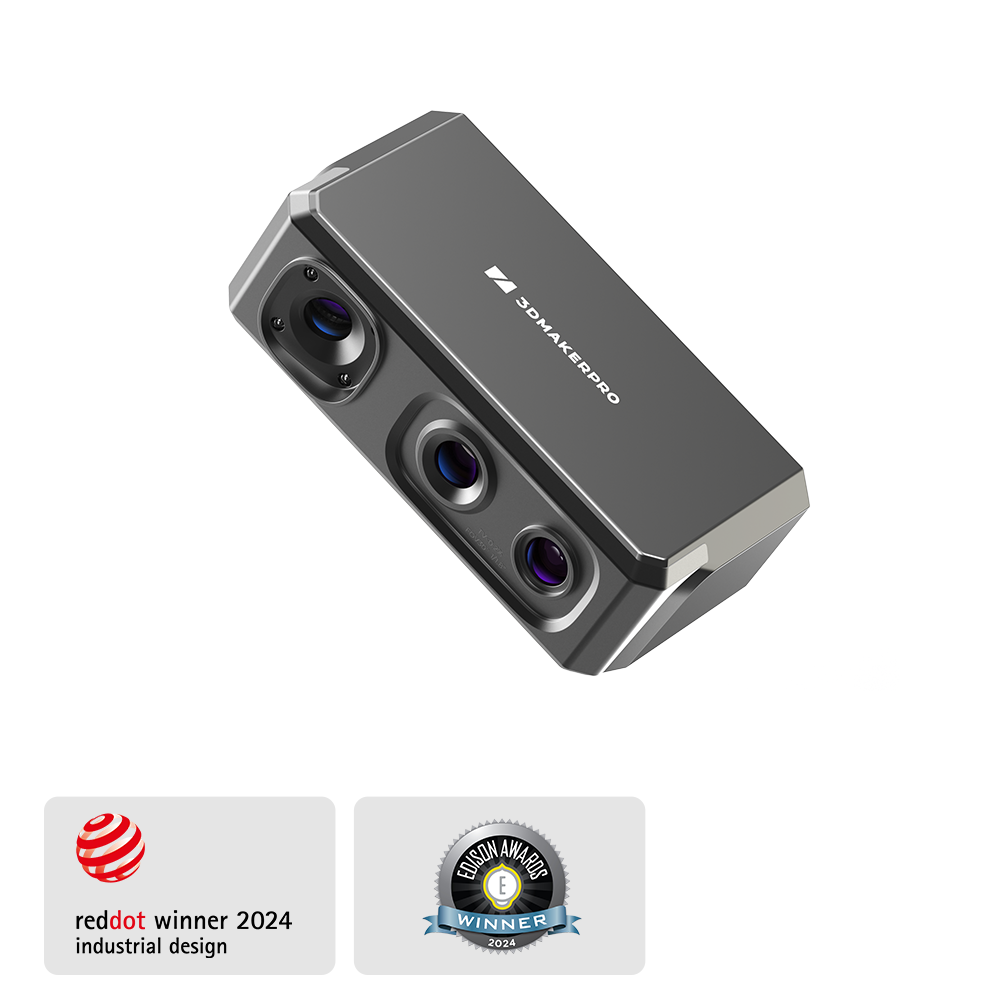
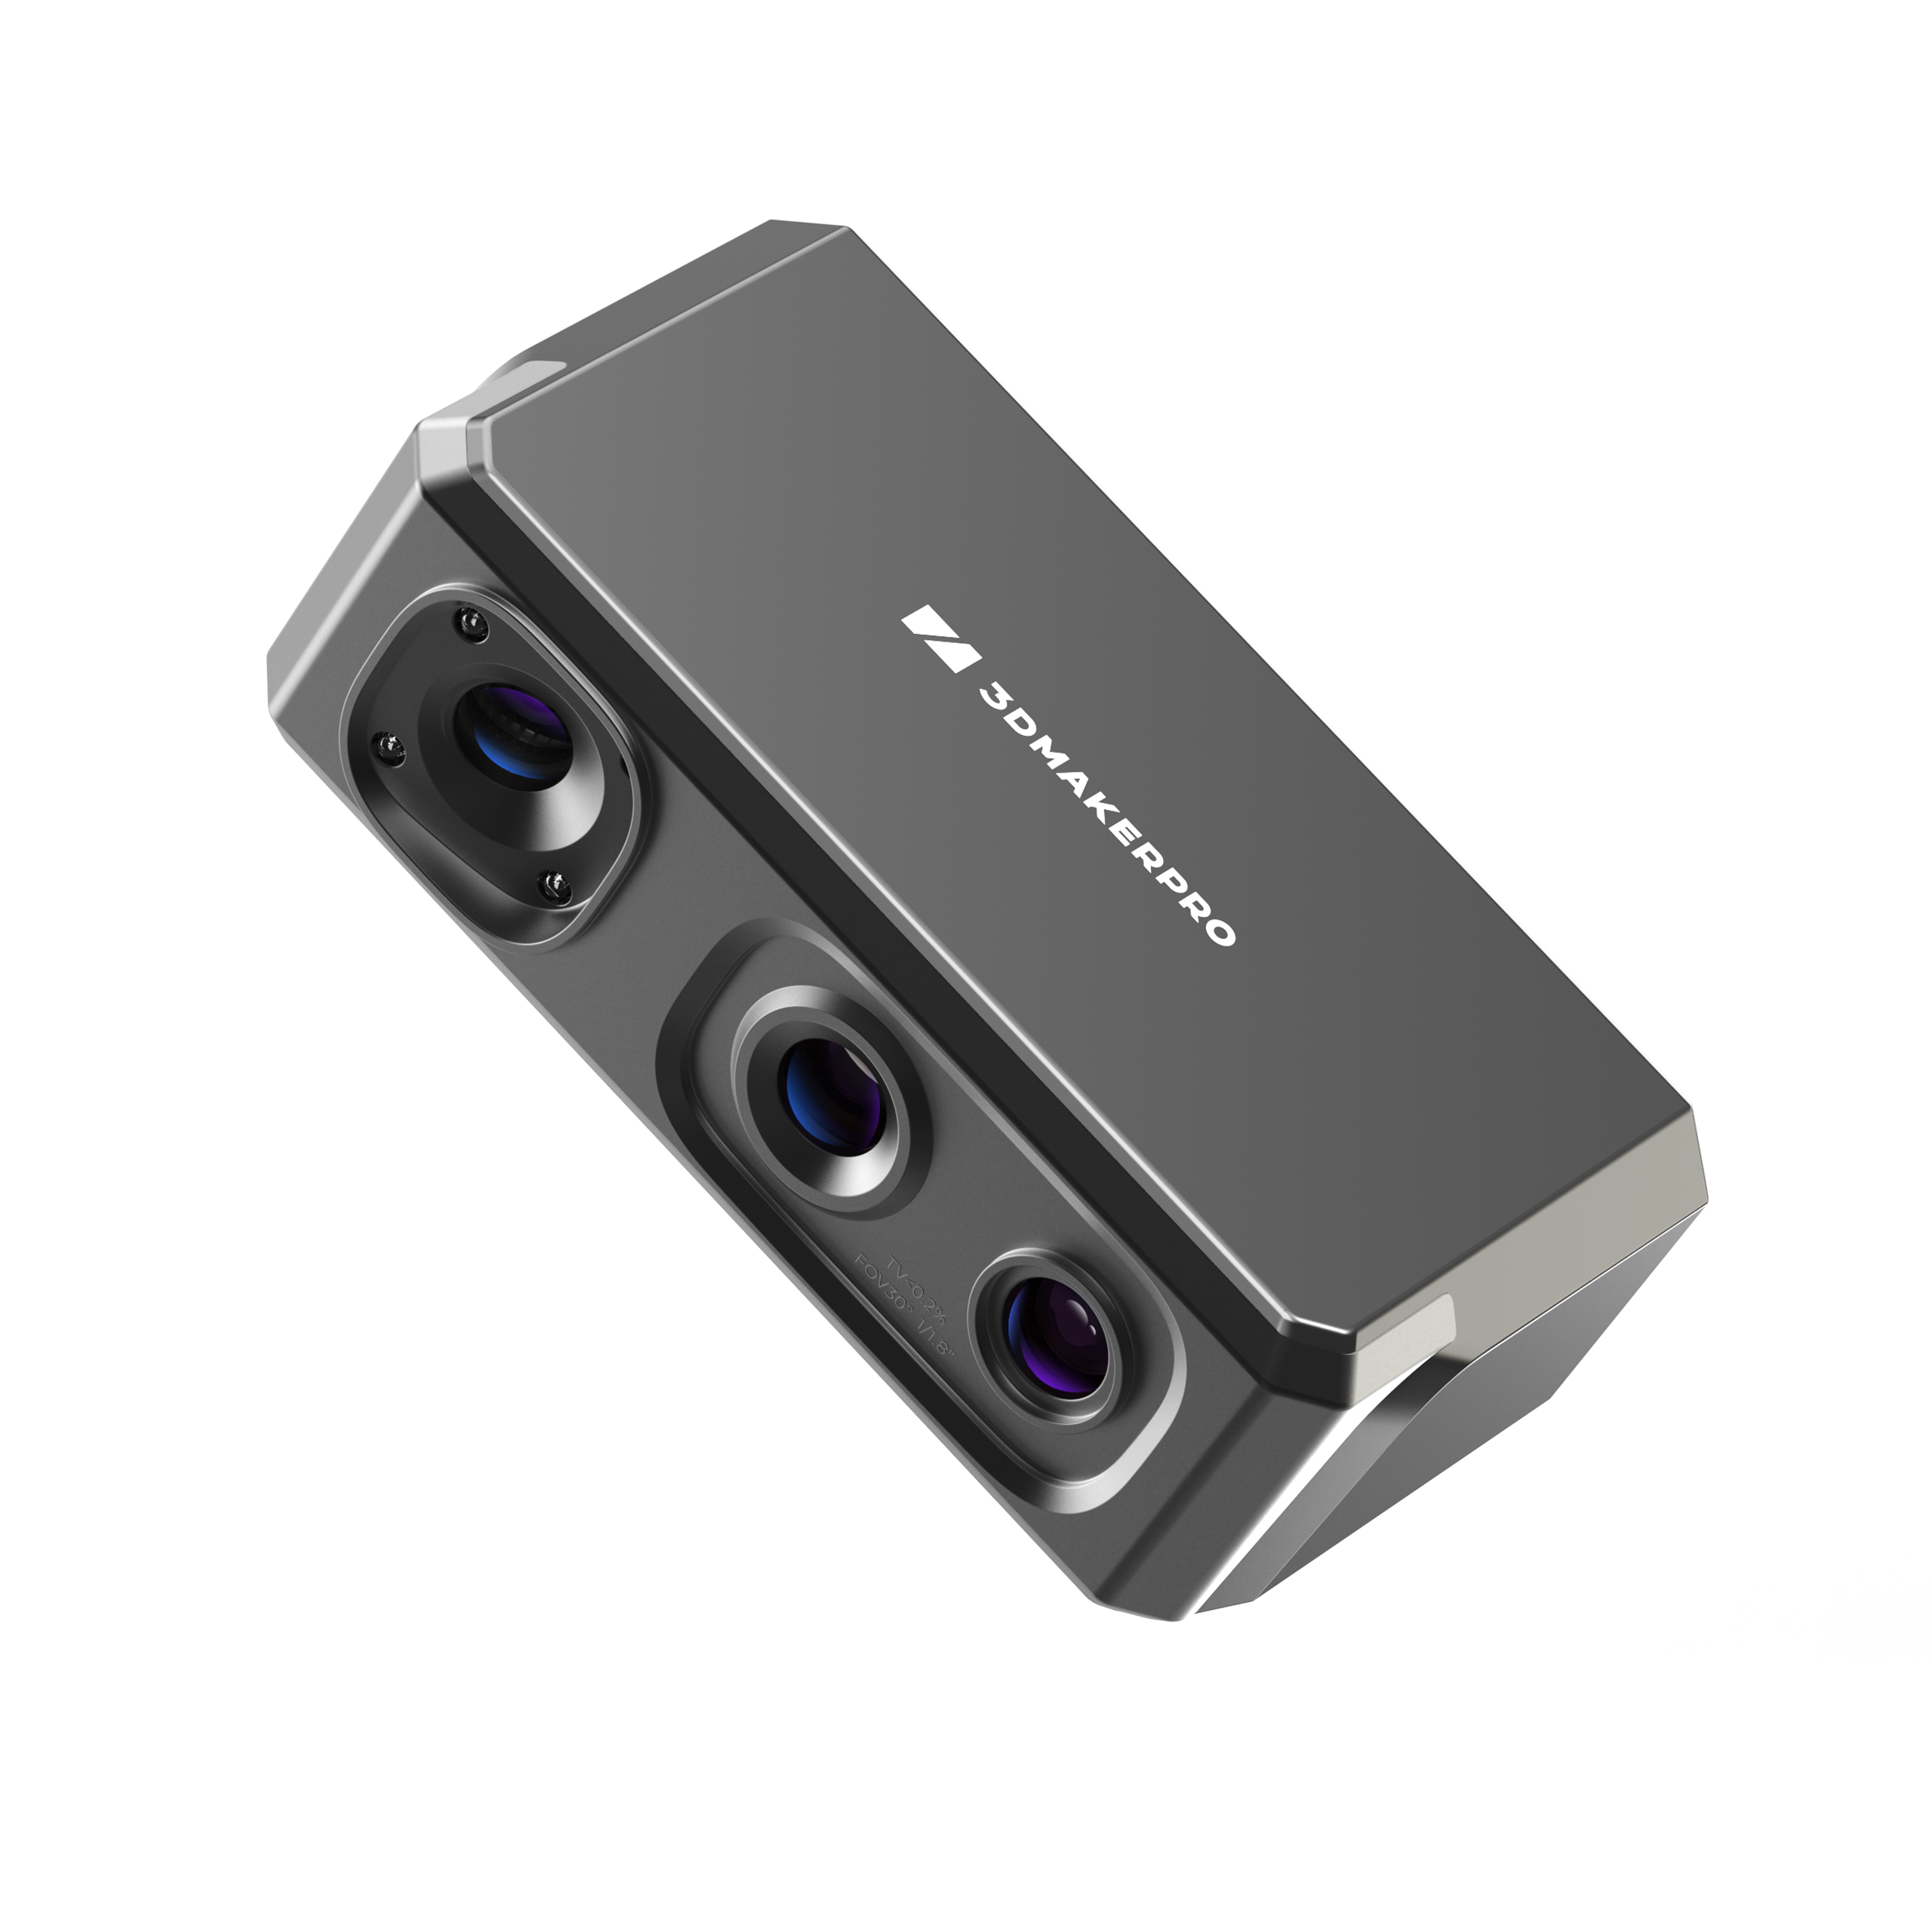
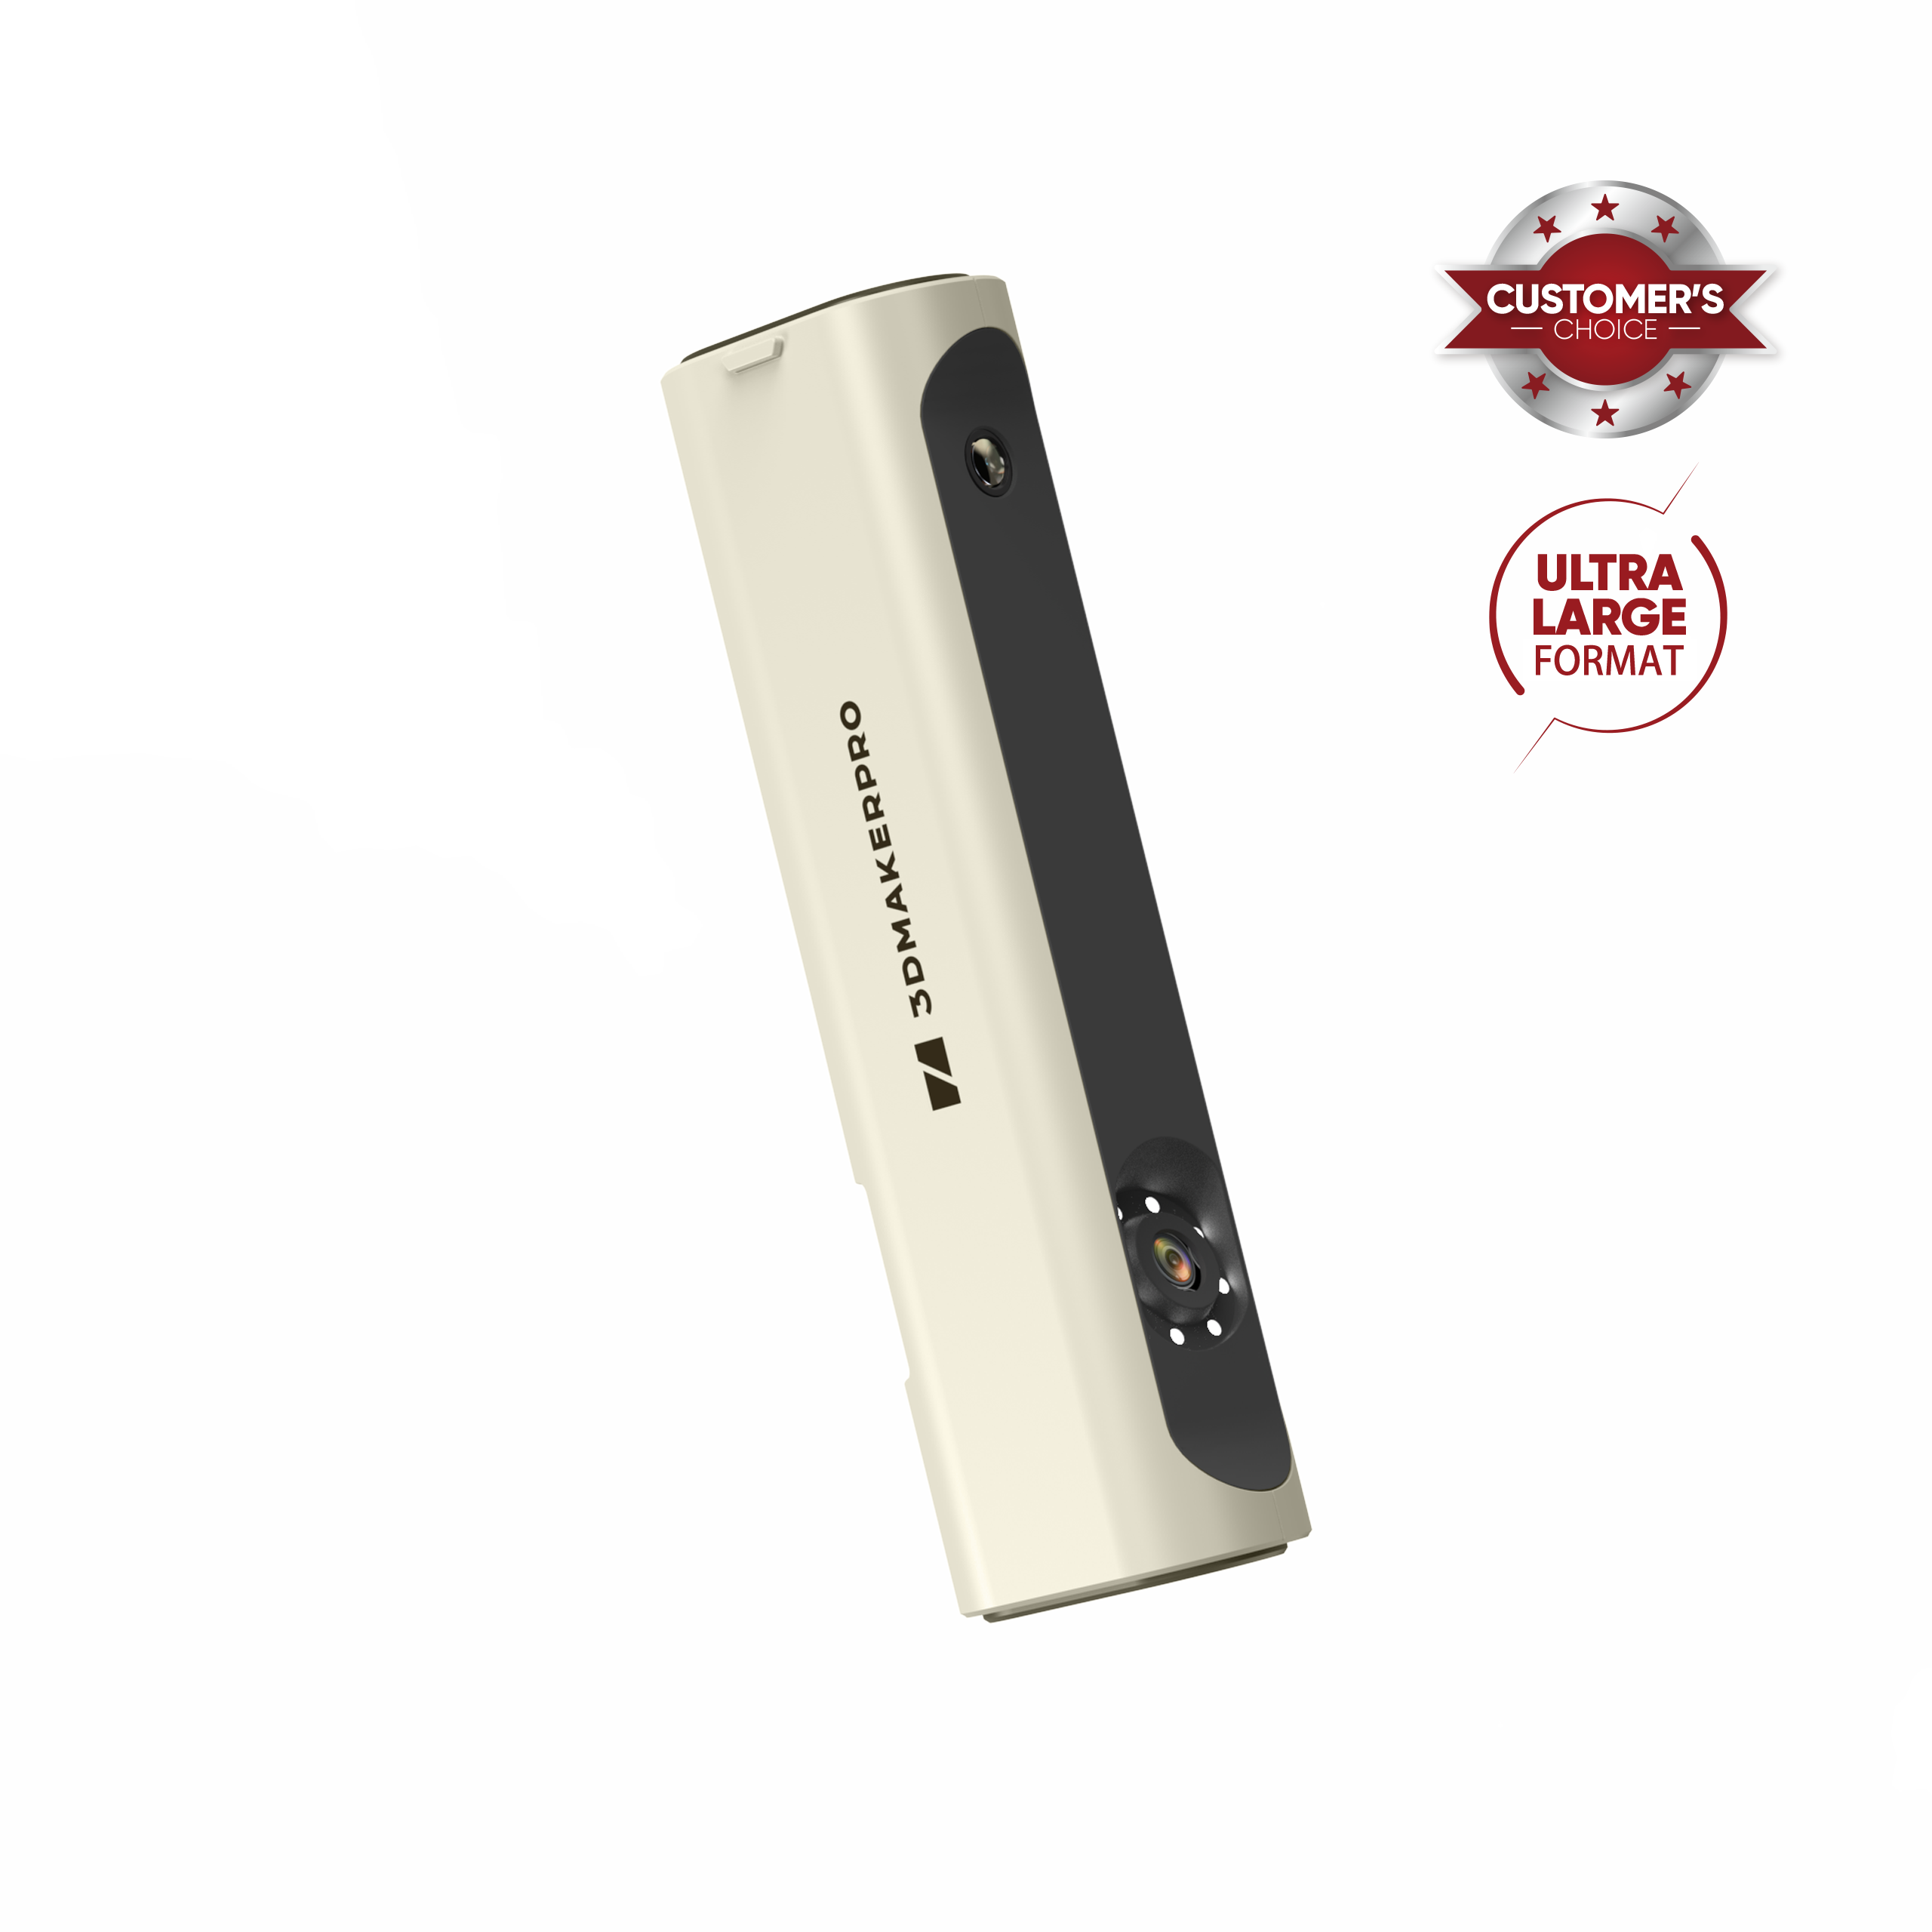
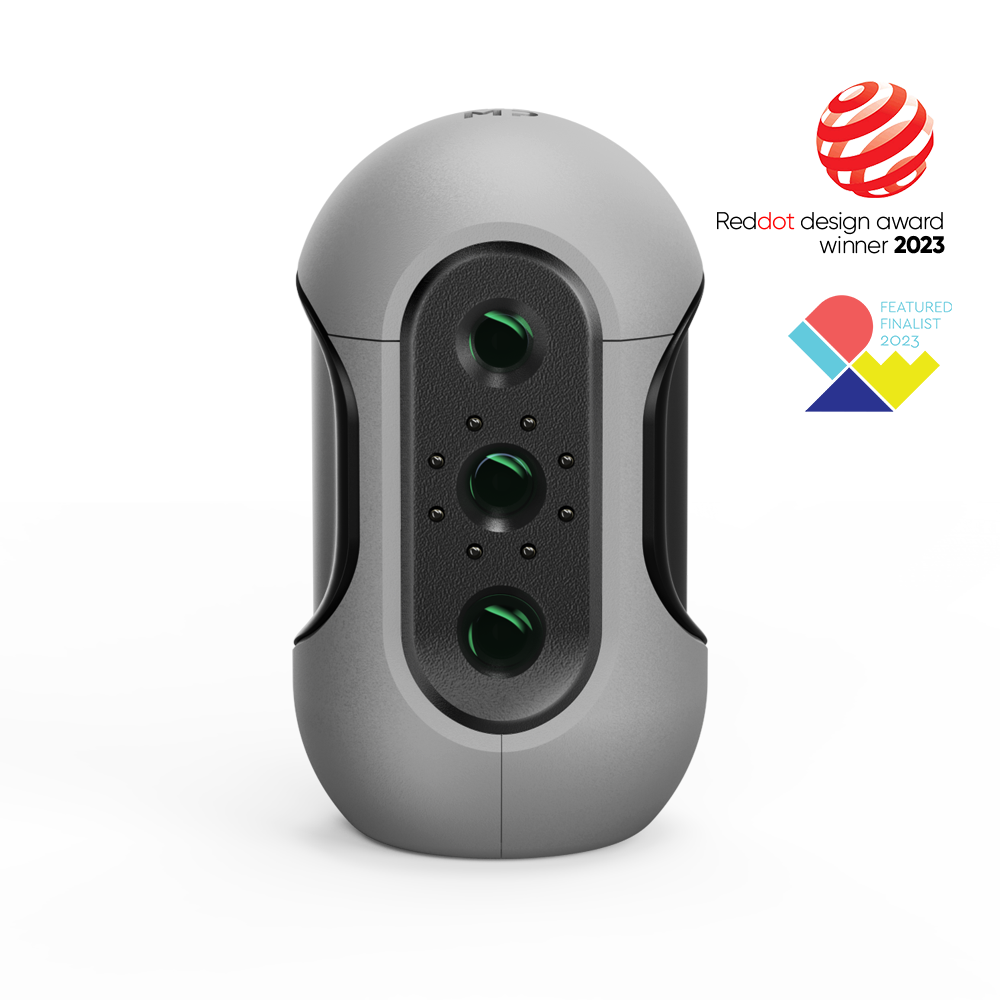
- 3DMakerPro Seal 3D Scanner
- Modeling clay or sculpting material
- Optional: Sculpting tools for refining details
Sculpt Your Art Toy
Using your chosen sculpting material, begin shaping your art toy model design. Start with a basic form and gradually add details. The seal could capture intricate details, so pay attention to the textures, expressions, and any unique features that define your art toy.
Prepare for Scanning
Once your sculpture is complete, it's time to prepare it for scanning. Ensure that the surface is clean and free from any debris or imperfections that might affect the scanning process. It's also important to have good lighting conditions to capture accurate details.
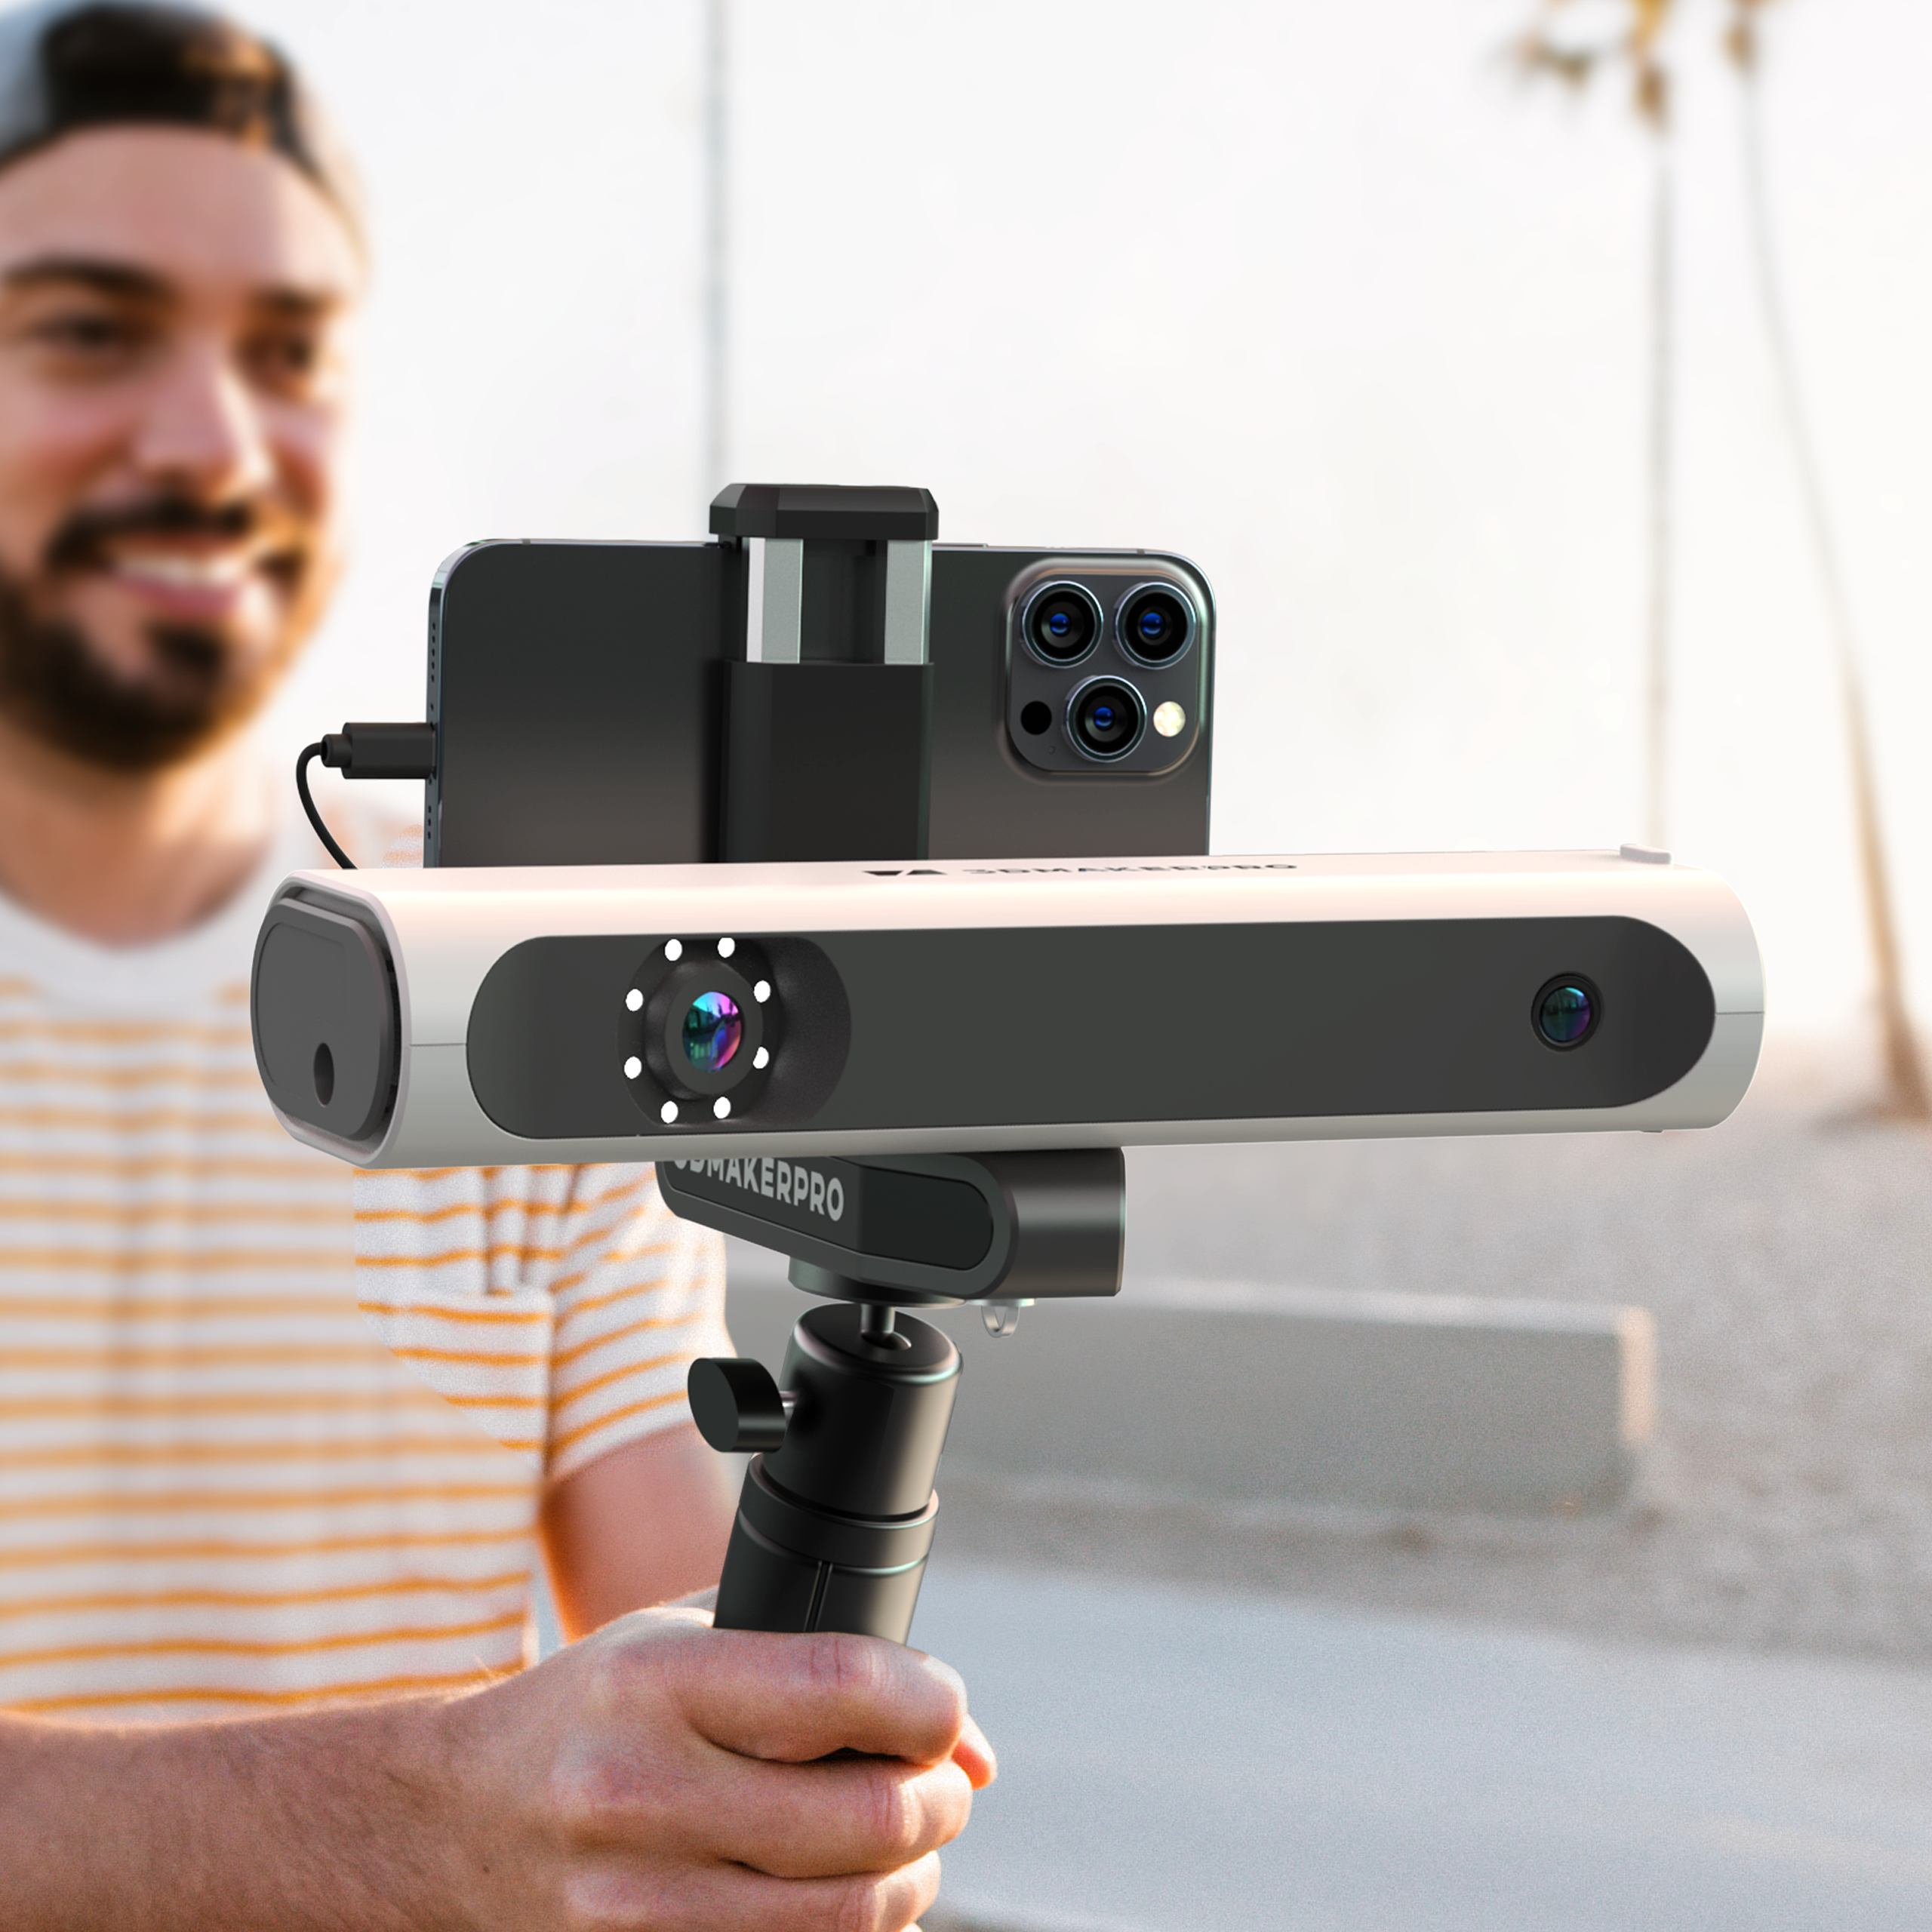
Scan with the Seal 3D Scanner
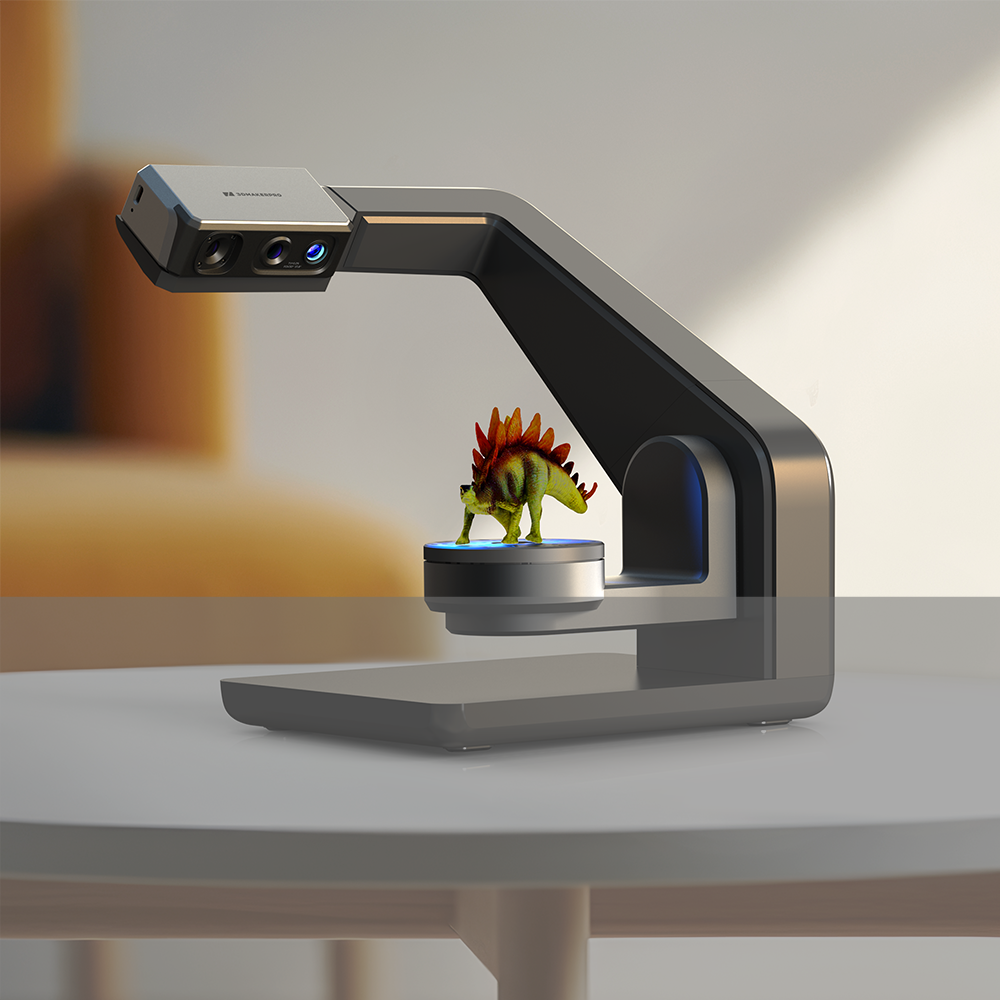
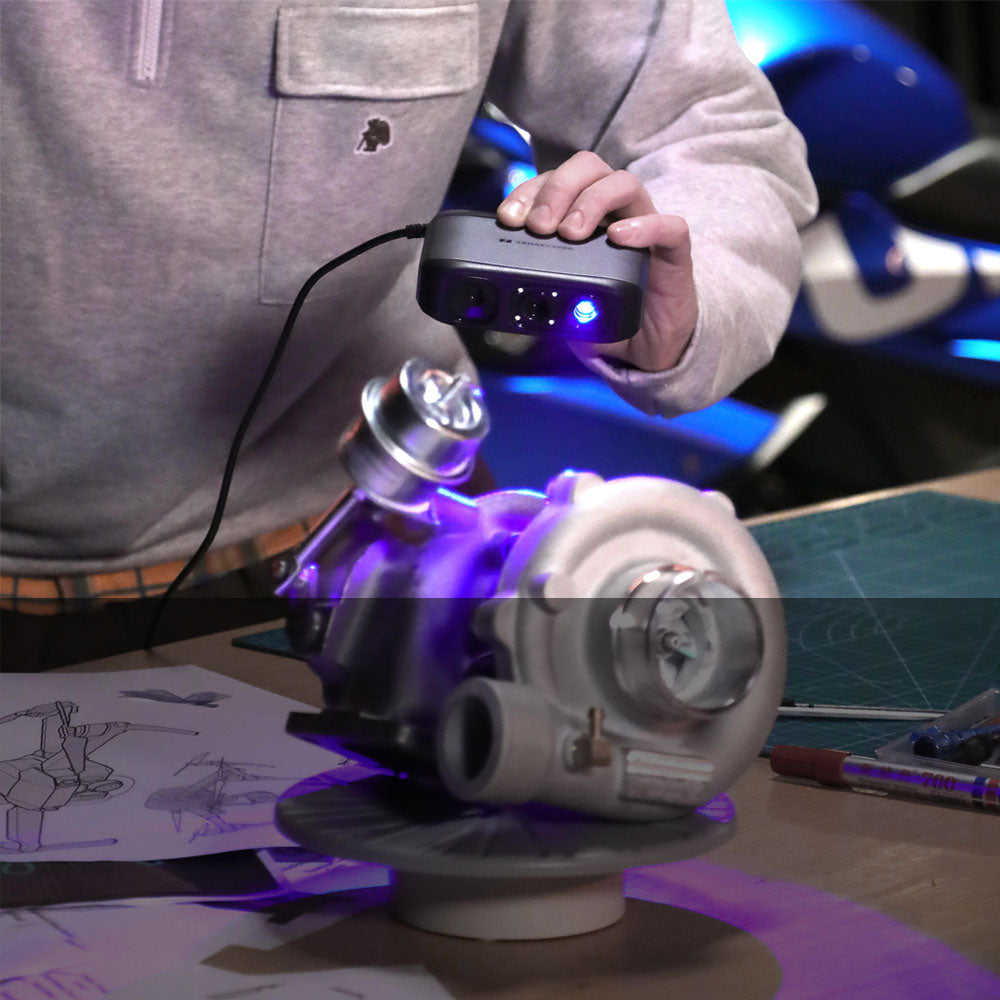
Connect Seal to your Mac and launch the accompanying software, JMStudio. Follow the instructions provided with the scanner to calibrate it correctly. Position your art toy model within the scanner's field of view and start the scanning process. The Seal 3D scanner utilizes blue light encoded structured light technology to capture precise details with an accuracy of 0.01mm.
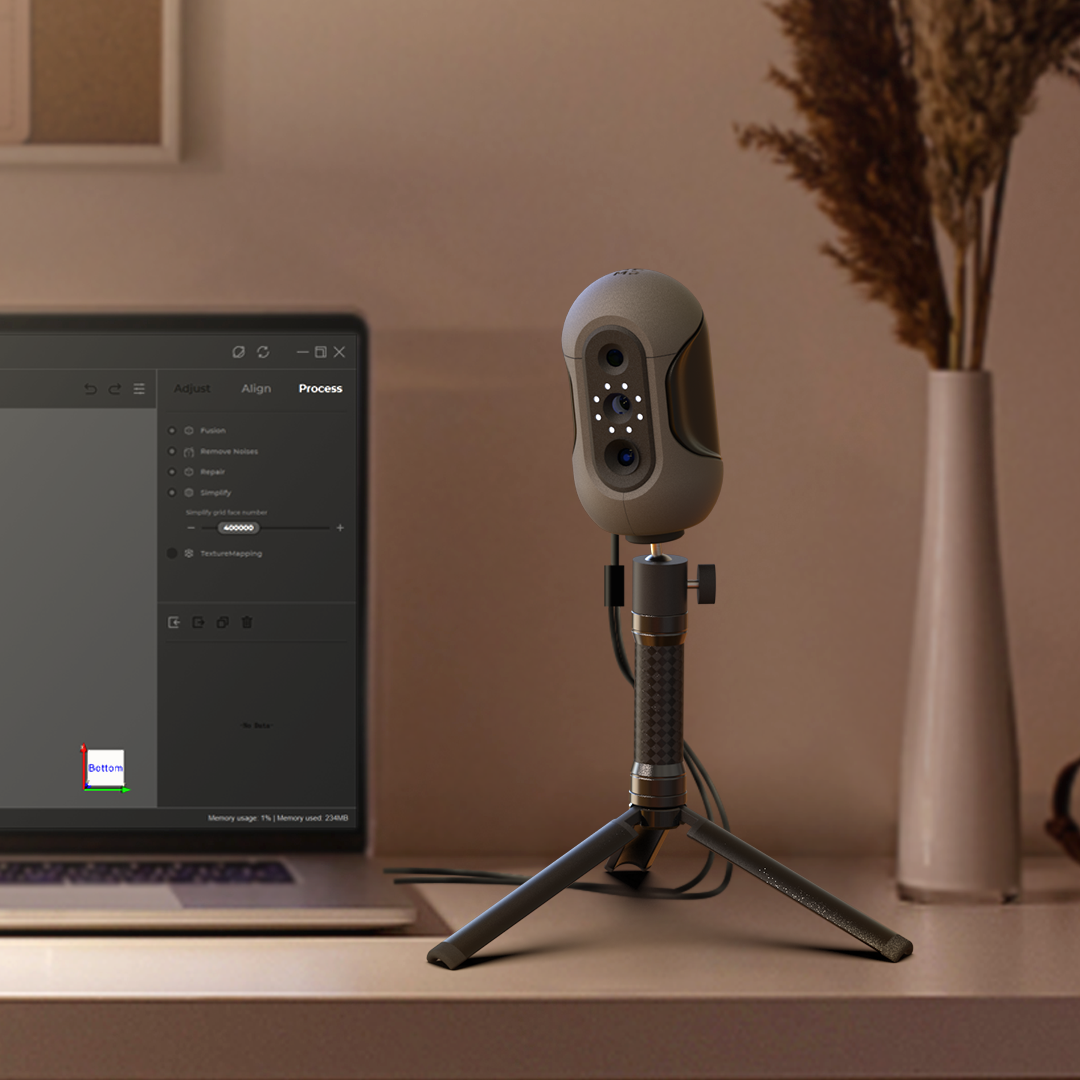
Refine and Edit the Scanned Model
Once the scanning process is complete, you will have a digital 3D model of your art toy. In the JMStudio software, you can refine and edit the scanned model. Remove any unwanted artifacts or imperfections, adjust the scale if necessary, and optimize the model for 3D printing.
Export and 3D Print Your Art Toy
After making the necessary adjustments, export the final 3D model in a compatible format such as OBJ or STL. Transfer the file to your 3D printer and initiate the printing process. Use high-quality printing materials to ensure that your art toy retains the desired level of detail.
Finishing Touches
Once your art toy is printed, you can add the finishing touches to bring it to life. Use paints, markers, or other artistic mediums to apply colors, patterns, and intricate details. Don't forget to seal your art toy with a protective coating to enhance its durability.
Showcase and Share Your Art Toy
Congratulations! Your art toy model is now ready to be showcased and shared with the world. Display it in your collection, participate in art toy exhibitions, or share it on social media platforms to connect with other art toy enthusiasts.
Conclusion
With the Seal 3D scanner, the process of creating art toy models becomes an exciting and accessible endeavor. From conceptualization to 3D scanning and printing, this powerful tool enables artists and toy enthusiasts to transform their imaginative ideas into tangible and visually captivating art toys. Embrace your creativity, explore new possibilities, and let the Seal 3D scanner bring your art toy visions to life. Happy scanning and creating!


Leave a comment
All comments are moderated before being published.
This site is protected by reCAPTCHA and the Google Privacy Policy and Terms of Service apply.