
Definition of a Traditional Measurement Scanner
A traditional measurement scanner encompasses a range of tools and devices used in surveying that rely on manual techniques and optical methods. Common instruments include theodolites, total stations, levels, and measuring tapes. These scanners capture data through direct line-of-sight measurements, utilizing angles and distances to determine the position and dimensions of physical features. The reliance on skilled operators and manual data collection methods makes these tools fundamental in various surveying applications, particularly where high accuracy is essential.
Traditional measurement scanners are characterized by their labor-intensive nature, often requiring careful setup and calibration to ensure precision. The process can be time-consuming, especially when surveying large or complex areas. While these methods have been the backbone of surveying for centuries, they may struggle with efficiency in expansive or intricate sites. Nevertheless, they remain invaluable in contexts where detailed measurements are crucial, such as legal and regulatory applications, where traditional surveying practices are well-established and trusted.

Definition of a LiDAR Scanner
In contrast, a LiDAR scanner (Light Detection and Ranging) represents a significant advancement in remote sensing technology. LiDAR scanners use laser pulses to measure distances between the scanner and objects on the ground, emitting thousands of laser beams per second to rapidly collect vast amounts of data. This technology allows for the creation of highly detailed three-dimensional models of the surveyed environment, making it particularly effective in various applications, from topographic mapping to urban planning.
Lidar scanners can be fixed, mobile, or mounted on various vehicles (such as bicycles, cars, drones, etc.). They can also collect data flexibly in various scenarios, both indoors and outdoors. One of the key advantages of LiDAR technology is its ability to capture high-resolution data with centimeter-level accuracy, even in challenging conditions such as dense vegetation or uneven terrain. The resulting datasets, including digital elevation models (DEMs) and point clouds, can be integrated with Geographic Information Systems (GIS) for further analysis, making LiDAR an essential tool in modern surveying and environmental management.

Comparison: Spatial LiDAR Scanner (Eagle) vs. Traditional Surveying Methods
|
Feature |
Eagle Spatial LiDAR Scanner |
Traditional Surveying Methods (Average Statistics) |
|
Accuracy |
Supports 2cm @ 10m, 3cm @ 20m, 5cm @ 40m, ensuring high reliability for design and surveying applications |
Typically ranges from 5cm to 10cm depending on the instrument and method used |
|
Image Quality |
8K HDR ultra-clear panoramic images, 48MP 4-camera system for rich detail and color accuracy |
Limited to optical instruments and manual sketches, lacks high-resolution 3D data |
|
Speed |
Scans large areas in minutes; scanning a 150m x 150m scene takes less than 5 minutes |
Typically takes several hours to days for equivalent area coverage |
|
Data Collection |
Captures 200,000 points/second, and supports large-scene scanning with a 70m radius |
Data is collected point by point, averaging 500-1,000 points per survey |
|
Automation |
SLAM-based real-time positioning and scanning, supports absolute and relative coordinate positioning |
Mostly manually; GPS and total stations provide some automation but require manual intervention |
|
Coverage |
Scanning radius of 40-70m with 80% reflectivity, horizontal 360°, vertical 59° |
Requires multiple setups and extensive fieldwork to cover large areas |
|
Ease of Use |
User-friendly with a 3.5” screen, USB-Type C, and WiFi 5 connectivity, supports charging while in use |
Requires skilled surveyors for precise measurements and manual data entry |
|
Cost |
Higher initial cost but saves time and labor in the long run |
Lower initial cost, but significantly more labor-intensive and time-consuming |
|
Output |
Multi-format output: Color point cloud (PLY), panoramic roaming (PNG+OBJ), Gaussian splash (PLY), etc. |
Produces numerical data, CAD drawings, and maps |
|
Environmental Limitations |
Using SLAM for complex indoor and outdoor scanning can be affected by extreme weather |
Some methods (like GPS-based surveying) may also be affected by weather |
|
Applications |
Ideal for 3D modeling, urban planning, construction, heritage preservation, and complex indoor spaces |
Best for legal land boundaries, construction layouts, and engineering projects |
Key Takeaways
① The Eagle Spatial LiDAR Scanner outperforms traditional methods in speed, automation, and high-resolution imaging.
② Traditional surveying remains useful for small-scale, high-precision projects that do not require dense 3D data.
③ LiDAR scanning significantly improves efficiency in large and complex environments.
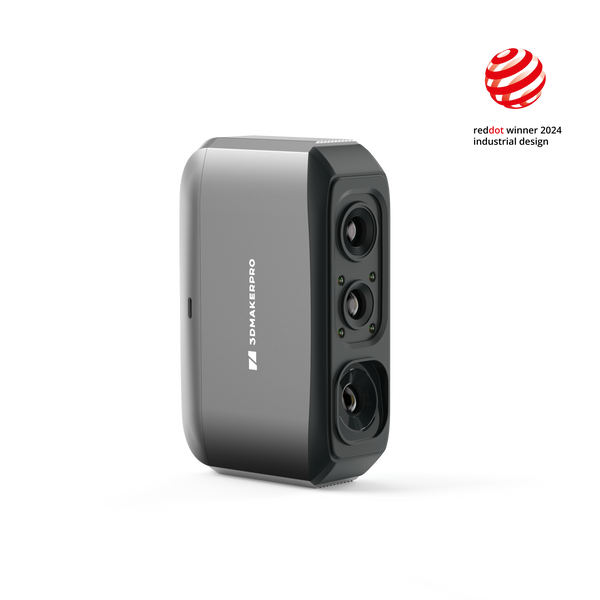
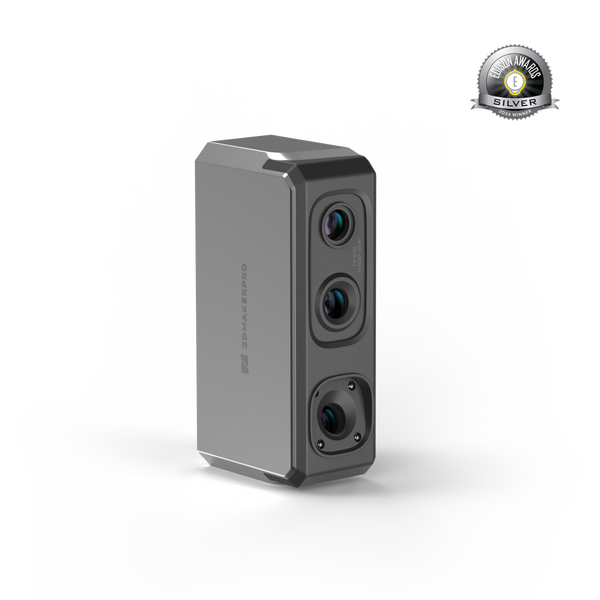
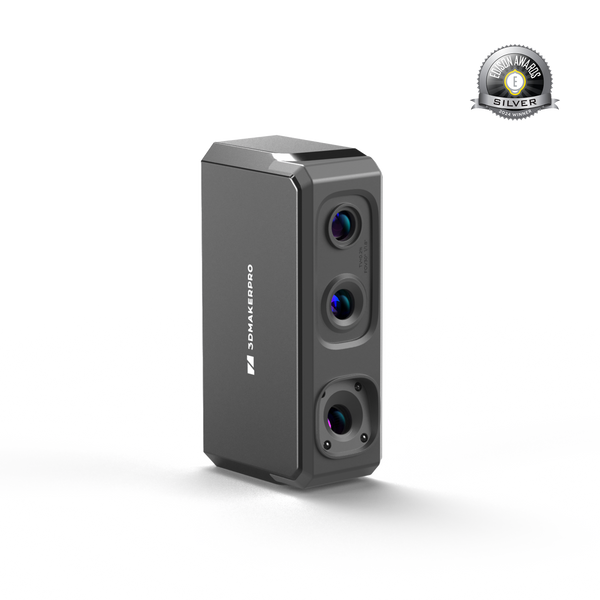
Introducing the Eagle LiDAR Scanner
When you receive the Eagle LiDAR Scanner, the package includes:

Setup Instructions
1. Insert the TF card into the designated slot.
2. Attach the scanner handle securely.
3. Remove the radar protective cover before scanning.
4. Peel off the screen protector to ensure clear visibility.
5. Check the battery level by pressing the side button.
6. Access the power and data ports by lifting the protective cover.
7. Turn on the scanner by holding the power button for 3 seconds. Once powered on, the scanner will perform a 15-second time calibration.
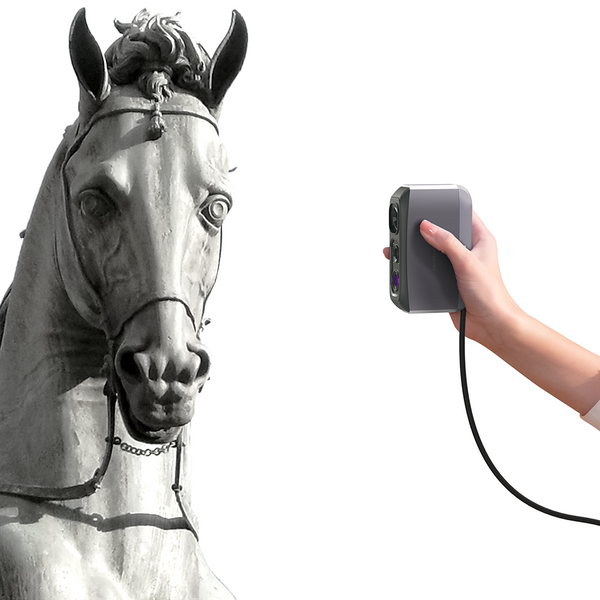
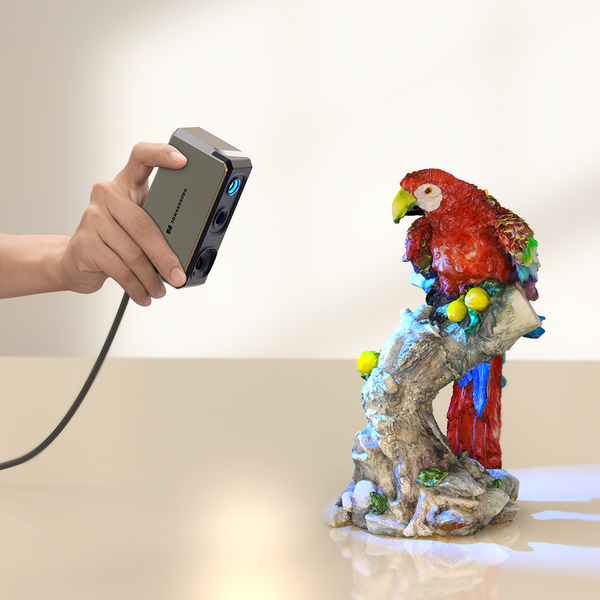
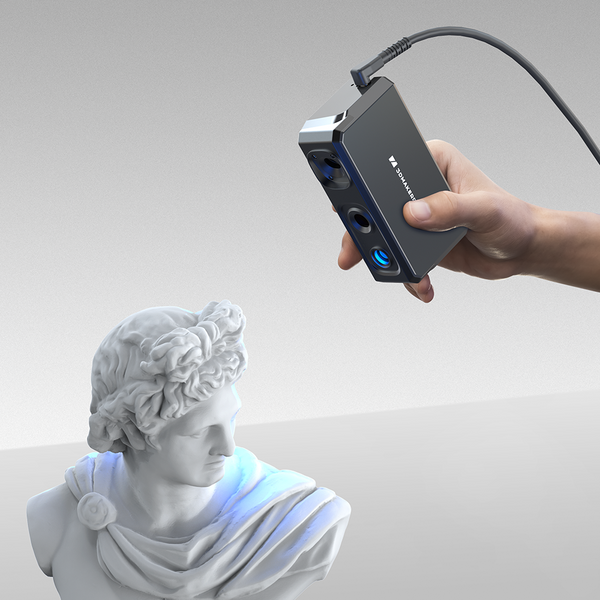
Scanning Process
a) Navigate to the Settings menu to adjust preferences, or proceed with the default recommended settings.
b) Before scanning, select Indoor Mode or Outdoor Mode, depending on your environment.
c) Tap the Scan button to begin and enter a project name.
d) Choose the appropriate scanning mode:
e) Continuous Scanning for moving scans.
f) Fixed-Point Scanning for stationary scans—mount the Eagle scanner on a manual tripod.
g) When the timer starts, the scan has begun.
h) Keep the scanner still for the first 3 seconds, then start moving it smoothly.
i) End the scan by pointing the scanner at the initial position to form a “closed loop.”
Exporting and Processing Data
a) Transfer the scanned data using a USB drive.
b) Open Ray Studio software on your computer to process and analyze the scan.
c) A Ray Studio user guide will be provided in a follow-up.


