Content

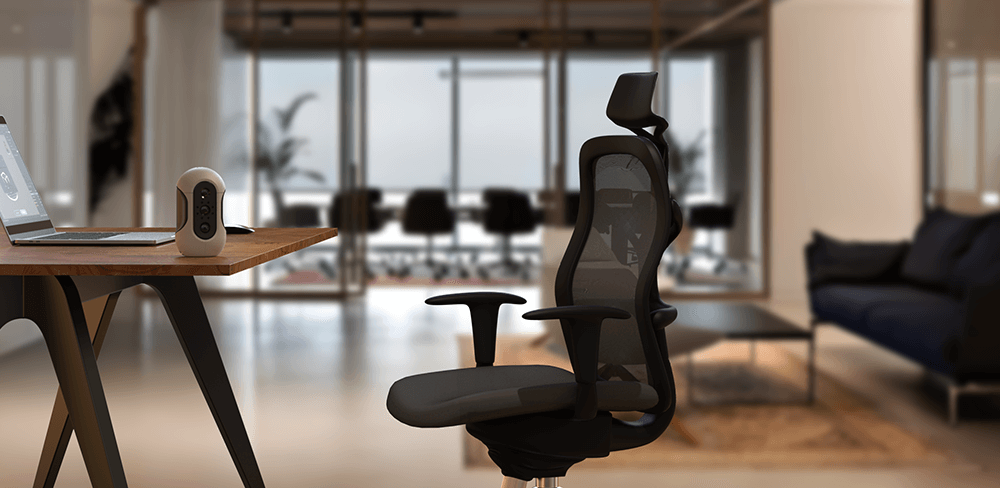
In recent years, home automation has transformed the way we interact with our living spaces. From smart lighting systems that adapt to our moods to automated climate control that optimizes comfort, technology has made our homes more efficient and enjoyable. One of the most exciting advancements in this field is the integration of lidar sensors, particularly through devices like the Eagle LiDAR Scanner, which is revolutionizing how we design, optimize, and personalize smart spaces.
Understanding 3D Scanning
3D scanning captures the physical dimensions and characteristics of objects and environments, creating a detailed digital replica that can be analyzed, manipulated, and utilized in various applications. This technology employs lasers or advanced camera systems, including lidar sensors, to gather precise data, resulting in highly accurate 3D models. In the context of home automation, 3D scanning offers several significant advantages that can enhance the entire living experience.
Benefits of 3D Scanning in Home Automation
1.Enhanced Design Precision
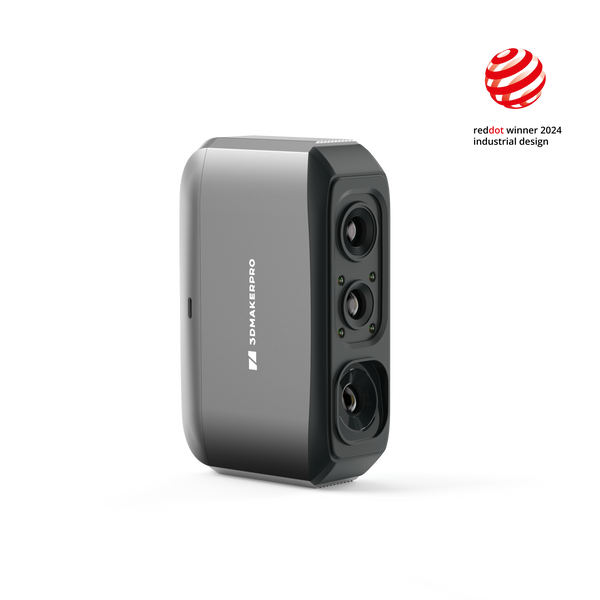
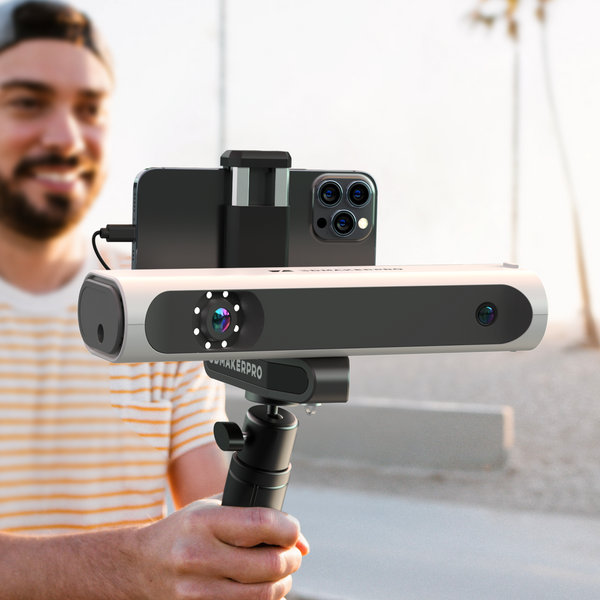
One of the foremost benefits of 3D scanning is its ability to create precise digital representations of your home. This accuracy allows homeowners and designers to visualize how smart devices and systems will integrate seamlessly into existing spaces. The Eagle LiDAR Scanner, for example, is equipped with a lidar sensor that supports a remarkable accuracy of 2 cm at 10 meters, ensuring that the collected data is reliable and suitable for intricate design applications. With its cutting-edge 48MP camera system, the Eagle can create stunning 8K HDR ultra-clear panoramic images, providing users with rich, detailed 3D data that is essential for high-resolution requirements.

2. Customized Solutions
Every home is unique, and so are its automation needs. 3D scanning facilitates the customization of smart home solutions tailored to specific layouts and preferences. The Eagle's large scanning radius of up to 70 meters—enabled by its advanced lidar sensor—allows for quick assessments of extensive spaces, while its impressive motion capture speed of up to 20 km/h significantly enhances work efficiency. This capability ensures homeowners can plan for smart technologies that not only fit perfectly in their environments but also elevate the overall aesthetic and functionality.
3. Optimizing Energy Efficiency
By analyzing the 3D model of your home, energy consumption patterns can be assessed and optimized more effectively. Smart thermostats and automated blinds can be programmed based on the layout and orientation of rooms, ensuring optimal heating, cooling, and lighting. The Eagle’s advanced complex scene scanning features utilize its lidar sensor along with SLAM technology for real-time positioning, allowing for accurate modeling of intricate indoor spaces. This ensures that energy-efficient solutions are not just theoretical but practically integrated into daily living.

4. Streamlined Installation Processes
3D scanning simplifies the installation of smart devices significantly. Contractors and installers can use the digital model to plan and execute installations more efficiently, minimizing errors and reducing installation time. The Eagle's multi-viewpoint capture, offering first-person, overhead, and 45-degree overhead perspectives, ensures that installation teams can approach their tasks from the most effective angles, leveraging the detailed data provided by the lidar sensor.
Creating Smart Spaces with 3D Scanning
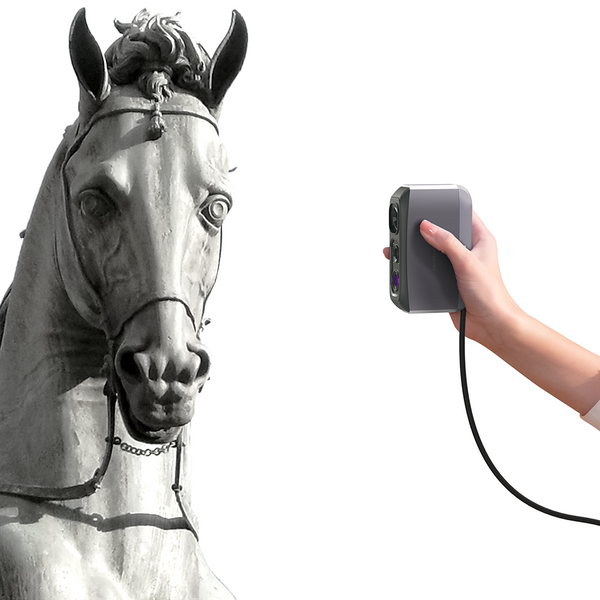
Step 1: Scan the Environment
Begin your journey by launching the Eagle LiDAR Scanner and selecting the indoor mode to optimize your scanning experience. As you move through each room, maintain a steady pace to ensure that every detail is captured, from the dimensions of the space to the intricate decorations adorning the walls. It’s essential to return to your starting point to complete a closed loop, as this will help prevent any unscanned areas from appearing as fuzzy flocs in your final output. Don’t be discouraged if your initial scans aren’t flawless; each attempt will provide valuable experience and improve your technique over time.
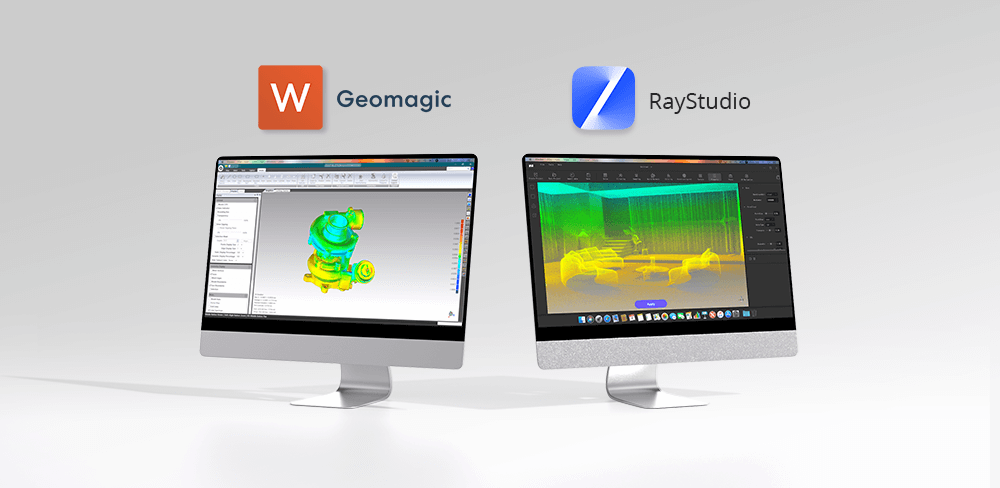
Step 2: Import and Analyze Data
Once your scanning is complete, open the Ray Studio software to import your scanned data. This powerful tool allows you to delve into a variety of analyses, such as colorizing the point cloud for enhanced visual representation or generating Gaussian splashes for a more dynamic display. The processed data can be showcased directly or uploaded to a website , making it accessible for others to explore. If you’re looking to edit or refine the scanned data further, stay tuned for our upcoming space modeling software, which will offer advanced editing capabilities and tools for customization.

Step 3: Plan Smart Installations
With the rich data gathered from your scans, embark on the vital task of planning the installation of smart home devices. Consider the optimal distribution of wiring, the placement of sensors, and other essential details that will contribute to a fully integrated smart environment. This careful planning not only enhances the functionality of your space but also ensures a seamless and aesthetically pleasing integration of technology into your home. By leveraging the insights gained from your scans, you will create a sophisticated and responsive living space that meets modern demands.
Suositeltu kokoelma
Medium-format
Säästä $245.00


Medium-format
Säästä $139.97
Small-format
Säästä $279.95
Seal 3D-skanneri
Small-format
Säästä $144.00
Seal Lite 3D-skanneri
Large-format
Säästä $229.96
Lynx 3D-skanneri
Medium-format
Säästä $324.96


