Inhalt
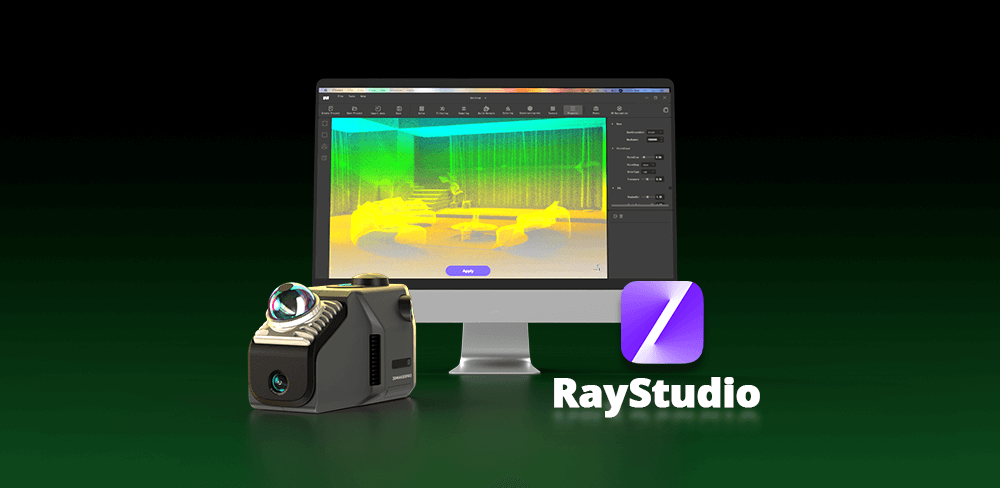
Willkommen zum RayStudio Workflow Tutorial! In diesem umfassenden Leitfaden erkunden wir die wesentlichen Funktionen von RayStudio-Software, das Ihnen dabei hilft, die gescannten Daten aufzulösen und einzufärben. Außerdem können Sie Ihre verarbeiteten Daten in verschiedenen Dateiformaten exportieren, darunter LAS, PCD und PLY, und so eine breite Palette von Anwendungen in Bereichen wie Geodatenanalyse, Vermessung und 3D-Modellierung abdecken.
Kommende Funktionen
Wir freuen uns, die vorläufigen Starttermine für mehrere spannende neue Funktionen bekannt zu geben, die Ihren Arbeitsablauf verbessern werden:
3D-Gauß: Die Veröffentlichung ist für den 10. April geplant und wird erweiterte statistische Modellierungsfunktionen für Punktwolken einführen.
Punktwolkennetze und Polygone: Diese Funktion wird voraussichtlich am 15. April verfügbar sein und komplexere 3D-Visualisierungen und -Analysen ermöglichen.
Panoramabilder: Diese Funktion wird voraussichtlich am 30. April verfügbar sein und Ihnen ermöglichen, aus Ihren Daten immersive visuelle Erlebnisse zu erstellen.

Punktwolkenauflösung
Suchen Sie zunächst die vom Scanner exportierten Daten. Stellen Sie sicher, dass die exportierten Daten vollständig sind und alle im Bild angezeigten Dateien enthalten. Wenn Sie unser RTK-Modul verwendet haben, enthält Ihr Ordner eine Datendatei, die mit „RTK“ beginnt. Andernfalls fehlt diese Datei.
Öffnen Sie als Nächstes Ray Studio und klicken Sie auf die Klicken Sie auf die Schaltfläche „Projekt öffnen“. Wählen Sie die vom Scanner exportierten Daten aus. Klicken Sie anschließend auf die Schaltfläche „Basisdaten“, um das Menü mit den Optionen für den Datenverarbeitungs-Workflow aufzurufen. Hier können Sie Ihre bevorzugte Verarbeitungsmethode auswählen. In dieser Demonstration deaktivieren wir alle Optionen und lassen nur „Punktwolkenauflösung“ ausgewählt. Klicken Sie abschließend auf „Start“. Über die Transparenzschaltfläche können Sie die Daten anzeigen.
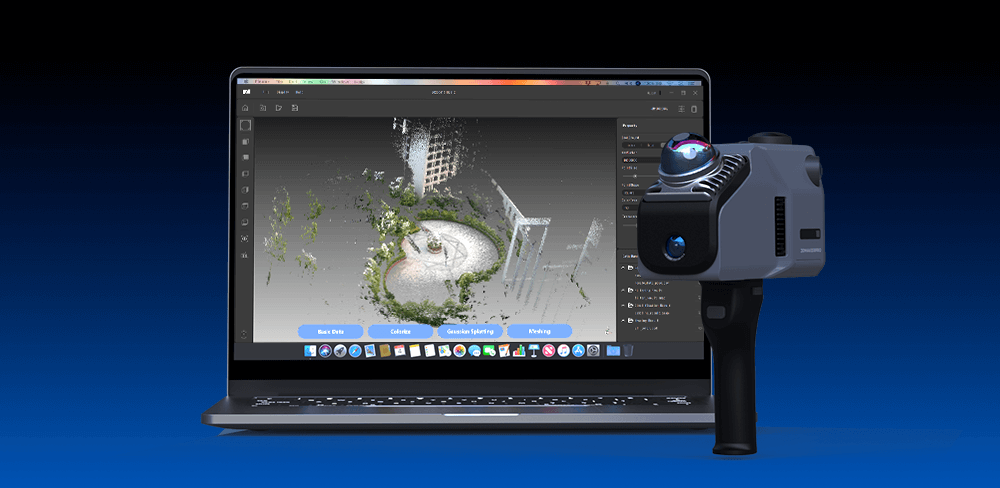
Farbige Punktwolke
Klicken Sie auf „Projekt öffnen“ und wählen Sie die vom Scanner exportierten Daten aus. Klicken Sie anschließend auf „Kolorieren“ und wählen Sie den Szenariotyp entsprechend Ihrer Scanumgebung (Innen- oder Außenbereich). Falls Sie das RTK-Modul nicht verwenden, deaktivieren Sie die Option „Echtzeitkinematik“. Falls Sie das RTK-Modul verwenden, aktivieren Sie die Option „Echtzeitkinematik“ und laden Sie die RTK-Datei hoch. Klicken Sie auf „Start“ und nach Abschluss der Verarbeitung auf „Fertig“, um eine farbige Punktwolke zu erhalten. So einfach geht das!
Als Nächstes untersuchen wir die Funktionen der Menüschaltflächen auf beiden Seiten der Benutzeroberfläche.
Auf der linken Seite ist der erste kastenförmige Knopf der „Kameraperspektive zurücksetzen.“ Wenn Sie die Ansicht nach dem Verschieben der Scandaten zurücksetzen möchten, klicken Sie einfach auf diese Schaltfläche.
Der zweite Knopf in Form eines Auges dient zum „Geben Sie die Ich-Perspektive ein.“ Auf diese Weise können Sie mithilfe der Tastatur (WSAD) oder durch Ziehen der Benutzeroberfläche mit der Maus in die Szene eintauchen.
Die dritte Schaltfläche mit der Bezeichnung EDL, Fügt der Punktwolke Schatten hinzu. Es wird empfohlen, diese Funktion zusammen mit der Schaltfläche „Transparenz“ auf der rechten Seite zu verwenden, um eine klarere und optisch ansprechendere farbige Punktwolke zu erhalten.
Auf der rechten Seite ist der erste Knopf "Hintergrund," Damit können Sie die Hintergrundfarbe anpassen, um die Punktwolkendaten leichter erkennen zu können.
Der zweite Knopf, „Maximale Anzahl“, wird noch ermittelt, also bleiben Sie dran.
Der dritte Knopf, „Punktgröße“, ermöglicht Ihnen, die Größe der Punkte zu ändern. Kleinere Werte führen zu einer klareren Punktwolke, daher wird die Verwendung des standardmäßigen Mindestwerts empfohlen.
Der vierte Knopf, „Punktform“, lässt Sie zwischen quadratischen oder runden Punkten wählen, wobei quadratische Punktwolken im Allgemeinen eine bessere Übersichtlichkeit bieten.
Der fünfte Knopf, „Farbtyp“, bietet Optionen für RGB-, erhöhte und Intensitätsformate.
Der sechste Knopf, "Transparenz," wird empfohlen, mit einem Standardwert von 0,25 zu aktivieren. Sie können dies je nach gewünschtem Effekt anpassen: Kleinere Werte erhöhen die Transparenz, während größere Werte die Schattenintensität verstärken.
Klicken Sie abschließend auf die quadratische Schaltfläche in der oberen rechten Ecke, um einzutreten Vollbildmodus.

RTK (Echtzeitkinematik)
Suchen Sie zunächst die Daten, die Sie für Ihren Scanner importiert haben. Wenn Sie unser RTK-Modul verwenden, enthält Ihr Ordner eine Datendatei, die mit „RTK.“ Um die RTK-Daten zu verarbeiten, müssen Sie auch die Beobachtungsdaten (.25o) und Parameter-/Positionsdaten (.25p) von Ihrer RTK-Basisstation auf Ihren Computer kopieren.
Öffnen Sie anschließend die Ray Studio Software und wählen Sie „Projekt öffnen“ auf Ihrem Computer. Aktivieren Sie in den Verarbeitungsschritten unbedingt die RTK-Option. Suchen Sie anschließend Ihre RTK-Datendatei und klicken Sie auf „Start“. Die verarbeiteten RTK-Scandaten befinden sich im temporären Ordner Ihres Projektverzeichnisses. Anschließend können Sie die Daten dorthin exportieren.
Bleiben Sie dran
Während wir uns weiter verbessern RayStudioWir halten Sie über neue Funktionen und Verbesserungen auf dem Laufenden. Vielen Dank für Ihr Interesse an RayStudio. Bleiben Sie dran für weitere Entwicklungen, die Ihnen helfen, Ihre Daten zu maximieren und

Ausgewählte Sammlung
LiDAR scanner
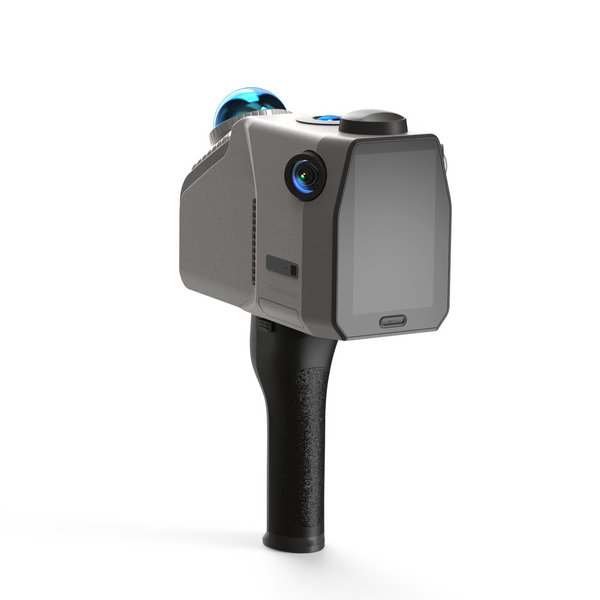
Eagle LiDAR-Scanner
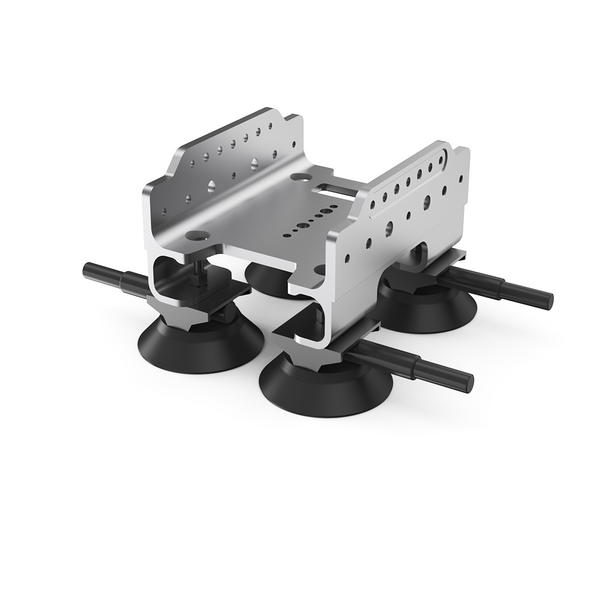
Autodachhalterung


